Table of Contents
Advertisement
Advertisement
Table of Contents

Summary of Contents for Metric Halo ULN-8
- Page 2 ULN-8 Quick Start Guide Metric Halo $Revision: 1671 $ Publication date $Date: 2012-7-21 12:42:12 -0400 (Mon, 21 Jul 2012) $ Copyright © 2012 Metric Halo...
-
Page 3: Table Of Contents
Table of Contents 1. ULN-8 Quick Start Guide ......................5 Prepare the unit for use ......................5 Connect the ULN-8 to your computer ..................6 Get familiar with the front panel ....................6 Take a listen ..........................6 The MIO Console ........................6 The Mixer window ........................ - Page 4 List of Figures 1.1. ULN-8 ............................. 5 1.2. ULN-8 Routing ......................... 6 1.3. Console window ........................7 1.4. Mixer window .......................... 8 1.5. Surround mixer ........................9 1.6. Configuring the Monitor Controller ................... 10 1.7. The configured Monitor Controller ................... 11...
-
Page 5: Uln-8 Quick Start Guide
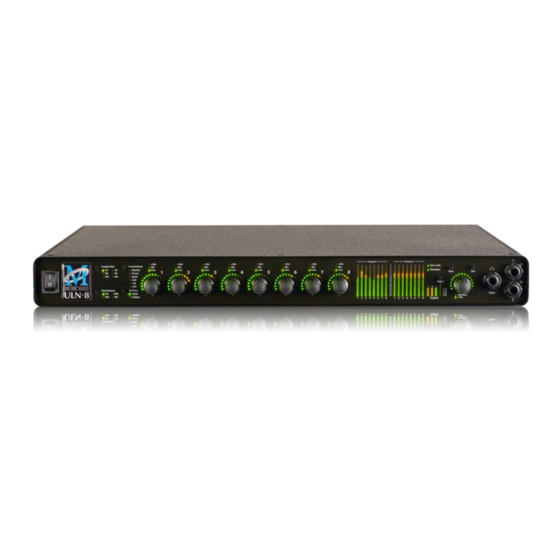
• MIO Software CD-ROM • Warranty/Registration Card Bask in the look and feel of the ULN-8! Once you’re finished, connect the power supply. Now connect your input and output cables along with your monitors and signal sources. Your monitors should be connected to Analog Out 1/2, either via a DB25 cable or the 1/4"... -
Page 6: Connect The Uln-8 To Your Computer
Once you’re comfortable with the Monitor Controller and how it works, quit iTunes and launch the MIO Console. You’ll be asked to select a template; select “ULN-8 Basic Setup” which will give us a simple starting point. Take a look at the panel on the right- it outlines what the templates do. -
Page 7: Console Window
“System” column lets you set the clock source, sample rate and whether the wordclock output is 1x or 256x rate. In the “Lock” column you can see if the ULN-8 is receiving a valid clock on the selected source and use the “DI”... -
Page 8: The Mixer Window
Figure 1.4: Mixer window The Mixer window presents you with a familiar interface to the ULN-8. At the top of every channelstrip is a pulldown list of available sources. For analog inputs you can select the input type, enable phantom power and set gain. -
Page 9: The Uln-8 And Surround
ULN-8 Quick Start Guide You should now be in a good position to fire up a native DAW and put the ULN-8 through its paces. Select the ULN-8 as your audio interface; the analog inputs will be inputs 1-8, digital inputs will be 9-16 (as determined by the FW channel assignments). -
Page 10: Configuring The Monitor Controller
ULN-8 Quick Start Guide Monitor Output. Give the path a name (like “Surround”) and select 5.1 as the bus type. Now you can assign your output channels. If you want to select your outputs sequentially, a shortcut is to hold down the Option key when selecting the first channel. -
Page 11: Unleash The Dsp
Unleash the DSP Every ULN-8 is based on the 2d processing card and comes with a full +DSP license. This gives you powerful processing in the box, and the ability to work with processing and monitoring who’s latency is the convertor overhead. -
Page 12: Additional Resources
I/O Users Guide" pdf in Preview, where it can be read and printed. The ULN-8 is an exceptionally deep product, and there are many features, applications and workflows to discover. We have published a series of technical notes and tutorial movies that go in depth about the Mobile I/O platform.


Need help?
Do you have a question about the ULN-8 and is the answer not in the manual?
Questions and answers