Table of Contents
Advertisement
Advertisement
Table of Contents

Summary of Contents for Ancona AN-2201
-
Page 1: Installation Instructions
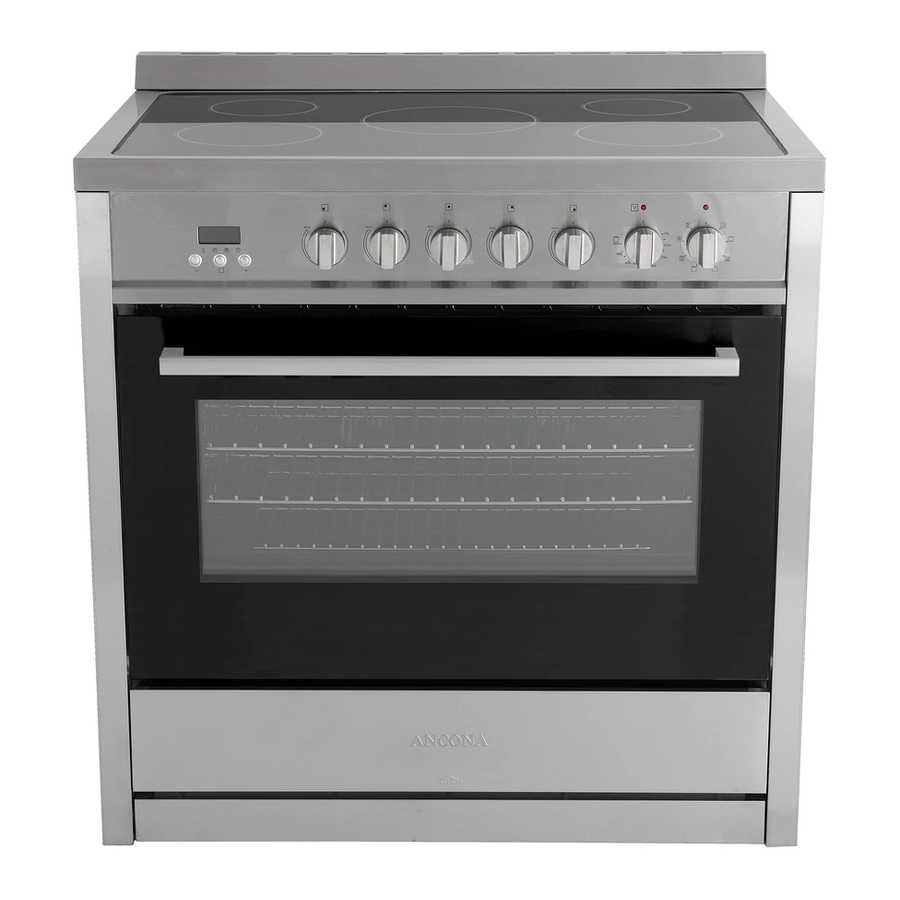
USER MANUAL & INSTALLATION INSTRUCTIONS GOURMET FREESTANDING RANGE VITROCERAMIC COOKTOP ELECTRIC OVEN IMPORTANT SAFETY INSTRUCTIONS Carefully read the following important information regarding installation safety and maintenance. Keep these instructions for future reference. 2014-04-13 MAAN2201-10... -
Page 2: Table Of Contents
Table of Contents Table of Contents ........................2 Safety Requirements ....................... 3 Parts Supplied ......................... 9 Ventilation Requirements ....................... 10 Electrical Requirements ......................13 Advance Preparation ......................14 Tools and Parts ........................14 Range Dimensions ......................14 Unpack Range ........................16 Install Leveling Feet and Back Panel ................. -
Page 3: Safety Requirements
Safety Requirements IMPORTANT SAFETY NOTICE READ ALL INSTRUCTION BEFORE INSTALLING AND OPERATING THIS APPLIANCE We have provided many important safety messages in this manual and on your appliance. Always read and obey all safety messages. This is the safety alert symbol. This symbol alerts you to potential hazards that can kill or hurt you and others. - Page 4 If the information in this manual is not followed exactly, a fire or explosion may result causing property damage, personal injury or death. • FOR YOUR SAFETY: Do not store or use gasoline or other flammable vapors and liquids in the vicinity of this or any other appliance.
- Page 5 • Overhead range hoods, which operate by blowing a downward air flow on to a range, shall not be used in conjunction with gas ranges other than when the hood and range have been designed, tested and listed by an independent test laboratory for use in combination with each other. •...
- Page 6 • Do not wear loose-fitting or hanging garments while using the appliance. Do not let clothing or other flammable materials contact hot surfaces. • Smother grease fires with a pan lid, or use baking soda, a dry chemical or foam-type extinguisher.
- Page 7 • Clean the appliance regularly to keep all parts free of grease that could catch fire. Exhaust fan ventilation hoods and grease filters should be kept clean. Do not allow grease to accumulate on hood or filter. Greasy deposits in the fan could catch fire. When cooking food turn the hood, fan on. Refer to hood manufacturer’s instructions for cleaning.
- Page 8 TO REDUCE THE RISK OF TIPPING OF THE RANGE, THE RANGE MUST BE SECURED BY PROPERLY INSTALLED ANTI-TIP DEVICES. TO CHECK IF THE DEVICES ARE INSTALLED PROPERLY, SLIDE RANGE FORWARD, LOOK FOR ANTI-TIP BRACKET SECURELY ATTACHED TO FLOOR OR WALL, AND SLIDE RANGE BACK SO REAR RANGE FOOT IS UNDER ANTI-TIP BRACKET.
-
Page 9: Parts Supplied
Parts Supplied 7 x Knobs 1 x Optional Backsplash 4 x Feet 2 x Oven Racks 1 x Grill Set (Basin + Anti-Splash) 1 x Rack Puller 1 x Anti-Tip Bracket 2 x Screws and Anchors... -
Page 10: Ventilation Requirements
Ventilation Requirements The range should have proper ventilation in order to keep the unit operating properly and maintain the temperature of immediate surroundings within safe limits. Check your local building codes as they may vary from the general rules outlined in this guide. It is recommended that a hood be installed above the range that is rated no less than 400 CFM. - Page 11 and cabinets around the appliance can withstand heat up to 200º F (93°C) generated by the appliance. (See Figure 1) • Cabinet opening dimensions that are shown must be used. Given dimensions are minimum clearances. (See Figure 1) • Working areas adjacent to the range should have 18″ minimum clearance between countertop and cabinet bottom.
- Page 12 MOBILE HOME – ADDITIONAL INSTALLATION REQUIREMENTS • The installation of this range must conform to the Manufactured Home Construction and Safety Standard, Title 24 CFR, Part 3280 (formerly the Federal Standard for Mobile Home Construction and Safety, Title 24, HUD Part 280). When such standard is not applicable, use the Standard for Manufactured Home Installations, ANSI A225.1/NFPA 501A or with local codes.
-
Page 13: Electrical Requirements
Electrical Requirements instructions in the “Electrical Connection” section. If you wish to install this appliance directly to the main (without a plug), it must be installed by a qualified service technician. Electrical Shock Hazard • DO NOT operate this appliance using a Do not use an extension cord. -
Page 14: Advance Preparation
Advance Preparation Tools and Parts Gather the required tools and parts before starting installation. Read and follow the instructions provided with any tools listed here. ■ Tape measure PARTS SUPPLIED: ■ Phillips screwdriver Check that all parts are included. ■ Flat blade screwdriver ■... - Page 15 • Working areas adjacent to the range should have 18″ minimum clearance between countertop and cabinet bottom. (See Figures 1 and 2) Figure 2 Note: This height measurement does not include leveling feet.
-
Page 16: Unpack Range
Unpack Range Install Leveling Feet and Back Panel Excessive Weight Hazard Tip Over Hazard A child or adult can tip the range and be killed. Use two or more people to move and install range. Failure to follow these instructions can result in death or serious burns to children and adults. 1. -
Page 17: Install Anti-Tip Bracket
Install Anti-Tip Bracket Tip Over Hazard A child or adult can tip the range and be killed. Connect anti-tip bracket to rear range foot. Reconnect the anti-tip bracket, if the range is moved. Failure to follow these instructions can result in death or serious burns to children and adults. Contact a qualified floor covering installer for the procedure of drilling mounting holes through your type of floor covering. - Page 18 1. Before moving range, slide range onto 10. Align anti-tip bracket holes with holes in shipping base cardboard or hardboard. floor. Fasten anti-tip bracket with screws provided. (See Figure 6) 2. Place this template on floor in cabinet 11. Move range close to opening. Remove opening so that the left edge is against shipping base, cardboard or hardboard cabinet and top edge is against rear...
-
Page 19: Installation Instructions
Installation Instructions Electrical Connection Electrical Shock Hazard Do not use an adapter. Do not use an extension cord. Failure to follow these instructions can result in death, fire, or electrical shock. Electrical connection must be performed by a qualified service technician in accordance with the kit instructions and all local codes and requirements. - Page 20 BEFORE MAKING THE ELECTRICAL CONNECTION, MAKE SURE THAT: • The safety circuit-breaker and the electrical system are able to with stand the load of the appliance. See rating label on back of range. • Rating plate is located on back of range should you need to verify any of the electrical requirements.
- Page 21 Configuration 1: L1 to L1 and L2 to L2 Configuration 2: L1 to L1 and L2 to L3 Configuration 3: L1 to L2 and L2 to L3 Figure 8 4) Never use reductions, shunts, or adaptors which can cause overheating or burning. 5) After carrying out the connection to the mains, check that the supplying cable does not come into contact with parts subject to heating.
-
Page 22: Surface Cooking
Surface Cooking Location of the Burners A. Single cooking zone - 1200W B. Single cooking zone - 2200W C. Single cooking zone - 1800W D. Power & Residual Heat Warning Lights Figure 9 Description of Symbols Figure 10 BEFORE FIRST USE: 1. -
Page 23: Setting Surface Controls
Setting Surface Controls Figure 11 1. Turn the control knob to the desired position (low to high). (See Figure 11) 2. Adjustment is continuous so the cooking zone will operate at any intermediate setting between low and high. 3. Once the cooking zone is hot, the LED corresponding to the zone illuminates. “OFF”... -
Page 24: Surface Cooking Utensils
Surface Cooking Utensils Do not place plastic items such as salt and pepper shakers, spoon holders or plastic wrappings on top of the appliance when it is in use. These items could melt or ignite. Potholders, towels or wood spoons could catch fire if placed too close to a heat. Note: Always use a utensil for its intended purpose. -
Page 25: Oven Cooking
Oven Cooking Setting Oven Clock and Timer Figure 12 DIGITAL CLOCK COOKING WITH THE TIMER This model has a digital display 24 hour clock By selecting the desired end time, cooking with 3 control buttons. When first connected to time, temperature and cooking mode you can power (or after a power outage) the screen will set the oven to cook your dish automatically. -
Page 26: Setting Oven Controls
Setting Oven Controls Figure 13 Figure 14 Selection of cooking temperature is carried out by turning the knob clockwise to the required temperature. The warning light will illuminate during the heating process. Once the oven reaches desired temperature, the light will go out. ... - Page 27 DELICATE COOKING (Lower element and Fan) THERMOSTAT SELECTOR SWITCH FROM 60° C (140° F) TO MAX Ideal for pastries and cakes with wet covering and little sugar and damp desserts in moulds. Excellent results can also be achieved in completing cooking at the bottom and with dishes requiring heat in the lower area in particular.
- Page 28 DEFROST (Bottom fan) All types of food can be defrosted by circulating air at room temperature: cakes, cream, fruit, etc. For foods such as: meat, fish, and bread you will want to set the fan temperature to 175-200° C (347-392° F).
-
Page 29: Cooking Instructions
Cooking Instructions Setting: Food: Rack Level Temperature Time (mins): (See Figure 33) (Fahrenheit): Lasagna 410-450 Oven-Baked 410-450 Pasta Roast Veal 350-400 30-40/lb Beef 410-460 30-40/lb Pork 340-400 30-40/lb Chicken 340-400 45-60 Traditional Duck 340-400 45-60 Cooking (add time for Goose/Turkey 280-340 45-60 preheat) -
Page 30: Care And Cleaning
Care and Cleaning ELECTRICAL SHOCK HAZARD BURN HAZARD To avoid possible burns use care when cleaning the appliance. DO NOT attempt to clean the appliance whenever the oven or burner heads are still hot. To avoid possible burns DO NOT attempt any of the following cleaning instructions before turning OFF ALL of the surface burners and allowing them to cool. - Page 31 • Cleaning Interior Lower Grill Element To remove the element, support one side with your hand while removing the retainer with the other. When cleaning, make sure not to apply excessive force on the element as it is fragile. ...
- Page 32 • Changing the Interior Oven Light Bulb ELECTRICAL SHOCK HAZARD Ensure that the appliance is switched off before replacing the lamp to avoid possible electric shock. Remove the glass cover by turning counter clockwise. (See Figure 16) Replace bulb with a high temperature bulb able to withstand 600 degrees and that meets the following criteria: ...
-
Page 33: Solutions To Common Problems
Solutions to Common Problems IMPORTANT Before calling for service, review this list. It may save you both time and expense. This list includes common experiences that are not the result of defective workmanship or material in your appliance. Electrical Shock Hazard Plug into a grounded 3 prong outlet. - Page 34 COOKTOP COOKING RESULTS NOT WHAT EXPECTED ■ Is the proper cookware being used? See “Surface Cooking Utensils” section. ■ Is the control knob set to the proper heat level? See “Setting Surface Controls” section. ■ Is the range level? Level the range. See the “Unpack Range / Install Leveling Feet and Back Panel” section. OVEN WILL NOT OPERATE ■...
-
Page 35: Warranty
Subject to the limitations, exclusions and disclaimers hereof, AMS warrants exclusively to the original purchaser (the “Purchaser”) of this Ancona product (the “Product”) that it shall be free from defects in material or workmanship (the “Limited Product Warranty”). The duration of the Limited Product Warranty is 12 months from the date of original purchase (the “Warranty... - Page 36 WARRANTIES OR CONDITIONS OF MERCHANTABILITY, FITNESS FOR A PARTICULAR PURPOSE AND NON-INFRINGEMENT OF THIRD PARTY RIGHTS OF ANY KIND, MADE OR INTENDED BY AMS OR ITS AUTHORIZED DISTRIBUTORS. IN NO EVENT SHALL AMS BE LIABLE FOR DAMAGES IN EXCESS OF THE PURCHASE PRICE PAID BY THE PURCHASER FOR THE PRODUCT, OR FOR ANY INDIRECT, INCIDENTAL, SPECIAL, CONSEQUENTIAL, PUNITIVE, EXEMPLARY OR OTHER SIMILAR DAMAGES, WHETHER FORESEEABLE OR UNFORESEEABLE, ARISING OUT OF OR IN...
Need help?
Do you have a question about the AN-2201 and is the answer not in the manual?
Questions and answers
Where can I get parts and schematics in Canada?
You can find parts for the Ancona AN-2201 in Canada on the Ancona Home website under the "Parts & Accessories" section.
This answer is automatically generated