VTech InnoTV User Manual
Hide thumbs
Also See for InnoTV:
- User manual (18 pages) ,
- Product information manual (10 pages) ,
- Quick start manual (8 pages)
Table of Contents
Advertisement
Advertisement
Table of Contents

Related Manuals for VTech InnoTV


Summary of Contents for VTech InnoTV
- Page 1 User's Manual For troubleshooting tips, visit: www.vtechkids.com/tutorials/innotv...
-
Page 2: Included In This Package
Included in This Package HDMI Cable InnoTV™ Console InnoTV™ Controller Model: 2190 Model: 1836 Play & Power Adapter Wrist Strap Quick Start Product Information InnoTV™ Learn Starter Pack Guide Guide Cartridge... -
Page 3: Product Features
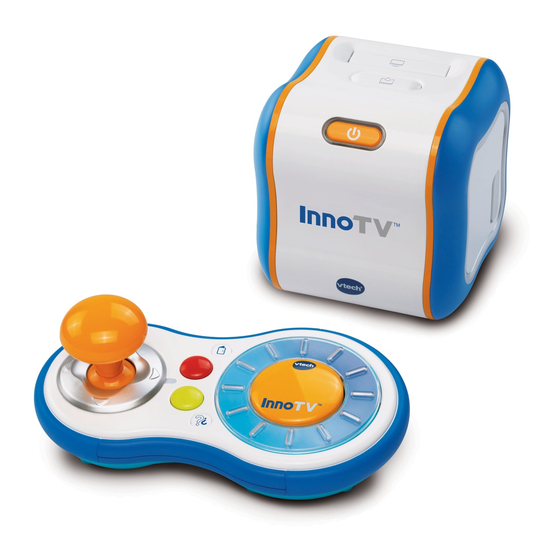
Product Features InnoTV Console Cartridge Slot Cartridge Eject Button Power Button microSD Card Slot (microSD card not included) Microphone Jack (Microphone not included) Back View HDMI Micro-USB Adapter Backup Battery Slot & Cover Port Port Jack InnoTV Controller Power Button... -
Page 4: Turning The Console On And Off
HDMI Out port located on the back of the console, and then connect the other end to the HDMI In port on the television. 3. Insert the Power Adapter plug into the InnoTV™, and then plug the Power Adapter into a power outlet. -
Page 5: Connecting The Console To Wi-Fi
When the connection is set up, select the check mark at the top of the screen to return to the Parental Controls menu. Note: InnoTV supports 802.11 b/g/n wireless standards. Select this switch to turn on Wi-Fi. -
Page 6: Setting Up
Setting up the InnoTV Follow these steps to set up your InnoTV™ before the first use: 1. Set up a Wi-Fi Internet connection. 2. Your InnoTV™ console may require a firmware update before use. If this is the case, follow the instructions on-screen to download and install the firmware update. - Page 7 The button to remove the cartridge should lock into place. cartridge. Using the InnoTV Controller Inserting batteries into the controller 1. Open the battery compartment located under the controller. 2. Insert 2 AA batteries, in accordance with the polarities indicated inside the battery compartment.
-
Page 8: Attaching Wrist Strap To Controller
1. Press the controller's Power button to turn on the controller. The Connection Indicator Light will start to blink. 2. Once a wireless connection between the controller and the InnoTV™ is established, the Connection Indicator Light will stop blinking and will stay lit. -
Page 9: Changing The Player Selection Setting
Switching Between Left-Handed or Right-Handed Use The InnoTV™ controller accommodates both right- and left-handed players. Turn the switch on the bottom of the controller to the left- or right-handed position. You will hear a click when the controller is... - Page 10 The recommended distance between the InnoTV™ console and wireless controller is 3 to 15 feet. • For best results, place the InnoTV™ console in front of the TV. Then align the center of the InnoTV™ console with the center of the TV. • Avoid blocking the signal between the InnoTV™ console and wireless controller.
-
Page 11: Maintenance
A very small percentage of the public, due to an existing condition, may experience epileptic seizures or momentary loss of consciousness when viewing certain types of flashing colors or patterns, especially on television. While the InnoTV™ does not contribute to any additional risks, we do recommend that parents supervise their children while they play video games. -
Page 12: Troubleshooting
Troubleshooting Problem Possible Reason Solution Power button is Missing power Check to see if the AC adapter that pressed but power connection. was included with this package is light does not turn properly connected to the main unit. The power light is Incorrect TV Make sure that the HDMI cable is ON, but there is no... - Page 13 If your InnoTV™ does not respond to an inserted cartridge, please carefully try the following: • Turn off the InnoTV™ Console and unplug all wiring. • Use a cotton swab dipped in rubbing alcohol or an alcohol-based window cleaner to gently clean the contact area of the cartridge slot.
-
Page 14: Power Adapter
• The supply terminals are not to be short-circuited. • The toy is not to be connected to more than the recommended number of power supplies. • Do not dispose of batteries in fire. Power Adapter • Using the included VTech Power Adapter (AC/DC 5V) is recommended. ® • Make sure the console is turned off. • Plug the adapter into the Power Adapter jack in the back of the InnoTV™. • Plug the adapter into a power outlet. -
Page 15: Technical Support
Multimedia Interface, and the HDMI Logo are trademarks or registered trademarks of HDMI Licensing LLC in the United States and other countries. IMPORTANT NOTE: Creating and developing the InnoTV™ is accompanied by a responsibility that we at VTech take very seriously. We make every effort to ensure ®... -
Page 16: Disclaimer And Limitation Of Liability
Electronics North America, L.L.C. and its suppliers ® assume no responsibility for any loss or claims by third parties that may arise through the use of this software. VTech Electronics North ® America, L.L.C. and its suppliers assume no responsibility for any damage or loss caused by deletion of data as a result of malfunction, dead battery, or repairs. - Page 17 (8 pouces) du produit afin de respecter les dispositions de la FCC. The terms HDMI and HDMI High-Definition Multimedia Interface, and the HDMI Logo are trademarks or registered trademarks of HDMI Licensing LLC in the United States and other countries. Version: 1 Release date: Aug.24.2015 2015 © VTech...
Need help?
Do you have a question about the InnoTV and is the answer not in the manual?
Questions and answers