
Related Manuals for Bushranger BRC65

Summary of Contents for Bushranger BRC65
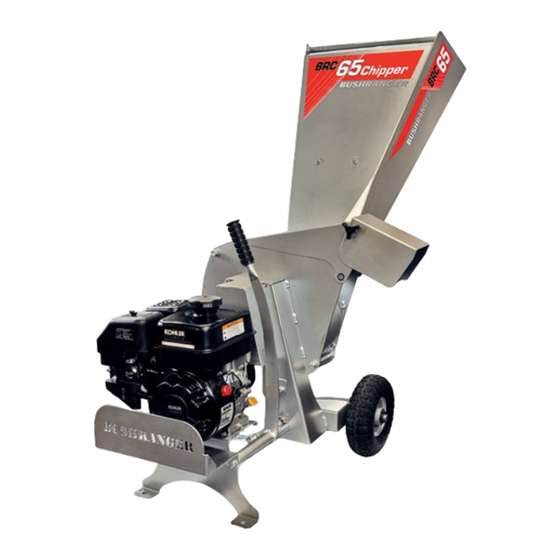
- Page 1 Owners Manual Bushranger BRC65 Chipper V1 12/13 www.poweruplawncare.com.au WARNING! Read this manual before operating your Bushranger chipper. Copyright © Roy Gripske & Sons Pty. Ltd. 2014 1312191...
-
Page 2: Table Of Contents
Contents Introduction ............................3 Warranty Instructions ..........................3 Safety Precautions ..........................3 Assembly Instructions ..........................4 Operating the Chipper ..........................5 Operation ............................5 Starting/ Stopping the machine: ..................... 6 Engaging the Cutter Drive ....................... 6 Feeding Material into the Machine....................7 Unclogging the Cutter ........................ -
Page 3: Introduction
Introduction The Bushranger BRC65 Chipper is a precision built machine, designed for a high quality of finish and long service life. The way in which the machine is operated and maintained will have a profound effect on its performance and reliability. -
Page 4: Assembly Instructions
Supplier. Assembly Instructions On receiving your Bushranger BRC65 Chipper, the Inlet Chute will need to be attached. 1. Remove the machine from its packaging. -
Page 5: Operating The Chipper
Operating the Chipper SAFETY NOTICE WARNING: PREVENT ACCIDENTS Before operating the Chipper it is essential that: The operator reads and understands this manual and has followed the safety precautions described. The maintenance check has been properly carried out and the Chipper is in good working order. The operator must use safety equipment, including gloves, eye protection, ear muffs and covered shoes. -
Page 6: Starting/ Stopping The Machine
Starting/ Stopping the machine: Cold Start Ensure the ignition switch is set to the ON position. Ensure the petrol tank is sufficiently full, turn the fuel tap to the ON position. Slide the Choke lever to ‘Full Choke’ position. Slide the Throttle lever across to the fastest setting. Ensure that the belt drive is disengaged (handle pulled away from the machine). -
Page 7: Feeding Material Into The Machine
Feeding Material into the Machine. Ensure that no contaminated material is fed into the Chipper. Metal, stones, sand and dirt will harm the cutting edge of the blades, leading to undesirable performance. Avoid feeding stringy materials such as cabbage trees into the Chipper as these can wrap around the cutter shaft bearing, damaging the seals. -
Page 8: Maintenance
Maintenance Before carrying out maintenance or service work: Stop the engine and wait for the cutting disc to stop rotating. Allow the machine to cool Find a dry, clean, level area. Study and follow the published service procedures. Do not work on a machine with loose clothing that could get caught in moving parts. -
Page 9: Replacing The Cutting Blade
Replacing the Cutting Blade With the engine switched off, and the cutting disc stationary and the sparkplug disconnected, open the cutter housing door and remove the two cutting blades. The blades are double sided so in the first instance can be rotated and refitted.
Need help?
Do you have a question about the BRC65 and is the answer not in the manual?
Questions and answers