Advertisement
Advertisement

Summary of Contents for L-Shine LS-650
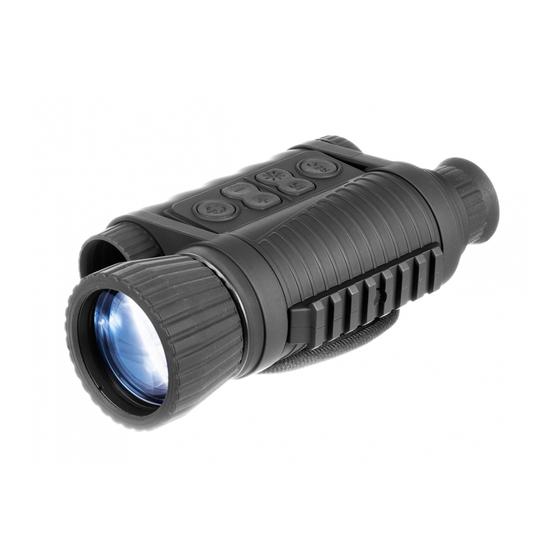
- Page 1 L-Shine LS-650 MULTIFUNCTIONAL NIGHT VISION 6X50 INSTRUCTION MANUAL...
-
Page 2: Table Of Contents
Contents ABOUT LS-650 MULTIFUNCTIONAL NIGHT VISION PARTS AND CONTROLS GUIDE HOW DIGITAL NIGHT VISION WORKS CONTROLS / FUNCTIONS 8-10 SETUP AND BASIC OPERATION 10-12 OTHER OPERATIONS/ FEATURES DISPLAY ICONS TECHNICAL SPECIFICATIONS ONE YEAR LIMITED WARRANTY... -
Page 3: About Ls-650 Multifunctional Night Vision
Not only can you view your subject at day and night, you can also record it’s image as a still photo or video clip, and store it on micro SD card. The LS-650 6x50 Multifunction Night Vision units also include a video output port (G) (user switchable to NTSC or PAL standard), which allows connection to video or computer equipment for recording or “live”... -
Page 4: How Digital Night Vision Works
IR (infrared) illuminator (D) that enables clear viewing in low ambient light conditions or even total darkness, further more LS-650 Multifunctional Night Vision can also be used in daytime as telescope and there is a crosshair at the central of the display for aiming and position. -
Page 5: Controls/ Functions
CONTROLS/ FUNCTIONS PARTS AND CONTROLS GUIDE Observe battery polarity marks inside battery compartment when inserting batteries, and ensure polarity marks on cap match polarity in battery compartment when replacing cap (+ to + and - to -). Side Mount Hole Bottom Mount Hole Under Interface Cover Flap... - Page 6 The IR illumination will be at “100%” level when first turned on, and the display will indicate “IR3”. The LS-650 model has 3 IR brightness settings. Press the “IR” button a second time to reduce the IR LED brightness level when viewing subjects at close range to •...
- Page 7 Press the “IR” button again to switch off the IR LED light. “IR0” will be shown at the lower center of the display.、 • Switching off the IR LED when ambient light levels are adequate for viewing without it (full moon, near streetlights, etc.) will extend battery life and running time.
- Page 8 Record function. If a card is not inserted, the message “No Card” will be seen on the display when the unit is turned on. USB PORT (H): connect a USB cable (MSDC and PCCAM adjustable) between this port and a PC/Mac to download photos/videos without removing the card. The LS-650 is USB mass storage compliant.
-
Page 9: Setup And Basic Operation
The mounting holes in the base of the LS-650 enable the mount to be installed in one of the multiple positions. The choice of the mounting position helps the user to ensure the correct eye relief depending on the rifle type. - Page 10 The LS-650 is ready to be installed on a rifle and to be zeroed. After first installation of your LS-650 on a rifle, please follow instructions in the section “Zeroing”. Note:Please check that your LS-650 is duly zeroed after changing a mount.
- Page 11 If the image is not sharp, rotate the objective lens barrel (L) to change the focus until the subject appears sharp. Note:Do not re-adjust the Display (Eyepiece) Focus (as set in Step 2), unless the display icons are unsharp. 5)ENTER INTO SETUP MENU INTERFACE Press brightness level (E) switch and held for 2 seconds to enter the SETUP MENU INTERFACE.The SETUP MENU includes the following options:...
- Page 12 DISPLAY ICONS “#####”, Photo Count When the device in photo mode,the number of photos reminding(memory available)will be displayed. “00:00:00,” -Reminding Recording Time When the device in video,and NOT recording, the remind recording time will be displayed (hrs/ min/sec). -Relapse Recording Time When the device in video,and recording, the elapsed recording time will be displayed (hrs/ min/sec).
- Page 13 Resolution: press “-” button (B) and enter into adjust interface, press IR Button (C) to choose your • favorable resolution: 2592x1944, 640x480. 2592x1944 would be much clearer but 640x480 would take less storage space. After choosing, press the record button (F) to confirm or “+” button (B) to drop out of setting. Movie Size: press “-”...
- Page 14 Date &Time: press “-” button (B) to check the default time & date, if need to adjust, press the “-” button (B) • enter into adjust interface, press IR Button (C) to select Year/Month/Day/Hour/Minute then press “-” button (B) enter for choosing the right number, after that, press the record button (F) to confirm. Backlight Setting: press “-”...
-
Page 15: Other Operations/Features
USB: Press “-” button (B) enter into setting interface, press IR Button (C) choose MSDC or PCCAM then press • Record button (E) to confirm and exit. OTHER OPERATIONS/FEATURES AUTO POWER OFF • If a button has not been pressed for 10 minutes, the display screen will drop to 50% brightness level. If no button is pressed within one minute after that, the unit will power off to extend battery life. - Page 16 constantly, press and hold the IR button for 3 seconds. Repeat to switch back to auto icon overlay (only visible for 10 sec. max following the use of a button). USING THE DIGITAL ZOOM • Press the “+” button (B) to zoom in. Press the “-” button (B) to zoom out. Hold the button down to zoom in/out rapidly.
- Page 17 disqualify it from proper use. Check the sturdiness and proper fit of the mounting system. Ensure that the objective lens and eyepiece are free of cracks, grease spots,dirt, water stains and other residue before use. Visually inspect the condition of the battery and the battery compartment; the battery should be free of electrolyte ...
- Page 18 CARE AND MAINTENANCE Your LS-650 Digital Night Vision device was designed to provide many years of reliable service. To ensure that you get the most enjoyment out of your Digital Night Vision device, always obey the following warnings and precautions.
- Page 19 Observed image is too bright The ambient light level is too high, and/or the IR light is at 100% level (IR3). 1. If you are using the IR light, press the IR button (C) to select a lower illumination level (IR2 or IR1). 2.
-
Page 20: Technical Specifications
TECHNICAL SPECIFICATIONS Magnification (Optical) Battery Type 4xAA,lithium,alkaline or NiMh Digital Zoom 4 Hours Battery Runtime (IR OFF) 3 Hours In-view display 1.5” TFT Battery Runtime (IR ON) Field of View @ 100 yds/m 20.5ft/6.8m Built-in 2tripod mountable Objective Lens 50mm Weaver Rall Micro SD Card UP To 32 GB... -
Page 21: One Year Limited Warranty
5. Product should be well packed in a sturdy outside shipping carton, to prevent damage in transit, with return postage prepaid to the address listed below: This warranty gives you specific legal rights. You may have other rights which vary from country to country. ©2015 L-SHINE Outdoor Products... - Page 22 LS-650 L-Shine (0086)0769-86836877 www.lshine.com...
Need help?
Do you have a question about the LS-650 and is the answer not in the manual?
Questions and answers