Table of Contents
Advertisement
Quick Links
Advertisement
Table of Contents

Related Manuals for Graco SG3


Summary of Contents for Graco SG3
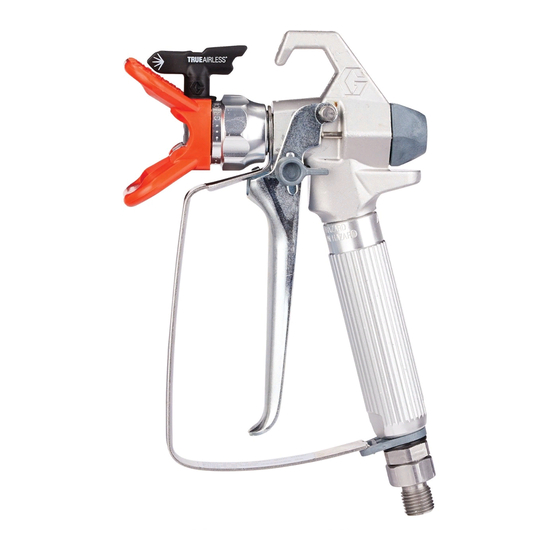
- Page 1 – For applying architectural paints and coatings – 3600 psi (248 bar, 25 MPa) Maximum Working Pressure 246389, A Reversible Tip Guard, 413 Tip GRACO INC. P.O. BOX 1441 MINNEAPOLIS, MN 55440–1441 Graco Inc. is registered to I.S. EN ISO 9001...
- Page 2 WARNING WARNING Fire and explosion hazard: Solvent and paint fumes can ignite or explode. To help prevent a fire and explosion: Use in an extremely well ventilated area. Eliminate all ignition sources; such as pilot lights, cigarettes and static arcs from plastic drop cloths. Do not plug or unplug power cords or turn lights on or off in spray area.
-
Page 3: Component Identification
Component Identification Needle Adjustment Tip Guard CAUTION Trigger Lock Trigger 309637... -
Page 4: Pressure Relief
PRESSURE RELIEF Follow 1–7 when you stop spraying. Turn pressure to lowest setting. Turn sprayer OFF. Unplug. Set trigger lock. Remove tip. Remove trigger lock. Trigger gun into grounded metal bucket. Set trigger lock. Turn Prime/Spray valve to PRIME. 309637... - Page 5 ALIGN SPRAY Relieve Pressure, page 4. Loosen tip guard retaining nut. Turn tip guard horizontally to spray a horizontal pattern. Turn tip guard vertically to spray a vertical pattern. 309637...
- Page 6 ADJUST SPRAY WARNING MISE EN GARDE ADVERTENCIA ADVERTÊNCIA Set trigger lock. Install tip and guard. Tighten retaining nut. Remove trigger lock. Trigger gun. Hold gun perpendicular and approximately 12 in. (304 mm) from surface. Move gun first, then pull gun trigger to spray.
-
Page 7: Clear Clog
CLEAR CLOG WARNING MISE EN GARDE ADVERTENCIA ADVERTÊNCIA Relieve Pressure, page 4. Set trigger lock. Rotate tip 180_. Remove trigger lock. Trigger gun into pail or onto ground to remove clog. Set trigger lock. Rotate tip 180_. 309637... - Page 8 REPLACE NEEDLE WARNING MISE EN GARDE ADVERTENCIA ADVERTÊNCIA Relieve Pressure, page 4. Set trigger lock. Remove tip and guard and disconnect gun from fluid hose. Release trigger lock. Squeeze trigger while unscrewing the diffuser. Remove locknut and end cap. 309637...
- Page 9 Tap out needle. Clean internal passages of gun. CLEAN Grease o–rings of new needle using a nonsilicon grease. SILICON GREASE Guide new needle into gun. Install end cap and locknut, loosely. LOOSE 309637...
- Page 10 Grease o–rings of new needle using a nonsilicon grease. Grease SILICON Grease threads of diffuser/seat. Place gasket on diffuser/seat. Gasket Squeeze trigger while installing gasket and 26–32 ft–lb (19–24 N.m) diffuser/seat. Torque to 26–32 ft lb (19–24 NSm). 309637...
- Page 11 ADJUST NEEDLE Hold gun with nozzle straight up. Turn locknut clockwise until you see and feel trigger raise slightly. Turn locknut 3/4 turn counterclockwise. NOTE: When needle is properly adjusted, trigger will move freely. 3/4 Turn Connect fluid hose, install tip and guard. Prime Sprayer, see sprayer manual.
- Page 12 Release trigger. Fluid flow should stop immediately. Set trigger lock. Try to trigger gun. No fluid should flow. If the gun fails either test, relieve pressure, disconnect hose and readjust needle, repeat tests. 309637...
-
Page 13: Parts Drawing
Parts Drawing Included with 1 Included with 33 ti1432a Parts List Ref. Ref. Part No. Description Qty. Part No. Description Qty. KIT, repair, needle 243092 15b√ TR2515 TIP, spray, cylinder, size 515 2√ 246391 GUARD, tip, includes 3 15c√ TR3517 TIP, spray, cylinder, size 517 246390 SEAL, cartridge... -
Page 14: The Graco Warranty And Disclaimers
With the exception of any special, extended, or limited warranty published by Graco, Graco will, for a period of twelve months from the date of sale, repair or replace any part of the equipment determined by Graco to be defective.
Need help?
Do you have a question about the SG3 and is the answer not in the manual?
Questions and answers