Table of Contents
Advertisement
Quick Links
PACKAGE CONTENTS
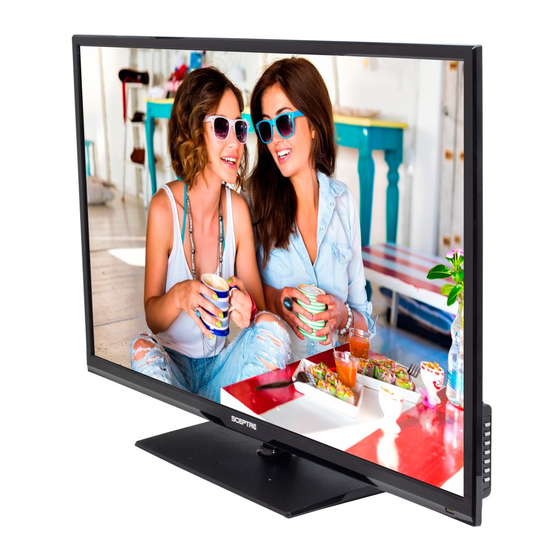
SCEPTRE Display x 1
Display Base x 1
Display Neck
Thick Threaded Screws (ST4x14mm) x 4
Plastic Ring x 1
Metal Plate x 1
Warranty Card x 1
Display Remote Control (AAA Batteries included) x 1
User Guide x 1 (Complete manual available online at sceptre.com)
ATTACHING & REMOVING THE BASE
1.
To install or remove the neck, screw in or remove the 5 fine threaded screws indicated in the picture.
2.
Place the display unit flat on a table. Afterwards attach the plastic base onto the neck by form fitting the circular
hole. Remember the plastic base should have more area facing the front of the neck. Fit the plastic ring first to the
bottom of the base, then the metal plate onto the bottom of the base by matching the 3 holes. Screw in the 4 thick
threaded screws to secure the metal plate to the plastic base. The stand installation is now complete.
3.
To finalize your installation of the Display, please read the following:
a.
If you are placing the Display on a stand, we would recommend you to use a Display safety strap (not
included) in order to minimize the possibility of the Display toppling over.
b.
If you are mounting the Display on the wall
c.
Make sure the wall is structurally safe for the weight of the Display
d.
Make sure the wall mount kit is compatible with the Display
e.
Read and follow all instructions provided by the wall mounting kit.
f.
Securely install all screws and connections.
E405 Series User Guide
(DVD) FMQR Series P1
Advertisement
Table of Contents

Summary of Contents for Sceptre E405BD-FMQR
-
Page 1: Package Contents
Warranty Card x 1 Display Remote Control (AAA Batteries included) x 1 User Guide x 1 (Complete manual available online at sceptre.com) ATTACHING & REMOVING THE BASE To install or remove the neck, screw in or remove the 5 fine threaded screws indicated in the picture. -
Page 2: Rear View Mounting Pattern
The following picture offers a suggestion for connecting most of your audio video equipment. TV Tuner is optional. It may or may not be equipped in your product. Please check with the authorized seller, authorized distributor or Sceptre Customer Service for further information. (DVD) FMQR Series P2... - Page 3 Ready to Watch Some TV? (Optional) Make sure your power cable is connected and the standby red light in the front of the HDTV is lit Check all your connection cables off the side or the back of your HDTV and also your AV devices.
-
Page 4: Recycling Information
If You’ve Connected Cable or Satellite Set-top Boxes to the HDTV… Press the button on the side of the FHD Display or the SOURCE button on the remote control and you will see the picture above. Use ▲▼ buttons to select the source you want to switch to and press the ENTER button in the middle of the ▲▼... -
Page 5: Call Us If You Need Help
SceptreCS@Sceptre.com TEL: 1800-788-2878 SCEPTRE Remote Control Please insert two AAA batteries into the remote control. Make sure that you match the (+) and (-) symbols on the batteries with the (+) and (-) symbols inside the battery compartment. Afterwards, re-attach the battery cover. - Page 6 This remote control follows SONY’s universal remote code. To find the actual code you need to consult your cable or satellite tech support. (DVD) FMQR Series P6...
- Page 7 SUBTITLE – Displays the subtitle. AUDIO – Press to select TV sound option. The following buttons are functions designed to work with the optional, Sceptre Sound Bar. POWER – This button turns on the sound bar. SOURCE – This button selects the sound bar’s source.
-
Page 8: Dvd Drive Buttons
INSERTING A DVD *optional With the display turned on and the DVD button pressed from the display remote, you can now insert the DVD disc you want to play. When you are facing the front of the display, insert the DVD disc with the side that is labeled with the movie title facing away from you. -
Page 9: Fcc Compliance
FCC Compliance This device complies with Part 15 of the FCC Rules. Operation is subject to the following conditions: This device may not cause harmful interference This device must accept any interference received, including interference that may cause undesired operation. Please Note: This equipment has been tested and found to comply with the limits for a Class B digital device, pursuant to part 15 of the FCC Rules. -
Page 10: Disclaimer, Trademarks, & Copyright Information
SCEPTRE is a trademark or registered trademark of Sceptre Group. Sceptre, Inc. shall not be liable for technical or editorial errors or omissions contained herein; nor for incidental or consequential damages resulting from furnishing this material, or the performance or use of this product.


