Table of Contents
Advertisement
Quick Links
Advertisement
Table of Contents

Related Manuals for Varytec LED ROAD PAR 14 x 3W RGB 3in1


Summary of Contents for Varytec LED ROAD PAR 14 x 3W RGB 3in1
- Page 1 User’s manual LED ROAD PAR 14 x 3W RGB 3in1...
-
Page 2: Table Of Contents
Table of contents Safety instructions ..........................3 1.1. FOR SAFE AND EFFICIENT OPERATION ................3 General information .......................... 4 Product overview ..........................5 Structure of the menu ........................6 4.1 Overview ............................6 4.2 Settings ............................7 4.2.1 Static Color ..........................7 4.2.2 Auto-mode .......................... -
Page 3: Safety Instructions
1. Safety instructions • This device is suitable for indoor use only. • All modifications to the device will void the warranty. • Repairs are to carry out by skilled personnel only. • Use only fuses of the same type and original parts as spare parts. •... -
Page 4: General Information
Important: Damages caused by the disregard of this user manual are not subject to warranty. The dealer will not accept liability for any resulting defects or problems. Make sure the electrical connection is carried out by qualified personnel. All electrical and mechanical connections have to be carried out according to the European safety standards. -
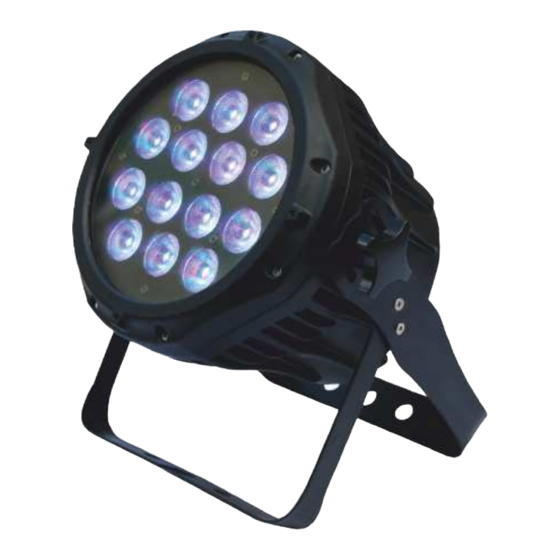
Page 5: Product Overview
3. Product overview Control board All fixture functions and settings are accessible via the built-in control panel interface. 5 / 13... -
Page 6: Structure Of The Menu
4. Structure of the menu 4.1 Overview 6 / 13... -
Page 7: Settings
4.2 Settings 4.2.1 Static Color Combine red, green and blue (0-255) to create an infinite range of color. With the menu point S (0-20) you can set the speed of the strobe. 4.2.2 Auto-mode Choose [AUTO] and press [ENTER]. The programs [AT.01] to [AT.10] are saved and it is not possible to change them with [EDIT] The programs [PR.01] to [PR.10] are recorded, but you can change them with [EDIT]. -
Page 8: Id-Address
4.2.6 ID-address Enter the [Id] mode to set the ID-address of the device. 4.2.7 Edit Custom Here you can change the programs [PR.01] to [PR.10. Each custom program has 30 steps that can be edited. Each step allows creation of a scene using: Red, Green, Blue, White, Strobe, Time, and Fade. Press ENTER for 5 seconds to store your settings. -
Page 9: Cal1
4.2.9 CAL1 Enter [CAL1mode to select white color of different color temperature. There are 11 pre-programmed white colors can be edited by using [Red], [Green], [Blue], [White]. 4.2.10 CAL2 Enter [CAL2] mode to adjust the RGB parameter to make different whites. When the new setting is activated, the DMX controller choose RGB = 255, 255, 255, the white color will be made by the actual RGB values on the [CAL2]. - Page 10 10 / 13...
- Page 11 11 / 13...
-
Page 12: Technical Data
ID-addresses on channel 10 in STAG mode In the STAG (Channel 11) mode the device has a second addressing which is called ID. You choose the ID to operate 66 devices on one DMX address. The choice if the ID is done directly on the device in the settings. - Page 13 Importeur: B & K Braun GmbH Industriestraße 2 D-76307 Karlsbad www.bkbraun.com info@bkbraun.com 13 / 13...