Advertisement
Quick Links
Advertisement

Summary of Contents for Radial Engineering JDV-Pre 500
-
Page 1: User Guide
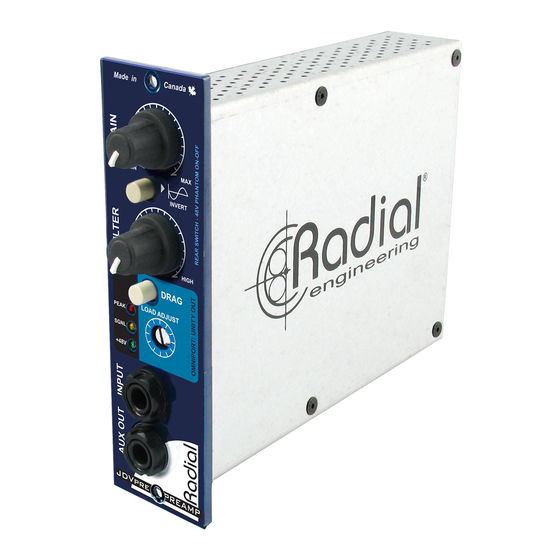
True to the Music ™ JDV-Pre Instrument Preamp and DI 500 Series Module User Guide ® True to the Music www.radialeng.com Radial Engineering Ltd. 1588 Kebet Way, Port Coquitlam British Columbia, Canada, V3C 5M5 tel: 604-942-1001 • fax: 604-942-1010 email: info@radialeng.com... - Page 2 ® ™ Radial JDV-Pre 500 User Guide Table of Contents ............Page Feature Set ..............1 Overview ................ 2 Getting Started ............... 4 Using and Adjustments ..........6 Specifi cations ..............9 Block Diagram ..............9 Warranty ............Back cover Congratulations… you’ve done it! You have invested in what we believe is one of the most musical sounding instrument preamps ever made.
-
Page 3: Feature Set
11. PHANTOM POWER - Turns on/off the +48V power supplied through the rear panel XLR microphone input. When engaged the front panel LED indicator will illuminate. Used to power condenser microphones connected to the XLR mic input. Radial Engineering Ltd. JDV-Pre 500 Module ™... - Page 4 The JDV-Pre user’s guide follows the fl ow chart above and discusses how each of these functions is addressed. Let’s get started! Radial Engineering Ltd. JDV-Pre 500 Module ™...
- Page 5 fi lter and play. The variations really come down to the type of pickup or microphone you are using. Start by setting up the JDV-Pre 500 controls as follows: 1. GAIN: set fully counter-clockwise 2.
- Page 6 The Aux out is transformer isolated to help eliminate hum and buzz caused by ground loops. Ground loops are a common problem when interfacing some guitar amps to pro-audio equipment. Line Level Inst. Level Radial Engineering Ltd. JDV-Pre 500 Module ™...
- Page 7 In the studio and live on-stage, piezo pickups offer consistent results as opposed to microphones where placement can vary the sound from session to session. Piezo element wired Piezo element wired to directly to output jack. battery powered preamp. Radial Engineering Ltd. JDV-Pre 500 Module ™...
- Page 8 Another less known application has to do with using the 180º invert switch to eliminate room resonance. This is primarily applied in live performance environments where the sound from the PA system may be interfering with echo in the room. This can create a hot spot (room Radial Engineering Ltd. JDV-Pre 500 Module...
- Page 9 The Radial JDV-Pre is an exceptionally well rounded device that will surprise you with respect to the natural sound it can produce and the effi ciency that it brings to your production. Radial Engineering Ltd. JDV-Pre 500 Module...
-
Page 10: Block Diagram
REVERSE OMNIPORT MIC LEVEL PHANTOM BAL OUTPUT POWER CONNECTOR WIRING XLR Connector TS ¼” Phone Connector TRS ¼” Phone Connector COLD (-) GROUND HOT (+) HOT (+) HOT (+) COLD (-) GROUND GROUND Radial Engineering Ltd. JDV-Pre 500 Module ™... - Page 11 ® True to the Music JDV-PRE 500 MODULE SPECIFICATIONS* Specifi cation Circuit type Autopadding discreet component Clip Level - Buss output Buss Output clips at +12dbu Due to Class A Design Clip Level - Input - 1/4” Input >+26dbu With Gain Control Set to 2 Clip Level - Input - 1/4”...
- Page 12 THREE YEAR TRANSFERABLE LIMITED WARRANTY RADIAL ENGINEERING LTD. (“Radial”) warrants this product to be free from defects in material and workmanship and will remedy any such defects free of charge according to the terms of this warranty. Radial will repair or replace (at its option) any defective component(s) of this product (excluding fi nish and wear and tear on components under normal use) for a period of three (3) years from the original date of purchase.


