Samsung RF4287HA User Manual
Hide thumbs
Also See for RF4287HA:
- User manual (57 pages) ,
- Manual del usuario (42 pages) ,
- Quick start manual (8 pages)
Table of Contents
Advertisement
Quick Links
Advertisement
Table of Contents

Related Manuals for Samsung RF4287HA


Summary of Contents for Samsung RF4287HA
-
Page 1: User Manual
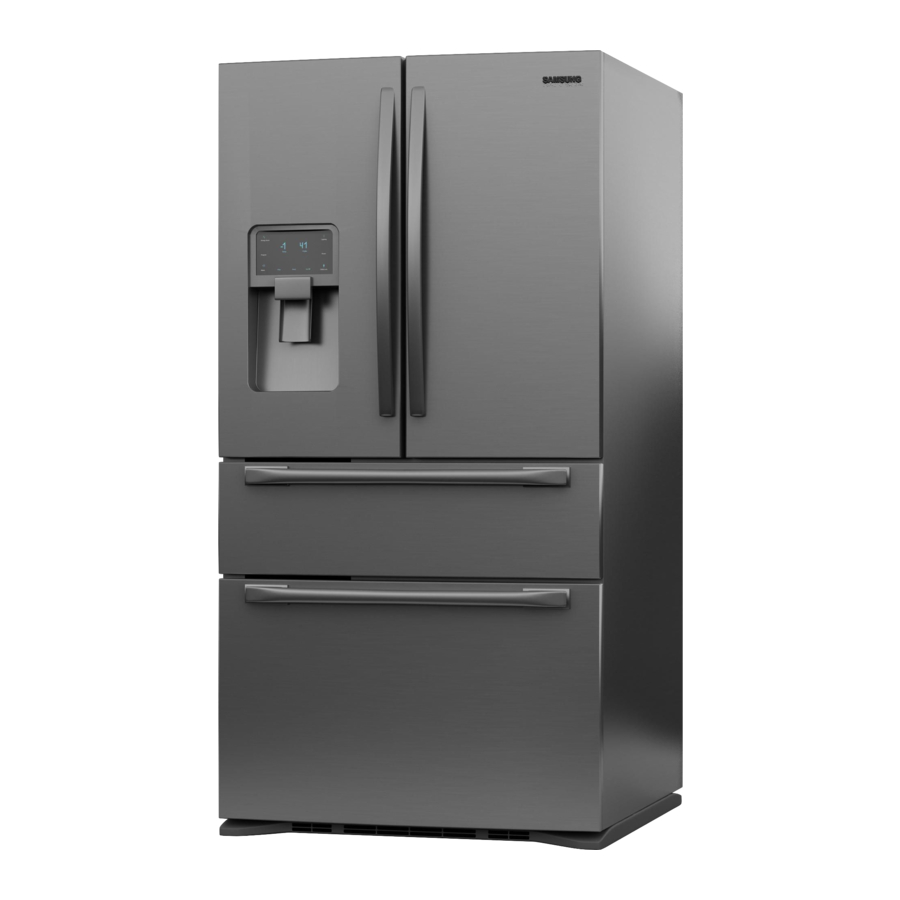
RF4287HA Refrigerator user manual English Imagine the possibilities Thank you for purchasing a Samsung product. To receive more complete service or accessory parts, please register your product at or contact www.samsung.com/register 1-800-SAMSUNG (726-7864) Free Standing Appliance... -
Page 2: Safety Information
SAFETY INFORMATION SEVERE WARNING SIGNS FOR INSTALLATION WARNING Before using your new Samsung French Door • Do not install the refrigerator in a damp place Refrigerator, please read this manual thoroughly to or place where it may come in contact with ensure that you know how to operate the features and water. - Page 3 There is a risk of death from suffocation if a child small. Be careful when you open the doors when puts the packing materials on his or her head. children are in the area. • The appliance must be positioned so that the plug •...
- Page 4 • If any dust or water is in refrigerator, pull out the There is a risk of fire or electric shock. power plug and contact your Samsung Electronics service center. • Remove any foreign matter or dust from the Otherwise there is a risk of fire.
-
Page 5: Warranty Information
REFRIGERATOR If your refrigerator has an ice maker, allow extra space at the back for the water line connections. Congratulations on your purchase of the Samsung When you install the refrigerator next to a fixed wall, French Door Refrigerator. you need a minimum clearance of 3 ¾” (95mm) - Page 6 • Do not install the refrigerator where the temperature will go below 10ºC (50ºF). • Do not locate the refrigerator where it may become wet. When moving your refrigerator To prevent floor damage, be sure the front Hex wrench Fastener adjusting legs are in the up position (above Required Tools (Not provided) CAUTION...
- Page 7 Disassemble the refrigerator doors 4. Lift the door straight up to remove. Be careful not to drop and scratch the doors while removing the doors. WARNING Disassemble the refrigerator doors 1. With the door opened, remove the cap top table ( 1 ) with a flat-blade screwdriver (-), and close the door.
-
Page 8: Disassemble The Flex Door
DISASSEMBLE THE FLEX DOOR ASSEMBLE THE FLEX DOOR 1. Take out the Flex To reattach the flex doors, assemble parts in reverse Zone ( 1 ) by lifting it order. Be sure to connect the Flex Door Wire Connector. CAUTION If it is not connected, the Flex Room does not work. -
Page 9: Assemble The Freezer Drawer
ASSEMBLE THE FREEZER DRAWER If the right side is lower, perform the same procedure, but with the right control lever. To reattach the freezer drawer, assemble parts in reverse order. It is difficult to remove the cover leg front from the refrigerator, so we do not recommend making small adjustments wIth the control ADJUSTING THE LEVEL... -
Page 10: Adjusting The Freezer Drawer Level
1. After adjusting the doors, please insert the 3. Find the best level to align the door slope. supplied fastener ( 6 ) using a pliers ( 5 ) in the gap • After adjustment, tighten the controller screw ( 3 ) between the hinge-grommet ( 7 ) and the lower and then philips screws. -
Page 11: Installing The Water Line
Connecting to the water supply line 1. First, shut off the main water supply. Refrigerator Compression nut 2. Locate the nearest cold water drinking line and (1/4”) (Assembled) Plastic tubing install the pipe clamp and shut off valve. (Assembled) Compression fitting (Assembled) Cold water line... -
Page 12: Completing The Set Up
5. After you turn on the refrigerator, let the ice maker 1. Make sure your refrigerator is in an appropriate make ice for 1 to 2 days. Over that period of time, location with reasonable clearance between it and throw out the first 1 or 2 buckets of ice the freezer the wall. - Page 13 ( 3 ) Alarm / The Alarm/Hold 3 sec for Filter Reset button ( 6 ) Ice Off If you don’t want to make more ice, press the serves two purposes: hold 3 (Hold 3 Ice Off button. Pressing this button 3 second - To turn the door open alarm on and off sec for sec for...
-
Page 14: Changing The Water Filter
SAMSUNG Refrigerators are designed to work ONLY WITH SAMSUNG Water Filter. The Filter light turns red to let you know when it is time to change your water filter cartridge. -
Page 15: Controlling The Temperature
Samsung Parts distributor. Refrigerator Compartments Be sure the replacement water filter has the The basic temperature and/or recommended SAMSUNG logo on the box and on the water temperatures of the Freezer and Refrigerator filter. Compartments are -19°C and 3°C respectively. -
Page 16: Using The Two Lever Dispenser
If the blinking continues for a long period of time, CAUTION please contact a Samsung Electronics Service • To clean the ice bin/bucket, wash with Center. a mild detergent, rinse well, and dry CAUTION thoroughly it. -
Page 17: Using The Ice Off Function
• When you press the Test button, you will potable water supply only. hear the refrigerator chime (ding-dong). To operate the ice maker properly, water pressure of When the chime sounds, release the Test 20 ~ 125 psi is required. button. -
Page 18: Parts And Features
PARTS AND FEATURES Use this page to become more familiar with the parts and features of the refrigerator. Interlocking switch Light Door Closer FF Ice-Maker Cover Eva (Light) Right Door Bins Dis Door Bins Tempered glass Slide-Shelf shelves Cap Chute Light Vertical Hinged Section... -
Page 19: Using Flex Zone
USING FLEX ZONE 3. When “Cold Drink” is selected, the temperature of Flex Zone will be kept around 1°C. This feature also helps keep drinks cold and refreshing. The Flex Zone is a 4. When “Meat/Fish” is selected, the temperature full-width drawer of Flex Zone will be kept around -1°C. - Page 20 2. Tempered Glass shelves 4. Flex Zone To remove - Tilt up the front of the shelf in the direction shown ( 1 ) and lift it up vertically ( 2 ). Pull To remove the Flex Zone – Pull the Flex door out to the shelf out.
-
Page 21: Using The Doors
1. Refer to page 7 for disassembly instructions. straight out. 2. Open the cover housing with a flat-blade To relocate - Place the drawer onto the rails ( 4 ) by screwdriver. tilting it up. Lower the drawer into place until it is horizontal and slide the drawer ( 3 ) in. -
Page 22: Cleaning The Refrigerator
Cleaning the Ice / Water Dispenser Push down one end of the tray dispenser and remove Caring for your Samsung French Door Refrigerator it. Wipe the Ice / Water Dispenser with a clean and prolongs the life of your appliance and helps keep the soft cloth. -
Page 23: Food Storage Tips
FOOD STORAGE TIPS Foods Refrigerator Freezer Storage Tips DAIRY PRODUCTS Butter 2-3 Weeks 6-9 Months Wrap or cover tightly. Check date code. Most milk and similar products are sold in date-coded Milk 1-2 Weeks Not recommended cartons that indicate a products’s peak freshness. Re-seal with cap or wrap tightly. - Page 24 Foods Refrigerator Freezer Storage Tips FISH AND SHELLFISH Fish Fatty Fish (mackerel, 1-2 Days 2-3 Months trout, salmon) Keep in original wrapper and store in coldest part of refrigerator. Pack- Lean Fish (cod, flounder, age in vapor-proof and moisture proof wrap for freezer. Freeze at 0ºF. 1-2 Days 6 Months etc)
-
Page 25: Troubleshooting
Troubleshooting PROBLEM SOLUTION The refrigerator does not • Check that the power plug is properly connected. work at all or it does not • Check if the set temperature on the digital display is warmer than the freezer or fridge inner chill sufficiently. - Page 26 All warranty repairs or part replacements must be performed by a SECA Authorized Service Center. (To find the nearest SECA Service Center, call 1-800-SAMSUNG (7267864) or visit our web site at www. samsung.com/ca) Obligation to the Original Owner The original dated sales receipt must be retained by the customer and is the only acceptable proof of purchase.
- Page 27 memo...
- Page 28 Scan the QR code* or visit www.samsung.com/spsn to view our helpful How-to Videos and Live Shows * Requires reader to be installed on your smartphone In an effort to promote recycling this user manual is printed on recycled paper.