Life Fitness Exercise Bike Lifecycle 9100 Installation Instructions Manual
Life fitness exercise bike installation instructions
Hide thumbs
Also See for Exercise Bike Lifecycle 9100:
- Service manual (120 pages) ,
- Operation manual (42 pages) ,
- Assembly instructions manual (10 pages)
Advertisement
Quick Links
Advertisement

Related Manuals for Life Fitness Exercise Bike Lifecycle 9100


Summary of Contents for Life Fitness Exercise Bike Lifecycle 9100
- Page 1 LIFE FITNESS EXERCISE BIKE INSTALLATION INSTRUCTIONS...
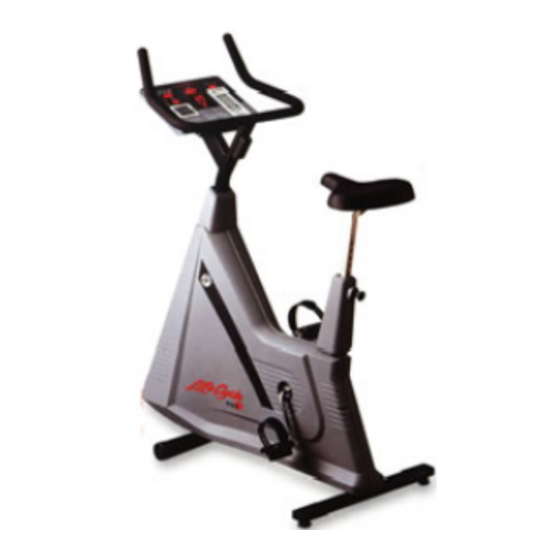
- Page 2 Congratulations... and welcome to the world of and the Lifecycle 9100 exercise bike. The following Parts Identification Listing and the step by step installation procedures have been assembled to make the set-up of your exercise bike as quick and easy as possible. Please take special note of the following important points prior to choosing a location and beginning assembly of the Lifecycle exercise bike…...
- Page 3 Parts Listing prior to setting the cartons and shipping material aside. If any parts are missing, contact Life Fitness Customer Support Services at the number listed on the back page of this Installation Instruction Guide.
-
Page 4: Parts Description
OOLS EQUIRED FOR STABILIZER/HANDLEBAR BOLT 0017-00101-0933 SEAT ASSEMBLY AK18-00127-0000 HANDLEBAR ASSEMBLY AK49-00015-0000 STABILIZER BAR AK18-0070-0000 SSEMBLY... Phillips screwdriver, 1/2” wrench ARTS ESCRIPTION Qty:3 CONSOLE SCREW 0017-00101-1104 Qty: 1 COLLAR 0K18-01156-0002 Qty: 1 DISPLAY CONSOLE ASSEMBLY AK49-0008-0001 Qty: 1 9V ALKALINE BATTERY 0017-00003-0573 Qty: 4 Qty: 1... - Page 6 Step 1 Before proceeding, familiarize yourself with the parts of the Lifecycle 9100 exercise bike and make sure that you have received all the items described in the Parts List. Step 2 Remove the STABILIZER BAR (#7) from the carton base. Use the empty CONSOLE CARTON to raise the rear of the LIFECYCLE exercise bike as shown.
- Page 7 Step 7 Slide the COLLAR (#4) down until it completely covers the HANDLEBAR ASSEMBLY HARDWARE and the HANDLEBAR POST. Secure the COLLAR by squeezing the sides and pushing downward firmly. Step 8 There is a large hole in the rear of the DISPLAY CONSOLE (#6) through which you can see a 16-PIN CONNECTOR and a 3-PIN CONNECTOR.
-
Page 8: Operation Checklist
Prior to your call, please be sure you have located and noted the The Model & Serial number information of your Life Fitness 9100 exercise bike is contained in a label located under the center of the front stabilizer bar.