Advertisement
Table of Contents
- 1 Safety Notes
- 2 General Power Tool Safety Warnings
- 3 Functional Description
- 4 Intended Use
- 5 Product Features
- 6 Technical Data
- 7 Delivery Scope
- 8 Dust/Chip Extraction
- 9 Operation
- 10 Adjusting the Cutting Angle
- 11 Starting Operation
- 12 Working Advice
- 13 Maintenance and Service
- 14 Maintenance and Cleaning
- Download this manual
Advertisement
Table of Contents

Related Manuals for Bosch PCM 1800


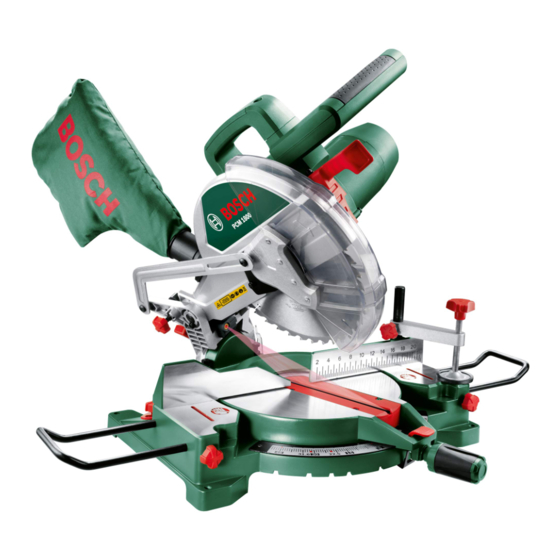
Summary of Contents for Bosch PCM 1800
- Page 1 OBJ_BUCH-1142-001.book Page 1 Monday, January 25, 2010 8:52 AM Robert Bosch GmbH Power Tools Division 70745 Leinfelden-Echterdingen PCM 1800 Germany www.bosch-pt.com 1 609 929 W25 (2010.01) PS / 23 XXX en Original instructions...
- Page 2 OBJ_BUCH-1142-001.book Page 2 Monday, January 25, 2010 8:52 AM PCM 1800 1 609 929 W25 | (25/1/10) Bosch Power Tools...
- Page 3 OBJ_BUCH-1142-001.book Page 3 Monday, January 25, 2010 8:52 AM Bosch Power Tools 1 609 929 W25 | (25/1/10)
- Page 4 OBJ_BUCH-1142-001.book Page 4 Monday, January 25, 2010 8:52 AM 1 609 929 W25 | (25/1/10) Bosch Power Tools...
- Page 5 OBJ_BUCH-1142-001.book Page 5 Monday, January 25, 2010 8:52 AM Bosch Power Tools 1 609 929 W25 | (25/1/10)
- Page 6 OBJ_BUCH-1142-001.book Page 6 Monday, January 25, 2010 8:52 AM 1 609 929 W25 | (25/1/10) Bosch Power Tools...
- Page 7 OBJ_BUCH-1142-001.book Page 7 Monday, January 25, 2010 8:52 AM Bosch Power Tools 1 609 929 W25 | (25/1/10)
- Page 8 OBJ_BUCH-1142-001.book Page 8 Monday, January 25, 2010 8:52 AM 1 609 929 W25 | (25/1/10) Bosch Power Tools...
-
Page 9: Safety Notes
Damaged or entangled cords increase the Loose clothes, jewellery or long hair can risk of electric shock. be caught in moving parts. Bosch Power Tools 1 609 929 W25 | (25.1.10) - Page 10 Use of the power tool for operations different from those intended could result in a hazardous situation. 1 609 929 W25 | (25.1.10) Bosch Power Tools...
- Page 11 Greasy, oily handles are slippery aged cable repaired only through an author- causing loss of control. ised customer service agent for Bosch pow- er tools. Replace damaged extension Operate the power tool only when the work cables. This will ensure that the safety of the area to the workpiece is clear of any adjust- power tool is maintained.
- Page 12 Observe the dimensions of the saw blade. The hole diameter must match the tool spindle without play. Do not use reducers or adapt- 25.4 mm ers. Danger area! Keep hands, fingers or arms away from this area. 1 609 929 W25 | (25.1.10) Bosch Power Tools...
-
Page 13: Functional Description
A complete 13 Angle indicator (horizontal) overview of accessories can be found in our acces- 14 Detents for standard mitre angles sories program. 15 Mounting holes Bosch Power Tools 1 609 929 W25 | (25.1.10) -
Page 14: Technical Data
14 | English Assembly Technical Data Avoid unintentional starting of the ma- Chop and Mitre Saw PCM 1800 chine. During assembly and for all work on the machine, the power plug must not be Article number 3 603 L01 040 connected to the mains supply. -
Page 15: Dust/Chip Extraction
The vacuum cleaner must be suitable for the ma- terial being worked. When vacuuming dry dust that is especially det- rimental to health or carcinogenic, use a special vacuum cleaner. Bosch Power Tools 1 609 929 W25 | (25.1.10) -
Page 16: Operation
When mounting the saw blade, pay atten- tion that the cutting direction of the teeth (arrow direction on the saw blade) corre- sponds with the direction of the arrow on the blade guard! 1 609 929 W25 | (25.1.10) Bosch Power Tools... -
Page 17: Adjusting The Cutting Angle
– To switch off the machine, release the – Release the lever again. The lever must be On/Off switch 26. felt to engage in the detent. Bosch Power Tools 1 609 929 W25 | (25.1.10) -
Page 18: Working Advice
At the cutting line, no gap may exist be- tween workpiece, fence and saw table. Provide for special fixtures, if required. 1 609 929 W25 | (25.1.10) Bosch Power Tools... - Page 19 – Retighten the clamping lever 29 again. specialty tools are required for this. – Afterwards, retighten the lock nut of the stop A Bosch after-sales service station will handle screw 20 again. this maintenance task quickly and reliably. In case the angle indicator 42 is not in a line with the 0°...
- Page 20 – Loosen all Allen screws 31 with an Allen key 6 mm). – Turn the fence 18 until the angle gauge is flush over the complete length. – Retighten the screws again. 1 609 929 W25 | (25.1.10) Bosch Power Tools...
-
Page 21: Maintenance And Service
Bosch power tools. Our customer service representatives can an- swer your questions concerning possible appli- In all correspondence and spare parts order,... - Page 22 OBJ_BUCH-1142-001.book Page 22 Monday, January 25, 2010 8:52 AM 22 | 1 609 929 W25 | (25.1.10) Bosch Power Tools...