DSC Alexor User Manual
2-way wireless security suite
Hide thumbs
Also See for Alexor:
- User manual (27 pages) ,
- Quick user manual (7 pages) ,
- Programming manual (5 pages)
Table of Contents
Advertisement
Advertisement
Table of Contents

Related Manuals for DSC Alexor


Summary of Contents for DSC Alexor
- Page 1 2-Way Wireless Security Suite User Manual N11427 IMPORTANT: This manual contains information on limitations regarding product use and function and information on the limitations as to liability of the manufacturer. The entire manual should be carefully read.
-
Page 2: Fcc Compliance Statement
However, there is no guarantee DSC c/o APL Logistics 757 Douglas Hill Rd., Lithia Springs, GA 30122 that interference will not occur in a particular installation. If this equipment does... -
Page 3: Table Of Contents
Table of Contents About Your Security System Fire / CO Detection ..........1 Testing . -
Page 4: Important Safety Instructions
Always ensure you obtain the latest version of the User Guide. Updated versions of this User Guide are available by contacting your distributor. IMPORTANT SAFETY INSTRUCTIONS To reduce the risk of fire, electric shock and/or injury, observe the following: • Do not spill any type of liquid on the equipment. •... -
Page 5: About Your Security System
About Your Security System Read this manual carefully and have your installer instruct you on your system's operation and on which features have been implemented in your system. All users of this system should be fully instructed in its use. Fill out the ’System Information’ page with all of your zone information and access codes, and store this manual in a safe place for future reference. -
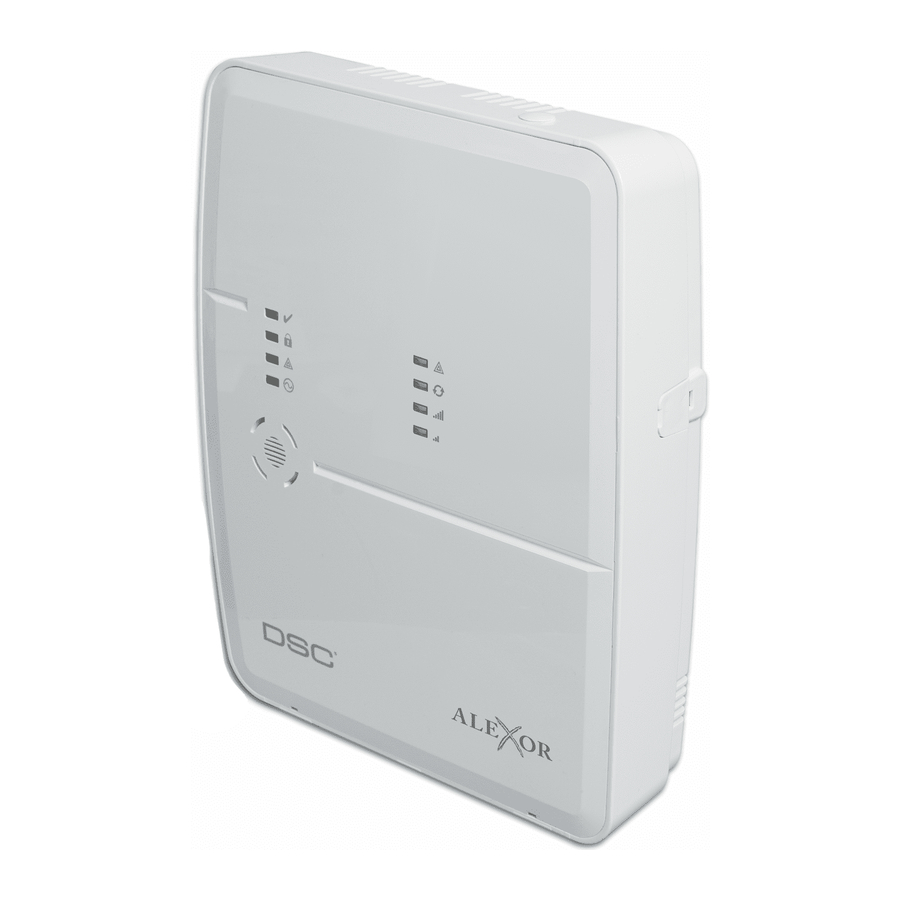
Page 6: Keypad Controls & Indicators
Keypad Controls & Indicators < > indicates user can scroll through options LED Indicators Ambient Light Ready Sensor Armed System is Trouble Ready to Arm < > AC Power Scroll Keys Emergency Keys Fire Function Keys Auxiliary Panic IMPORTANT NOTICE A security system cannot prevent emergencies. -
Page 7: Silent Exit Delay
When the interior zones are activated (i.e., ) you must enter your access code or pres- ent your proximity tag to disarm the system in order to gain access to interior areas that have not been programmed as night zones. Silent Exit Delay If the system is armed using the Stay button or using the ’No Entry’... -
Page 8: Remote Arming And Disarming
Remote Arming and Disarming The system can be armed and/or disarmed, if programmed by the installer, using a remote control device (wireless key fob). When arming the system using the Arm button on a wireless key, the sys- tem will acknowledge the command by sounding a single bell/siren squawk, if programmed to do so by the installer. -
Page 9: Bypassing Zones
Bypassing Zones Use the zone bypassing feature when you need access to a protected area while the system is armed, or when a zone is temporarily out of service but you need to arm the system. Bypassed zones will not be able to sound an alarm. As a result, bypassing zones reduces the level of security. -
Page 10: Trouble Conditions
Trouble Conditions When a trouble condition is detected, the Trouble ( ) indicator will turn on and the keypad will beep every 10 seconds. Press the button to silence the beeps. Press to view the trouble condition. The Trouble ( ) indicator will flash. Use the scroll keys to view troubles. -
Page 11: Access Code Programming
Access Code Programming In addition to the master code, you can program up to 16 additional user access codes. If wire- less keys have been programmed then wireless key #1 will log as User Access Code #1 (if that access code has been programmed). User Access Codes 1-16 will correspond to wireless keys or prox tags 1-16. -
Page 12: Erasing An Access Code
to have this programmed. The Master code cannot use the Bell/Siren Squawk attribute, but the code is required to enable the Bell/Siren for other codes. NOTE: This feature cannot prevent the Arm/Disarming squawks from being generated if an access code assigned to a wireless key is manually entered at a keypad. Erasing an Access Code To erase a code, select the code and enter as the first digit. -
Page 13: User Function Commands
User Function Commands Disarm the system then enter [Master Code]. The command is used to gain access to the following list of Master functions of the system: [1] Time and Date - Enter 4 digits for 24hr System Time (HH-MM). Valid entries are 00-23 for the hour and 00-59 for minutes. -
Page 14: Late To Open
Late to Open This features allows a user to be notified if their alarm system is not disarmed by a programmed time of day. NOTE: The Late to Open feature requires the monitoring station to forward calls to the user. Verify with the installer whether this function is active. -
Page 15: Wt4989/Wt8989 Status Display Icons
WT4989/WT8989 Status Display Icons The table below summarizes the status that can be shown by the WT4989/WT8989 LCD: ICON (S=Steady, F=Flashing) (S) System Trouble (S) Alarm in Memory (F) Keylock Enable (F) Active Alarm (S) Disarmed (F) [ ][9] Armed - Away (S) Away - Armed (F) [ ][9] Armed - Stay (S) Stay - Armed... -
Page 16: Walk Test
WT4901/WT8901 Siren Battery Test To determine which siren has a low battery press and hold the test button, located at the front of the siren, for 5 seconds. • If the siren sounds for 4 seconds, the batteries are good. •... -
Page 17: Access Codes
If you suspect a false alarm signal has been sent to the central monitoring station, call the station to avoid an unnecessary response. Access Codes Master Code [40]: ______________________ Proximity Tag: Wireless Prox Wireless Prox Code Access Code Code Access Code Sensor / Zone Information Sensor Protected Area... -
Page 18: Keypad Quick Guide
Keypad Quick Guide Status Lights Ready - must be on to arm system. All zones must be secured or bypassed and the system disarmed for this light to activate. Armed - indicates system is armed. If the Ready light and the Armed light are both on it indicates an Exit Delay is in progress. -
Page 19: Guidelines For Locating Smoke / Co Detectors
Program User Codes Press buttons to scroll to user code. Enter Change Attributes [Master Code][9][xx] to enter the user code (xx = 1-16). [1] Supervisor’s Code [2] Duress Code [3] Zone Bypassing [4]-[6] Future Use [7] Bell/Siren Squawk Output [8] One Time Use Code User Commands Event Buffer User Options... -
Page 20: Carbon Monoxide Detectors
Smoke detectors should always be installed in USA in accordance with Chapter 11 of NFPA 72, the National Fire Alarm Code: 11.5.1.1 Where required by applicable laws, codes, or standards for a specific type of occupancy, approved single- and multiple-station smoke alarms shall be installed as follows: (1) In all sleeping rooms and guest rooms. -
Page 21: Household Fire Safety Audit
Household Fire Safety Audit Read this section carefully for important information about fire safety. Most fires occur in the home. To minimize this danger, we recommend that a household fire safety audit be conducted and a fire escape plan be developed. 1. - Page 22 If You do not 6. ARBITRATION - All disputes arising in connection with this agree to the terms of this EULA, DSC is unwilling to license the SOFT- Agreement shall be determined by final and binding arbitration in WARE PRODUCT to You, and You have no right to use it.
-
Page 24: Warning Please Read Carefully
©2009 Digital Security Controls Toronto, Canada • www.dsc.com Printed in Canada 2 9 0 0 7 5 2 8 R0 0 2...