Table of Contents
Advertisement
Quick Links
MaxEPro_OwnersManual_2012
Monday, 17 December 2012 10:03:44 AM
Pool Products
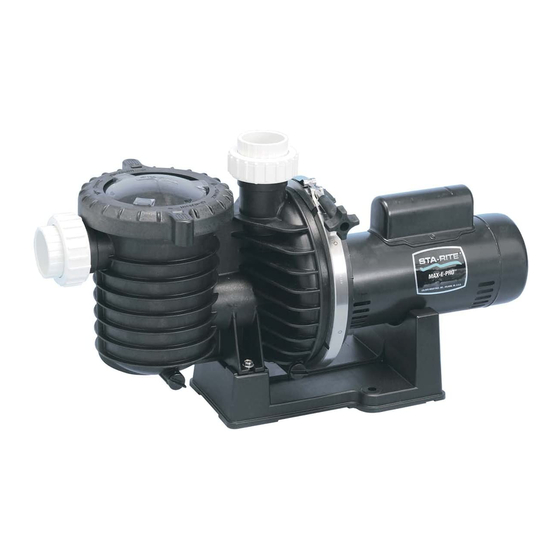
MAX-E-PRO
POOL PUMP
Should the installer or owner be unfamiliar
with the correct installation or operation of
this type of equipment you should contact
the distributor/manufacturer for the
correct advice before proceeding with the
installation or operation of the product.
An earth leakage or residual
current protection device must be fitted to
all installations.
1
TM
Advertisement
Table of Contents

Summary of Contents for Pentair Pool Products MAX-E-PRO
- Page 1 Pool Products MAX-E-PRO POOL PUMP Should the installer or owner be unfamiliar with the correct installation or operation of this type of equipment you should contact the distributor/manufacturer for the correct advice before proceeding with the installation or operation of the product.
-
Page 2: Technical Data
IMPORTANT! This manual should be furnished to the end user of this pump. This manual must be read and understood before operation and followed during operation. These instructions are a guide only. Users not familiar with swimming pool equipment should seek advice from people with experience in pool equipment installation. Models: Part Number Motor Type... -
Page 3: Installation
Installation Incorrectly installed or tested equipment may fail, causing severe injury or property damage. Read and follow instructions in owner’s manual when installing and operating equipment. Have a trained pool professional perform all pressure tests. Do not connect system to a high pressure or city water system. - Page 4 Installation (Continued) Discharge Port Strainer Basket to filter or pool Clamp cover Knob Suction Port From pool or vacuum Filters Equipotential Bonding Lug Pump may be bolted to level foundation or mounting bracket Figure 1 Only qualified, licensed personnel should install pump and wiring whilst observing local safety regulations.
- Page 5 Installation (Continued) NOTICE: If the pump is not provided with a supply cord and a plug, or with other means of disconnection from the supply having a contact separation of at least 3mm in all poles, such means for disconnection must be incorporated in the fixed wiring.
-
Page 6: Pool Pump Suction Requirements
Pool Pump Suction Requirements Pump suction is hazardous and can trap and drown or disembowel bathers. Do not use or operate swimming pools, spas, or hot tubs if a suction outlet cover is missing, broken, or loose. Follow the guidelines below for a pump installation which minimises risk to users of pools, spas, and hot tubs. - Page 7 Electrical Ground motor before connecting to electrical power supply. Failure to ground motor can cause severe or fatal electrical shock hazard. Do not ground to a gas supply line. To avoid dangerous or fatal electrical shock, turn OFF power to motor before working on electrical connections.
-
Page 8: Operation
Operation NEVER run pump dry. Running pump dry may damage seals, causing leakage and flooding. Fill pump with water before starting motor. Before removing trap cover: SWITCH OFF POWER SUPPLY to pump and unplug from outlet before proceeding. CLOSE SHUT-OFF VALVES in suction and discharge pipes. -
Page 9: Priming Pump
Operation (Continued) Priming Pump Release all air from filter, pump and piping system: refer filter owner’s manual. In a flooded suction system (water source higher than pump), pump will prime itself when suction and discharge valves are opened. If pump is not in a flooded suction system, disconnect power supply to pump and remove trap cover handle ring and trap cover;... -
Page 10: Routine Maintenance
Operation (Continued) Routine Maintenance The only routine maintenance required is inspection/cleaning of trap basket. Debris or trash that collects in basket will choke off water flow through the pump. Follow instructions below to clean trap: Switch off power to pump, close valves in suction and discharge, and release all pressure from system before proceeding. - Page 11 Pump Service (Continued) Pump Disassembly/Removing Old Seal Disconnect power to pump motor. Ensure shut-off valves on suction and return piping are closed before starting work on the pump. Release all pressure by opening all vents before starting work. Drain pump by removing drain plugs on bottom of pump body and trap body.
-
Page 12: Pump Reassembly/Installing New Seal
Pump Service (Continued) Pump Reassembly/Installing New Seal Ceramic seat must be clean and free of dirt, grease, dust, etc. Wet outer edge of rubber cup on ceramic seat with small amount of liquid detergent; press ceramic seat into seal plate firmly and squarely with finger pressure (as per figure to left). -
Page 13: Troubleshooting Guide
Troubleshooting Guide Symptom Cause Remedy Pump failure or reduced Suction leaks / lost prime Pump must be primed; make capacity or reduced sure that the pump casing discharge pressure. and strainer are full of water. Refer priming instructions. Make sure there are no leaks in suction piping. - Page 14 Troubleshooting Guide (Continued) Symptom Cause Remedy Air ingress to system. Prime the pump. Check that there are no air leaks in the suction piping or fittings. Ensure the strainer lid is airtight and fitted securely. Check that there are no leaks coming from beneath the pump.
- Page 15 MaxEPro_OwnersManual_2012 Monday, 17 December 2012 10:03:46 AM...
- Page 16 Item Description Item Description MOTOR SCREW - DIFFUSER MOTOR PAD DIFFUSER KIT (INCLUDES 13,14,15 & 16) WATER SLINGER TANK BODY ASSEMBLY SCREW 3/8in x 1in HEX ST/ST TANK AND TRAP LID WASHER 3/8in x 3/4in ST/ST O-RING TANK AND TRAP LID SEAL PLATE TANK LID AND O-RING (INCLUDES 19&20) O-RING BODY...
- Page 17 NOTES: MaxEPro_OwnersManual_2012 Monday, 17 December 2012 10:03:46 AM...
- Page 18 NOTES: MaxEPro_OwnersManual_2012 Monday, 17 December 2012 10:03:46 AM...
- Page 19 NOTES: MaxEPro_OwnersManual_2012 Monday, 17 December 2012 10:03:46 AM...
- Page 20 IMPORTANT Please attach your sales invoice/docket here as proof of purchase should warranty service be required. Please do not return Warranty Form to Pentair Australia - please retain for your records. Purchased From ........................Purchase Date........Serial No......Model No......Head Office Pentair AU/NZ: 1-21 Monash Drive,...


