
Related Manuals for Minolta DYNAX 505si SUPER


Summary of Contents for Minolta DYNAX 505si SUPER
-
Page 1: Instruction Manual
INSTRUCTION MANUAL QUICK OPERATION GETTING STARTED FULL-AUTO OPERATION SUBJECT PROGRAM SELECTION CREATIVE EXPOSURE MODES ADDITIONAL FEATURES APPENDIX... -
Page 2: For Proper And Safe Use
This manual has been designed to help you understand the operation of your Minolta camera more quickly. After familiarizing yourself with the camera, start with Level I and learn to operate the camera in Full-Auto mode. Move on to Level II and the Subject Program modes when you are comfortable with the camera and want to have more control. -
Page 3: Table Of Contents
TABLE OF CONTENTS NAMES OF PARTS ...4 QUICK OPERATION ...8 GETTING STARTED Strap ...11 Batteries ...12 Lens ...14 Loading Film ...16 Handling the Camera ...18 Eye-Start ...19 FULLY-AUTOMATIC OPERATION Taking Pictures in Full-Auto ...21 Focus Signals ...22 Special Focus Situations...23 Focus Hold ...24 Using the Built-in Flash Flash signals...26... -
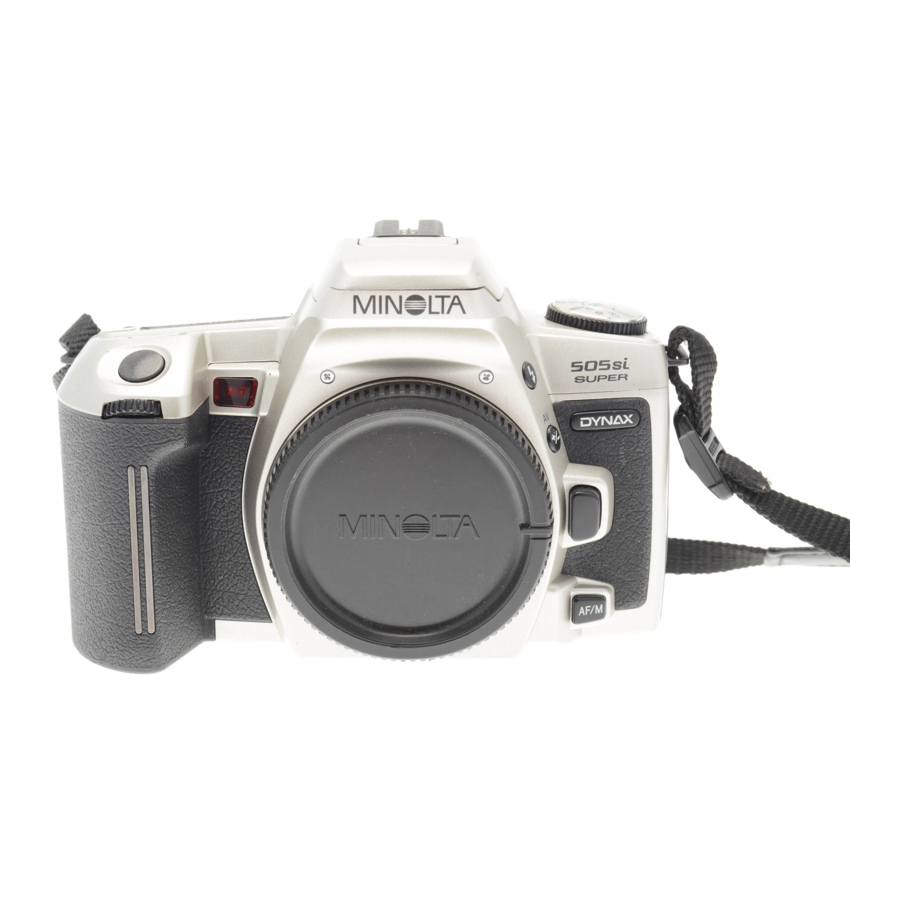
Page 4: Names Of Parts
NAMES OF PARTS For information on specific parts, refer to the page numbers shown in parenthesis. Body Built-in flash (25-28) Self-timer lamp (37) Shutter-release button Grip sensor Control dial Lens contacts* Mirror* Focus-mode button (54) Lens mount Lens release (15) Exposure-compensation button (46, 58) * Do not touch NAMES OF PARTS... -
Page 5: Data Panel
NAMES OF PARTS Data Panel Flash-mode indicators Manual-focus indicator Red-eye reduction indicator Shutter-speed/ISO display Multiple-exposure indicator Aperture/Exposure- Exposure-bracketing indicator compensation display Exposure-mode indicators Exposure-compensation indicator Subject-program pointer Subject-program indicators Self-timer indicator Battery-condition indicator Wireless flash indicator Drive mode indicator High-speed flash sync indicator Film transport signal Frame counter/Multiple-exposure/ Custom-function setting display... -
Page 6: Quick Operation
QUICK OPERATION 1. Insert batteries. • This camera uses two CR2 lithium batteries. 2. Attach lens. • Align the red mounting dot on the lens with the one on the camera. Gently insert the lens into the mount and turn it clockwise until it clicks into the locked position. - Page 7 LEVEL I This section provides the information necessary to operate your camera in most photographic situations. This section covers: • Battery Installation • Attaching and Removing the Lens • Loading the Film • Camera Handling • Fully Automatic Camera Operation •...
-
Page 8: Installing The Batteries
BATTERIES Installing the Batteries Your camera uses two 3V CR2 lithium batteries to supply power for all camera operations. 1. Using a coin or similar object, turn the battery- chamber lock to OPEN, then open the battery-chamber door. 2. Insert the batteries as indicated by the + and –... -
Page 9: Lens
LENS Attaching the Lens 1. Remove the body and rear lens caps. 2. Align the red mounting dots on the lens and camera body. 3. Gently insert the lens into the mount, then turn it clockwise until it clicks into the locked position. -
Page 10: Loading Film
LOADING FILM Check the film window before loading film. If film is loaded, do not open the back cover. Refer to Manual Rewind on page 29 for instructions on removing a partially exposed roll. • Load film in the shade to reduce the chances of fogging the film. •... -
Page 11: Handling The Camera
HANDLING THE CAMERA Holding the Camera Grip the camera firmly with your right hand, while supporting the lens with your left. Keep your elbows at your side and your feet shoulder-width apart to hold the camera steady. Keep the camera strap around your neck or wrist in the event you accidentally drop the camera. -
Page 12: Fully-Automatic Operation
FULLY-AUTOMATIC OPERATION Full-Auto is the camera’s standard operating mode and is suited for use in almost any situation. When selected, the camera sets the focus and exposure automatically and fires the built-in flash when necessary. Use Full-Auto when you are just starting out or when shooting under conditions that would require you to constantly... -
Page 13: Focus Signals
TAKING PICTURES IN FULL-AUTO 5. Press the shutter-release button all the way down to take the picture. • In low-light conditions, the AF illuminator (p55) will fire to determine focus distance. • Use focus hold (p24) if your subject is outside the focus frame. -
Page 14: Focus Hold
FOCUS HOLD Use focus hold when your subject is outside the focus frame or when autofocus is difficult to confirm. Focus hold cannot be used for moving subjects. 1. Center your subject in the focus frame, then press the shutter-release button partway down. -
Page 15: Using The Built-In Flash Flash Signals
USING THE BUILT-IN FLASH Flash Signals Eye-start ON – Flash will fire. disappears when the shutter- release button is pressed partway down, then reappears when the flash is charged. Eye-start OFF – Flash is charged. Previous exposure was correct. Flash Range The range of the built-in flash depends on the speed of the film and the selected aperture. -
Page 16: Red-Eye Reduction
USING THE BUILT-IN FLASH Red-Eye Reduction Light reflecting from your subject’s eyes may produce the effect known as red-eye. Use the built-in flash’s red-eye-reduction mode to produce more natural looking photographs by reducing the red- eye effect. 1. Turn the function dial to 2. -
Page 17: Subject Program Selection
LEVEL II Now that you are comfortable with the operation of the camera, take more control of the creative process by telling the camera what kind of picture you want to take. The subject program modes let you take more control without leaving the program exposure mode. -
Page 18: Close-Up Mode
SUBJECT PROGRAM SELECTION Landscape Mode Landscape photography requires a large depth-of-field to make sure everything is in focus. In Landscape mode, the camera is set to obtain the greatest depth- of-field possible, while maintaining a shutter speed fast enough to prevent blur due to camera shake. -
Page 19: Sports Mode
SUBJECT PROGRAM SELECTION Sports Mode Fast shutter speeds are needed to stop action. In Sports mode, the camera will set the fastest possible shutter speed and continually adjust the focus to track fast- moving subjects. Press the subject-program button until the subject-program pointer is under Tips •... -
Page 20: Photographing Night Scenes
SUBJECT PROGRAM SELECTION Photographing Night Scenes Cancel the flash in Night Portrait mode to photograph night scenes. The longer shutter speeds set in Night Portrait mode let you capture beautiful photographs of twilight scenes and night skylines. 1. Press the subject-program button until the subject- program pointer is under 2. -
Page 21: Continuous Advance
CONTINUOUS - ADVANCE MODE In this mode, the camera continues to release the shutter and advance the film as long as the shutter-release button is held down. • AF Zoom xi and Power zoom lenses cannot be zoomed when continuous- advance mode is selected. -
Page 22: A-Mode - Aperture Priority
A-MODE – APERTURE PRIORITY In A-mode, you select the aperture and the camera automatically sets the shutter speed required for proper exposure. Set the camera to A-mode when you want to control the range of sharpness (depth- of-field) in an image. Refer to Aperture Control on page 42. 1. -
Page 23: Aperture Control
A-MODE – APERTURE PRIORITY Aperture Control Large Aperture Small Aperture (small f-number) (large f-number) The size of the aperture (lens opening) determines the depth-of-field in the final image as well as the intensity of the light falling on the film. Depth-of-field is the range in front of and behind the focus point that appears sharp in the final image. -
Page 24: Shutter Control
S-MODE – SHUTTER PRIORITY S-Mode Flash When the built-in flash is up or an attached accessory flash is on, it will fire each time a picture is taken. Flash exposure is controlled by the camera’s TTL automatic flash metering system. 1. -
Page 25: Metering In Manual Mode
M-MODE – MANUAL M-mode gives you full control of the exposure. The camera’s meter index displays how your settings compare to the exposure determined by the camera’s metering system. 1. Turn the function dial to 2. Press the function button and turn the control dial until M appears in the data panel.