
Related Manuals for Broan Best KER222


Summary of Contents for Broan Best KER222
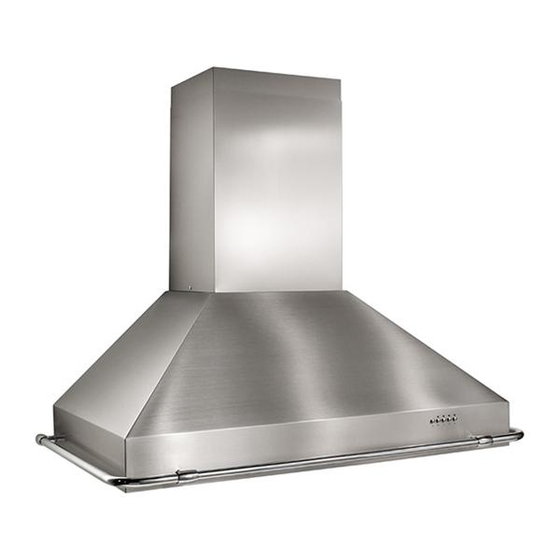
- Page 1 Model KER222 ENGLISH........3 FRANÇAIS.........12 ESPAÑOL........21 BEST BY BROAN P.O. Box 140 Hartford, WI 53027 - 1 -...
- Page 2 READ AND SAVE THESE INSTRUCTIONS INTENDED FOR DOMESTIC COOKING ONLY WARNING TO REDUCE THE RISK OF FIRE, ELECTRIC SHOCK, OR INJURY TO PERSONS, OBSERVE THE FOLLOWING: 1. Use this unit only in the manner intended by the manufacturer. If you have questions, contact the manufacturer at the address or telephone number listed in the warranty.
- Page 3 The motor will restart when it cools down. If the motor continues to shut off and restart, have the hood serviced. 7. For best capture of cooking impurities, the bottom of the hood should be a minimum of 24" and a maximum of 30" above the cooking surface.
-
Page 4: Prepare The Hood
PREPARE THE HOOD Unpack hood and check contents. END BITS OF You should receive: THE LADLE- 1 - Hood BARS 1 - Decorative Flue Assembly 1 - Flue Mounting Bracket 1 - Parts Bag (B080810601) containing: 2 - Mounting Brackets 2 MOUNTING SCREWS 8 - Mounting Screws (4,8x38mm Pan... -
Page 5: Install The Ductwork
INSTALL THE DUCTWORK ROOF CAP NOTE: To reduce the risk of fire, use only 8” ROUND DUCT metal ductwork. 1. Decide where the ductwork will run between the hood and the outside. 2. A straight, short duct run will allow the hood DECORATIVE to perform most efficiently. -
Page 6: Install The Hood
Note: minimun hood distance above cook top must not be less than 24”. A maximum of 30” above cook top is highly recommended for best capture of cooking impurities. Distances over 30” are at the installer and users discretion; and if ceiling height and flue length permit. -
Page 7: Connect Ductwork
4. Depth adjustment screws provide RECTANGULAR MOUNTING CUTOUTS horizontal adjustment. SCREWS (4,8x38mm) 5. Secure the hood with mounting screws MOUNTING (4,8x38mm). Use drywall anchors, BRACKETS provided, if wall studs or framing are not available. 6. Replace electrical box. WALL FRAMING DEPTH ADJUSTMENT MOUNTING SCREWS... -
Page 8: Maintenance
5. Secure the decorative flue to the mounting bracket, and to the hood by tightening locking mounting screws (3,9x9,5mm) as shown. DECORATIVE FLUE FASTEN FLUE FASTEN FLUE TO TO HOOD BRACKET WITH WITH MOUNTING MOUNTING SCREWS SCREWS (3,9x9,5mm) (3,9x9,5mm) DUCT TAPE 8"... -
Page 9: Operation
OPERATION BLOWER LIGHT SPEED 2 SWITCH BLOWER Controls SPEED 3 The hood is operated using the (5) push- BLOWER BLOWER ON-OFF / buttons located at eye-level, on the front edge SPEED 4 SPEED 1 of the hood. The light switch turns the halogen lights on and off. -
Page 10: Halogen Bulbs
(c) describe the nature of any defect in the product or part. At the time of requesting warranty service, you must present evidence of the original purchase date. BEST BY BROAN, P.O. Box 140 Hartford, Wisconsin 53027 - 11 -... -
Page 11: Service Parts
SERVICE PARTS MODEL KER222 - Parts for stainless steel models shown. For service parts for black, white, polished brass, or brushed copper models, call Broan Customer Service. KEY NO. PART NO. DESCRIPTION B08087135 Grease Filter (90cm/42” models) B08087136 Grease Filter (48” models) - Page 12 SERVICE PARTS - LISTE PIECES DE RECHANGE - LISTA DE PIEZAS DE RECAMBIO MODEL KER222 - 33 -...
- Page 13 04306955/6N...