Advertisement
Quick Links
8
U1T P/N 1002832—Rev. B 07/2005
Installation Instructions
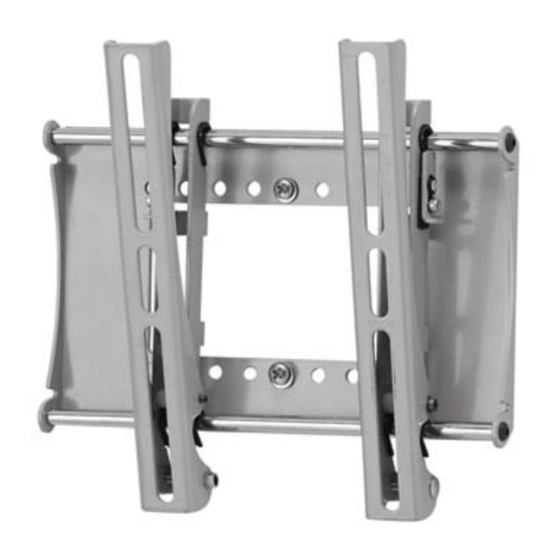
Small Universal Premium Tilt
Flat Panel Mount
Universal Mount—No Adaptor Plate Needed
Ideal for Flat Panels from 12" to 24"
Low Profile Design
Lift n' Lock Installation
Adjustable Tilt
IMPORTANT: Consult a qualified installer if you have any questions
regarding the proper installation of this wall mount system.
Advertisement

Summary of Contents for Omnimount 17FBHDT
-
Page 1: Installation Instructions
Installation Instructions Small Universal Premium Tilt Flat Panel Mount Universal Mount—No Adaptor Plate Needed Ideal for Flat Panels from 12” to 24” Low Profile Design Lift n’ Lock Installation Adjustable Tilt IMPORTANT: Consult a qualified installer if you have any questions regarding the proper installation of this wall mount system. - Page 2 Step 5: Lock the Display Engage the lock by sliding the locking tab up into place. (Fig. 9) Fig. 9 Make sure that the locking screw is centered in the lock hole, and then tighten securely with the sup- plied Hex Wrench.
- Page 3 Adjust the mounting rails to equal heights, and then securely tighten the mounting Step 1: Determine the Mounting Location screws. Measure the width and height dimensions of the display. Mark the wall with the desired location for the display. Caution: Never use a power screwdriver to tighten the mounting screws, or the dis- play may be damaged.
- Page 4 Remove the tape strip from the back of the guide. Fig. 3 Loosen the tilt tensioning screw with the supplied Hex Wrench (Fig. Insert the supplied pushpin through the large red cross at the center of the guide. 11). Open the tilt mechanism fully, and then loosely re-tighten the Align mounting hole openings on guide with marks on wall, and pin the guide in place.


