Table of Contents
Advertisement
Advertisement
Table of Contents

Related Manuals for Whirlpool AKC921C/IX


Summary of Contents for Whirlpool AKC921C/IX
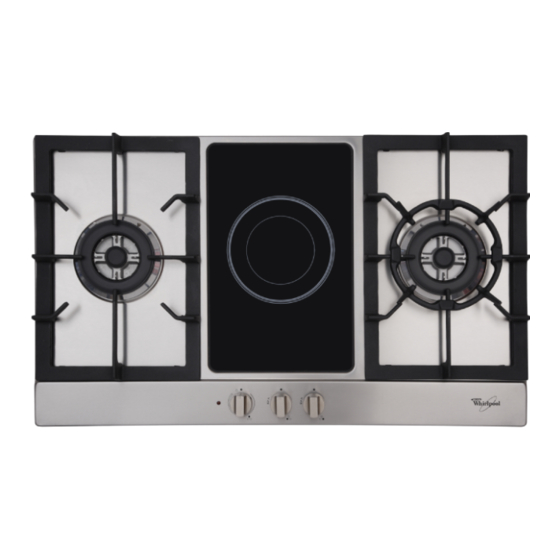
- Page 1 USER MANUAL 90cm Combi hob AKC921C/IX...
- Page 2 These instructions have been drawn up for your safety and that of others. You are therefore requested to read them carefully before installing and using the appliance. Keep this instruction manual for future reference as necessary. If the appliance is sold or moved, make sure that the manual is handed over to the new user .
-
Page 3: During Use
During use · This product is designed to cook food inside ordinary homes and for non-professional purposes. It should not be used for any other purpose. After using the appliance, make sure that all controls are in “CLOSED” or “OFF” ·... -
Page 4: Table Of Contents
Contents For your safety………………………………………………………………… 2 Description of the hob………………………………………………………… Technical data………………………………………………………………… Instructions for the installation technician…………………………………… Electrical connection…………………………………………………………… 11 Adapting to the different types of gas………………………………………… 12 Building into fitted kitchen units……………………………………………… 13 Instructions for use …………………………………………………………… 16 Cleaning and maintenance……………………………………………………… 18 Guide to reading the instructions The following symbols will help you When reading the instructions:... -
Page 5: Description Of The Hob
Description of the hob Technical Data PFA series hobs technical specification: BURNER TYPE Gas consumption Nozzle Making(mm) input input... - Page 6 Triple flame 4-Φ0.72+Φ0.81 G20: 0.43m /h、 burner G25:0.50 m Large rapid Φ1.23 G20:0.29 m /h、 G20-20 Mbar burner G25:0.33 m Medium G25-25 0.55 Φ0.98 G20:0.19 m /h、 semi-rapid mbar burner G25:0.22 m Small Φ0.72 G20:0.10 m /h、 Auxiliary burner G25:0.11 m Triple flame 5-Φ0.50 G30:327g/h、...
- Page 7 burner Medium 0.60 Φ0.58 G30:124g/h semi-rapid burner Small 0.40 Φ0.46 G30:73g/h Auxiliary burner Gas intake connection G1/2″ Electricity supply 220-240v~50/60Hz Appliance type: A Appliance class: class 3(build-in)
-
Page 10: Instructions For The Installation Technician
Instructions for the installation technician CAUTION: This appliance must only be installed and used in rooms with permanent ventilation to local standards. Installation of the appliance and its connection to the electrical mains must only be carried out by QUALIFIED PERSONEL. Before any procedure, it is important to check that the appliance is DISCONNECTED from the electrical mains. -
Page 11: Connection To The Gas Supply
fan must be installed on the outside wall or the window of the room, provided it is possible for the ventilation opening to be increased in proportion to the delivery rate of the fan (fig. C). For a kitchen, the delivery rate of this electric fan must guarantee an hourly air exchange of 3-5 times its volume. -
Page 12: Electrical Connection
Electrical connection The appliance is profited to operate with a power supply voltage of 230Vsingle-phase. The connection must be made in accordance with the regulations and laws in force. Before making the connection, make sure that: 1) the safety circuit-breaker and the electrical system are able to withstand the load of the appliance(see nameplate). -
Page 13: Adapting To The Different Types Of Gas
Adapting to the different types of gas Changing the nozzles Remove the pan standee. 2) Remove the burner caps and flame caps from the burners. 3) Use a size 7 socket wrench to unscrew and remove the nozzles, replacing them with those corresponding to the type of gas to be used (see the table). -
Page 14: Building Into Fitted Kitchen Units
Building into fitted kitchen units These hobs are designed for installation in fitted kitchen units up to 600mm deep with suitable characteristics. Any cabinet side panels taller than the height of the hob itself must be at least 150mm away from the opening into which the hob is inserted. The dimensions of the hob and the installation opening are shown in the illustration. -
Page 15: Installation Options
3) Place the hob in the installation opening and push it down so that the hob is resting firmly on the cabinet, as show in the illustration. The side springs will hold it in place. Installation options On base cabinet with door When constructing the cabinet, suitable precautions must be taken to prevent contact with the casing of the hob, which... -
Page 16: Instructions For Use
The installation compartment must have the dimensions shown in figures 2 and 3 and must have supports to allow satisfactory ventilation. possible methods avoiding overheating are illustrated in figures 3 and 4. The electrical connections of the hob and oven must be made separately both for electrical reasons and to simplify removal of the oven through... -
Page 17: Lighting The Burners
maximum gas flow from central burner minimum gas flow from central burner maximum gas flow from outer and central burners simultaneously minimum gas flow from outer and central burners simultaneously Lighting the burners To obtain a flame more easily, light the burner before placing a cooking utensil on the pan stand To light a burner, proceed as follow: for Version with lighting integrated in the control knob push the knob of the burner fully down and turn it... -
Page 19: Cleaning And Maintenance
During cooking processes involving fats or oils, watch your foods carefully because these substances may catch fire if brought to high temperatures. Cleaning and maintenance Before each operation, disconnect the appliance from the electrical mains and allow it to cool down. General cleaning Wash enameled parts with lukewarm water and detergent: do not use abrasive products which might damage them. -
Page 20: Routine Maintenance
replace the hob pan stands, checking that they are correctly positioned. Routine maintenance Have the condition and efficiency of the gas pipe and the pressure regulator (if installed) checked periodically. If anomalies are found, do not repairs but have the faulty part replaced.