Advertisement
Quick Links
Section 3 - Setup the Wireless
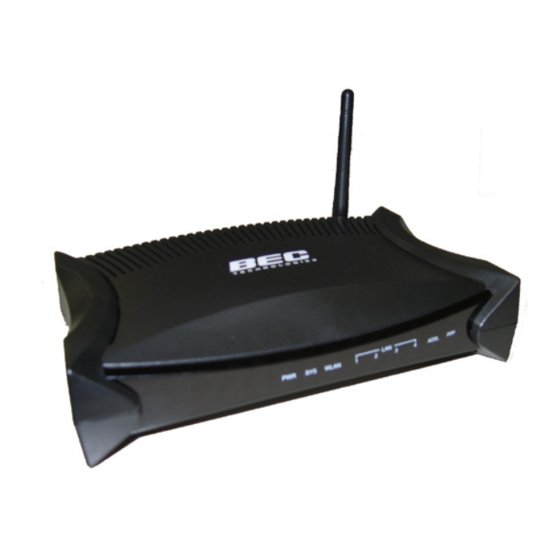
1. Users may self-configure the wireless access point
in the BEC 7402GTM router. To begin, the router
and all the cables must be connected to your com-
puter/notebook per the diagram in Section 1, Con-
nect the Router.
2. Open an Internet browser, and type 192.168.1.254
in the address line where you would normally type a
website address.
3. You will be prompted for a user name and password.
The user name will be user and the password will be
user.
4. Use the left-hand side menu to navigate to Configur-
ation > LAN > Wireless. The resulting menu is
pictured below.
5. Click the Enable button next to WLAN Services.
Your wireless is now active.
6. To set up a secure connection, do the following: The
default wireless name is wlan-ap. This can be
changed by changing the name next to ESSID. Make
sure to click Apply and the Save Config to save all
your changes.
Section 4 - Secure the Wireless
1. To secure the wireless connection use the left-hand
side menu to navigate to Configuration > LAN >
Wireless Security. The resulting menu is pictured
below.
2. The security is disabled by default and must be
enabled to make it secure. Click the drop down menu
and select the first option, WPA1 Pre-Shared Key.
This is typical for most home users.
3. Now you need to create a wireless connection
password in the WPA Shared Key, and then click on
the Apply button. This will be the password that your
wireless devices will need to connect to the Internet.
Make sure to click Apply followed by Save Config to
save your settings.
You have now completed the set up of your secure,
wireless Internet connection!
BEC 7402GTM Router
TM
Reference Guide
Advertisement

Summary of Contents for BEC 7402GTM
- Page 1 1. To secure the wireless connection use the left-hand side menu to navigate to Configuration > LAN > in the BEC 7402GTM router. To begin, the router Wireless Security. The resulting menu is pictured and all the cables must be connected to your com- puter/notebook per the diagram in Section 1, Con- below.
- Page 2 Section 1 - Connect the Router Section 2 - Run Easy Sign On This router’s settings have been pre-configured for you 1. Ensure that the router and all of the cables are 5. Highlight the PPPoE option and input your email by Customer Care.


