Philips AZ3856 User Manual
Cd soundmachine
Hide thumbs
Also See for AZ3856:
- Quick start manual (2 pages) ,
- User manual (21 pages) ,
- Specifications (3 pages)

Related Manuals for Philips AZ3856


Summary of Contents for Philips AZ3856
- Page 1 Register your product and get support at CD Soundmachine www.philips.com/welcome AZ3856 EN User manual...
- Page 2 i j k...
-
Page 4: Important Safety Instructions
Important Safety Important Safety Instructions Read these instructions. Keep these instructions. Heed all warnings. Follow all instructions. Do not use this apparatus near water. Clean only with dry cloth. Do not block any ventilation openings. Install in accordance with the manufacturer’s instructions. Do not install near any heat sources such as radiators, heat registers, stoves, or other apparatus (including amplifiers) that produce heat. - Page 5 as power-supply cord or plug is damaged, liquid has been spilled or objects have fallen into the apparatus, the apparatus has been exposed to rain or moisture, does not operate normally, or has been dropped. Battery usage CAUTION – To prevent battery leakage which may result in bodily injury, property damage, or damage to the unit: •...
- Page 6 higher decibel ranges are offered for those that may have already experienced some hearing loss. Sound can be deceiving. Over time your hearing ‘comfort level’ adapts to higher volumes of sound. So after prolonged listening, what sounds ‘normal’ can actually be loud and harmful to your hearing. To guard against this, set your volume to a safe level before your hearing adapts and leave it there.
- Page 7 This product complies with the requirements of the following directives and guidelines: 2004/108/EC + 2006/95/EC Any changes or modifications made to this device that are not expressly approved by Philips Consumer Lifestyle may void the user’s authority to operate the equipment. Recycling Your product is designed and manufactured with high quality materials and components, which can be recycled and reused.
-
Page 8: Your Cd Soundmachine
Your system consists of materials which can be recycled and reused if disassembled by a specialized company. Please observe the local regulations regarding the disposal of packaging materials, exhausted batteries and old equipment. The making of unauthorized copies of copy-protected material, including computer programs, files, broadcasts and sound recordings, may be an infringement of copyrights and constitute a criminal offence. -
Page 9: What's In The Box
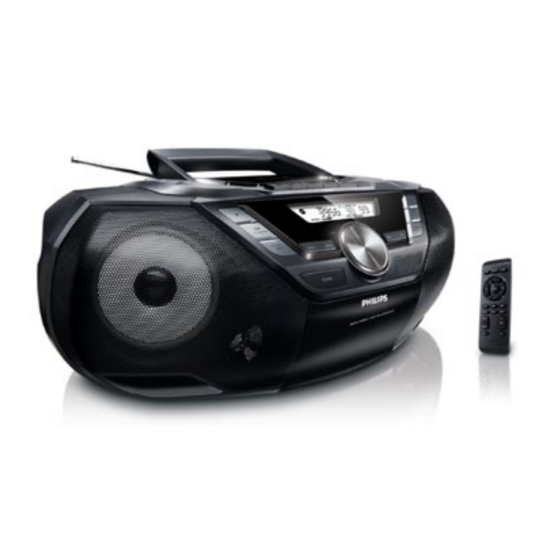
Note • The type plate is located on the back of the apparatus. What’s in the box Check and identify the contents of the package: • Main unit • AC power adaptor • Remote control • User Manual • Quick Start Guide Overview of the main unit (See 1) •... - Page 10 • Select a preset radio station. • Skip to the previous/next album. 7 PROGRAM • Program tracks and browse the program. MODE • Select a play mode: REPEAT or SHUFFLE. 8 SOURCE • Select a source. 9 IR • Remote control sensor. 10 - VOLUME + •...
- Page 11 Overview of the remote control (See 2) 1 CD • Select disc source. • Skip to the previous/next album. • Select a preset radio station. • Tune to a radio station. • Skip to the previous/next track. • Start or pause play. •...
-
Page 12: Get Started
Always follow the instructions in this chapter in sequence. If you contact Philips, you will be asked for the model and serial number of your apparatus. The model number and serial number are on the bottom of your apparatus. Write the numbers here: Model No. -
Page 13: Install Remote Control Batteries
Install remote control batteries Caution • Risk of explosion! Keep batteries away from heat, sunshine or fire. Never discard batteries in fire. • Risk of decreased battery life! Never mix different brands or types of batteries. • Risk of product damage! When the remote control is not used for long periods, remove the batteries. - Page 14 1 Connect the power adaptor to the DC input jack on the apparatus and to the power supply socket. • To switch the apparatus off completely, disconnect the power adaptor from the power supply socket. (See 5) Note • To save energy: after use, turn off the apparatus. Turn on 1 Press The unit switches to the last selected source.
-
Page 15: Play From Usb Devices
Play tape Note • When you play or record a tape, the sound source cannot be changed. 1 Press SOURCE to select the tape source. 2 Open the tape button cover. 3 Press to open the tape door. 4 Load the tape with the open side upward and the full spool to the left. -
Page 16: Play Options
Listen to an external device You can listen to an MP3 player through this apparatus. 1 Use a cable with 3.5mm plugs on both ends (not supplied) to connect MP3 LINK jack (3.5mm) on this apparatus and the headphone jack on an MP3 player. Play options Adjust volume level 1 During play, press VOL +/- to increase/decrease the volume level. -
Page 17: Program Tracks
2 To return to normal play, press MODE repeatedly until play mode icons are no longer displayed. • Only can be selected when you play programmed tracks. Program tracks You can program a maximum of 20 tracks. 1 In CD/USB mode, at the stop position, press PROG to activate the program mode. -
Page 18: Program Radio Stations Automatically
2 Press and hold for more than 2 seconds. [SEARCH] (search) is displayed. » The radio tunes to a station with strong reception automatically. » 3 Repeat step 2 to tune to more stations. • To tune to a weak station, press repeatedly until you find optimal reception. -
Page 19: Select A Preset Radio Station
The preset number and the frequency of the preset station are » displayed. 4 Repeat the above steps to program other stations. Note • To overwrite a programmed station, store another station in its place. Select a preset radio station 1 In tuner mode, press to select a preset number. -
Page 20: Record From Radio To Tape
Note • The quality of recorded sound can differ depending on the source and the tape used. Record from CD to tape 1 Press CD to select disc source. 2 Load a disc. 3 Stop disc playback. 4 Press to open the tape door. 5 Load a tape. -
Page 21: Set The Sleep Timer
• To pause recording, press . To resume, press this button again. • To stop recording, press Record from USB 1 Press USB to select USB source. 2 Connect a USB device. 3 Stop USB playback. 4 Press to open the tape door. 5 Load a tape. -
Page 22: Product Information
Listen through headphone 1 Plug a headphone into the socket on the unit. Turn on/off the screen backlight To turn on/off the screen backlight of main unit, 1 Press and hold SLEEP. Product information Note • Product information is subject to change without prior notice. Specifications Disc Laser Type... - Page 23 Tuner Tuning Range FM: 87.5 - 108MHz; MW: 531 - 1602kHz Tuning grid 50 kHz (FM); 9 kHz (MW) Total Harmonic Distortion <3% Signal to Noise Ratio >50 dB Tape deck Frequency response 125 - 8000 Hz (8 dB) - Normal tape (type I) Signal-to-noise ratio 40 dBA - Normal tape (type I)
-
Page 24: Supported Mp3 Disc Formats
Supported MP3 disc formats • ISO9660, Joliet • Maximum title number: 512 (depending on file name length) • Maximum album number: 255 • Supported sampling frequencies: 32 kHz, 44.1kHz, 48 kHz • Supported Bit-rates: 32~256 (kbps), variable bit rates USB playability information Compatible USB devices: •... -
Page 25: Troubleshooting
After prolonged use, dirt or dust may accumulate at the disc lens. To ensure good play quality, clean the disc lens with Philips CD lens cleaner or any commercially available cleaner. Follow the instructions supplied with cleaner. Clean the heads and the tape paths •... - Page 26 If you encounter problems when using this apparatus, check the following points before requesting service. If the problem remains unsolved, go to the philips web site (www.philips.com/support), or contact philips (see Contact information). When you contact philips, ensure that the apparatus is nearby and the model number and serial number are available.
- Page 27 USB device not supported • The USB device is incompatible with the apparatus. Try another one. No disc detected • Insert a disc. • Check if the disc is inserted upside down. • Wait until the moisture condensation at the lens has cleared. •...
- Page 28 © Royal Philips Electronics N.V. 2009 All rights reserved. Specifications are subject to change without notice. Trademarks are the property of Koninklijke Philips Electronics N.V. or their respective owners. AZ3856_12_UM_V2.0...