Pioneer DDJ-SX Operation Manual
Virtualdj audio & video mixing dj software
Hide thumbs
Also See for DDJ-SX:
- Service manual (68 pages) ,
- Quick start manual (24 pages) ,
- Settings manual (2 pages)
Table of Contents
Advertisement
Advertisement
Table of Contents

Related Manuals for Pioneer DDJ-SX


Summary of Contents for Pioneer DDJ-SX
- Page 1 VirtualDJ 8 – Pioneer DDJ-SX...
-
Page 2: Table Of Contents
Roll ............................ 14 Loop ..........................14 Slicer & Slicer ‘Hold’ ......................15 Sampler ..........................15 E. BROWSER ........................16 F. Rear ..........................16 G. Front ..........................17 ADVANCED AUDIO SETUP ....................18 Recording & Broadcasting ....................18 VirtualDJ 8 – Pioneer DDJ-SX... -
Page 3: Installation
Login with your virtualdj.com account. A Pro Infinity, PRO Subscriber or PLUS License is required to fully use the Pioneer DDJ-SX. Without any of the above Licenses, the controller will operate for 10 minutes each time you restart VirtualDJ. -
Page 4: Advanced Setup
AUDIO Setup The unit has a pre-defined Audio setup and a special button in the AUDIO tab of Config to provide that. Please read the manual of DDJ-SX for further Audio capabilities-setups. http://pioneerdj.com/support/product.php?lan g=en&p=DDJ-SX&t=man For further software settings please refer to the User Guides of VirtualDJ 8. -
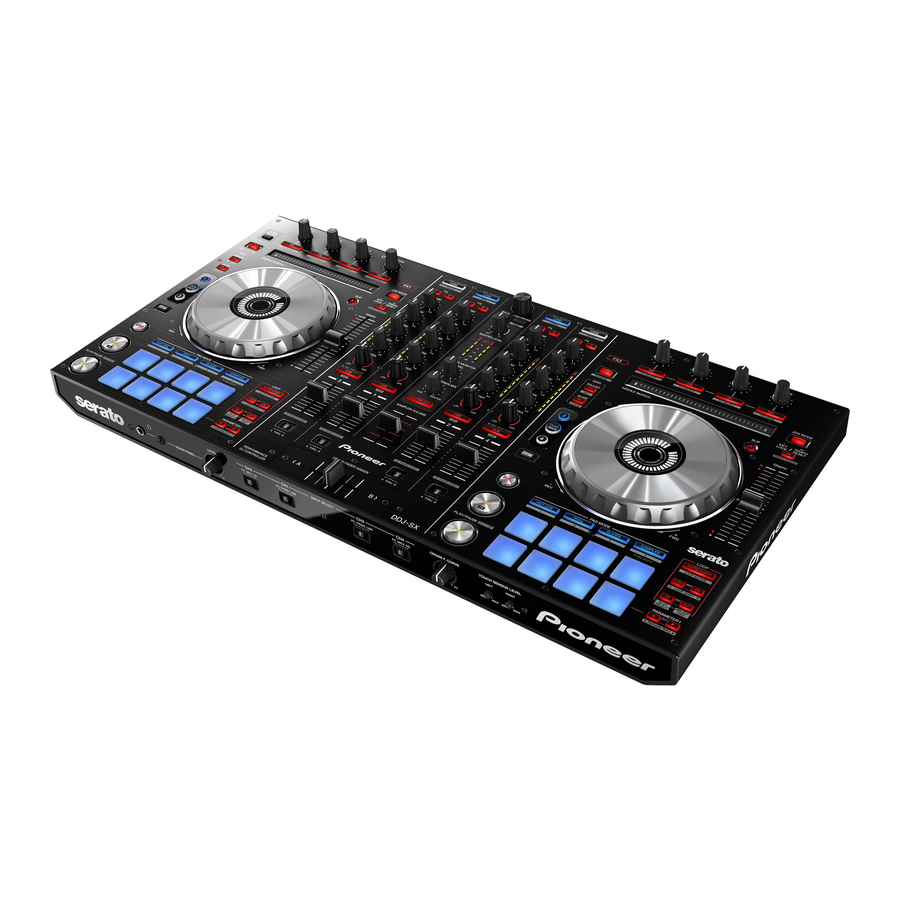
Page 5: Controller Overview
CONTROLLER OVERVIEW VirtualDJ 8 – Pioneer DDJ-SX... -
Page 6: Mixer
When engaged, the button will be lit. Press SHIFT and then one of the PFL buttons to manually tap the tempo of the loaded track. 5. FILTER: Applies a High Pass/Low Pass Filter on the track (middle position is Off position). VirtualDJ 8 – Pioneer DDJ-SX... - Page 7 Headphones Channel. Hardware operation, but movement visible on the VirtualDJ GUI. 15. MASTER PFL: Press this button to send the Master Output to the Headphones channel (Hardware operation) 16. SAMPLER VOLUME: Adjusts the Master Volume of the Sampler VirtualDJ 8 – Pioneer DDJ-SX...
-
Page 8: Decks
Temporary Cue Point, press and hold the Cue Button, then press and hold the Play Button, and then release both buttons. Press and hold Shift and then press this button to return to the beginning of the track. VirtualDJ 8 – Pioneer DDJ-SX... - Page 9 (for 4 decks skins). 20. SHIFT: Press and hold this button to access secondary functions (in white box) of other controls on the DDJ-SX. 21. DECK SELECT: Switch Left decks (1 and 3) and Right Decks (2 and 4). 22. GRID SLIDE: Press and hold this button and then move the JOGWHEEL to shift the position of the CGB of the track.
-
Page 10: Effects
The Multi Effects mode offers 3 effect slots (to trigger more than 1 effect at the same time – chained effects). The selection between those 2 modes is done by pressing the TAP while SHIFT is held. VirtualDJ 8 – Pioneer DDJ-SX... - Page 11 43. FX3 ON. In Single FX mode, press this button to select the next effect from VirtualDJ Effects list. Press SHIFT and then this button, to enable/disable the 3 effect button of the selected effect (if available). VirtualDJ 8 – Pioneer DDJ-SX...
- Page 12 44. TAP. Press this button to manually tap the tempo of the track. Press SHIFT and then this button to toggle between the Single and Multi Effect modes. 45. FX ASSIGN. Define the Channels that will be controlled by the FX1 and FX2 Deck units. VirtualDJ 8 – Pioneer DDJ-SX...
-
Page 13: Pads
Leds will blink if a HotCue point exists. Hold SHIFT press PARAMETER buttons to adjust the Hold SHIFT and press the HOTCUE button to switch to HotCue points 9-16. The HOTCUE button will start blinking. VirtualDJ 8 – Pioneer DDJ-SX... -
Page 14: Roll
When the Small loop size bank is selected the LEFT parameter button (<) will be lit. When the Large loop size bank is selected the RIGHT parameter button (>) will be lit. In Normal loop size bank, both parameter buttons are unlit. VirtualDJ 8 – Pioneer DDJ-SX... -
Page 15: Slicer & Slicer 'Hold
Press and hold the SAMPLER Pad mode button to set the PADs to Sampler Velocity mode. In this mode the Pads will additionally alter the Volume of the triggered Sample depending on the pressure (velocity). VirtualDJ 8 – Pioneer DDJ-SX... -
Page 16: Browser
53. BOOTH OUT: Booth signal output (TRS – Balanced). The strength of the signal is controlled by “BOOTH MONITOR LEVEL” knob (13) on the mixer section. Use it to connect your booth speakers, or an amp that needs different sound output level than master output. VirtualDJ 8 – Pioneer DDJ-SX... -
Page 17: Front
54. CH4 INPUTS: Connect an analog source on CH4 of the DDJ-SX mixer. You can connect a MIC (jack input) or a CD-Player. The input is selectable via “INPUT SELECT SWITCH” (64) on the front side. 55. CH2 INPUT: Connect an analog source on CH2 of DDJ-SX Mixer. You can connect a turntable or a CD-Player. -
Page 18: Advanced Audio Setup
Pioneer DDJ-SX uses a predefined simple audio setup that allows VirtualDj to record the audio output of the software. However, if you wish to record the master output of the DDJ-SX mixer (in other words include the sound of analog sources and MIC’s connected on the mixer at your recording) you will have to use an advanced audio setup.