Table of Contents
Advertisement
Quick Links
Advertisement
Table of Contents

Related Manuals for Baumatic BTM17.5SS


Summary of Contents for Baumatic BTM17.5SS
-
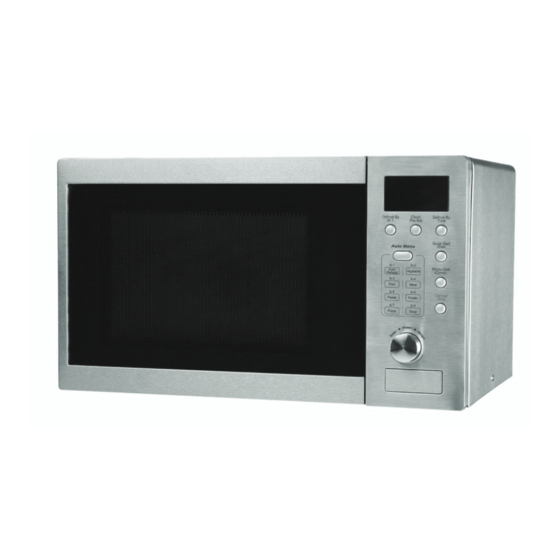
Page 1: Microwave Oven
BTM17.5SS 17 Litre microwave oven... - Page 2 User Manual for your Baumatic BTM17.5SS 17 Litre microwave oven NOTE : This User Instruction Manual contains important information, including safety & installation points, which will enable you to get the most out of your appliance. Please keep it in a safe place so that it is easily available for future reference; for you or any person not familiar with the operation of the appliance.
-
Page 3: Table Of Contents
Contents Environmental note Important safety information 5 – 8 Specifications 9 - 12 Product dimensions Product specifications Description of the appliance Control panel The turntable LED display Using your microwave 13 – 22 Setting the clock Before first use Cooking food Quick start Microwave power level chart Time setting chart... -
Page 4: Environmental Note
Environmental note o The packaging materials that Baumatic uses are environmentally friendly and can be recycled. o Please discard all packaging material with due regard for the environment. -
Page 5: Important Safety Information
IMPORTANT SAFETY INFORMATION Your safety is of the utmost importance to Baumatic. Please make sure that you read this instruction booklet before attempting to install or use the appliance. If you are unsure of any of the information contained in this ooklet, please contact the Baumatic Advice Line. - Page 6 If you notice that the door seal, door surfaces, power cord and plug are damaged. You s hould stop using the appliance, disconnect it from the mains supply and contact the Baumatic Customer Care Department. o Only genuine Baumatic spare parts should be fitted to your appliance.
- Page 7 Child Safety o Baumatic strongly recommend that babies and young children are prevented from being near to the appliance and not allowed to touch the appliance at any time. o If it is nece ssary for younger family members to be in the kitchen, please ensure that they are kept under close supervision at all times.
- Page 8 Baumatic Ltd. declines any respon sibility for injury or damage, to person or property, as a result of improper use or installation of this appliance. o Heat, steam and moisture will be created during use of the...
-
Page 9: Specifications
Specifications Product dimensions* Height: 280 mm Width: 461 mm Depth: 359 mm Please refer installation instructions contained in this user manual, to see the ventilation gaps ou will need to leave around the appliance. Product specifications o 5 power levels o 9 cooking functions: Auto-rehe Vegeta... -
Page 10: Description Of The Appliance
Description of the appliance 1) Control panel 2) Slot for the rota ting base 3) Rotating ba 4) Rotati ng plate 5) Door glass 6) Door 7) Door catches... -
Page 11: Control Panel
All food and food containers must ALW AYS be placed on the rotating plate during cooking. o If the rotating plate or rotating base cra cks or breaks, it must be replaced immediately. Genuine Baumatic parts can be obtained from the Baumatic Spares Department. -
Page 12: Led Display
LED display o The LED display will show the time of day, or if the microwave is se, it will show the cooking time. ndicates that microwave cooking is taking place. ndicates that defrosting is taking place. ndicates that a high power level is selected. ndicates that a low power level is selected. -
Page 13: Using Your Microwave
Using your micr owave Setting the clock o When your appliance is connected to the power supply for the first time, the LED display (A) will show 0.00 and an audible signal will sound once. o Press the Clock/Pre-set time button (J), the hour di gits will flash. -
Page 14: Cooking Food
Cooking food o Once the clock has been set, your microwave is then ready to use. o Use the door button (F) to open the door of the microwave. o Check that the rotating base and rotating plate are correctly assembled in the slot for the rotating base. -
Page 15: Quick Start
Quick start o If you want to cook on the highest power level setting for a period of time, then you can use the Quick Start/Start button (C). o Press the Quick Start/Start button (C) once and your microwave will operate on full power for 1 minute. o Each time you press the Quick Start/Start button (C) the cooking time will increase b y 1 minute. -
Page 16: Cancelling A Cooking Cycle
Cancelling a cooking cycle o If you wish to cancel a cooking cycle when it is in progress, you should press the Cancel/Stop button (E). o The m icrowave will stop heating immediately, give an audible signal and the LED display (A) will return to showing the time of day. -
Page 17: Defrost By Weight
Defrost by weight o Press the defrost by weight button (K) and the LED display (A) will show “dEF1”. o Turn the adjustment dial (G) t o select the weight of the food that you want to defrost. The letter “g” will appear on the LED display (A) to indicate grams. -
Page 18: Setting A Cooking Time In Advance
Setting a cooking time in advance o This function will allow you to set a time in the future that the microwave will switch on at. o IMPORTANT: You must make sure that the clock is set to the correct time before using this feature. o Press the microwave button (D) and then use the adjustment dial (G) to set the power level that you require. -
Page 19: Auto Menu Function
Auto menu function o Your microwave has menus pre-programmed into it, where it will cook particular types of food on pre-set power levels and for pre- set periods of time. o Press the auto menu button (I) to access the auto menu function, the LED display (A) will show “A-1”. -
Page 20: Safety Lock
Safety lock o When the microwave is not heating, it is possible to switch on the safety lock. o Press and hold down the Cancel/Stop button (E) for 3 seconds. o The microwave will emit a long audible signal and the LED display (A) will display a padlock symbol. -
Page 21: Materials You Can Use In A Microwave Oven
o You should not use ceramic or porcelain crockery, or porous earthenware inside of your microwave. Thes e dishes could absorb moisture from the food whilst it is cooking, which could cause pressure to build up and shatter the dish. o If you are heating certain foods and any liquid, moisture will evaporate and condensation may occur. -
Page 22: Materials Not To Be Placed In A Microwave Oven
Plastic Microwave-safe only. Follow manufacturer’s instructions. It should be labelled as “microwave safe”. Some plastic containers soften as the food inside gets hot. “Boil ing bags” and tightly closed plastic bags should be slit, pierced or vented, as described by the package. -
Page 23: The Appliance Interior
Any damage that is caused to the appliance by a cleaning product will not be fixed by Baumatic free of charge, even if the appliance is within the guarantee period. -
Page 24: Installation
Install ation IMPORTANT: THIS INSTALLATION MUST COMPLETED BY A SUITABLY QUALIFIED PERSON. AUMATIC ONLY SANCTION INSTALLATION GIVEN I N THIS INSTRUCTION MANUAL. Before beginning to install your appliance, check that there is no sign of damage (on the inside or the outside of the microwave), and that there a re no packing materials or acc... - Page 25 o If in future you need to change the fuse in this plug, then a 13 amp ASTA approved (BS 1362) fuse must be used. o The socket must still be accessible even when your microwave is cated on the worktop. The wiring in the mains lead is coloure d as follows: Brown...
-
Page 26: My Appliance Isn't Working Correctly
Baumatic Customer Care Department. o The interior light bulb is not working. all the Baumatic Customer Care De partment. The interior light bulb can only be replaced by a trained service technician. My food is not cooking properly. - Page 27 Or any installation other an the one specified by Baumatic Ltd. has been completed. Please refer to the conditions of guarantee that appear on the...
-
Page 28: Contact Details
United Kingdom Czech Republic Baumatic Ltd., Baumatic CR spol s.r Baumatic Building Průmyslová zóna Se ver 696 6 Bennet Road, 460 11 Liberec 11 Reading, Berkshire Czech Republic RG2 0QX United Kingdom +420 483 577 200 Sales Telephone www.baumatic. (0118) 933 6900...