Advertisement
Advertisement
Table of Contents

Related Manuals for Siemens SpeedStream 4200


Summary of Contents for Siemens SpeedStream 4200
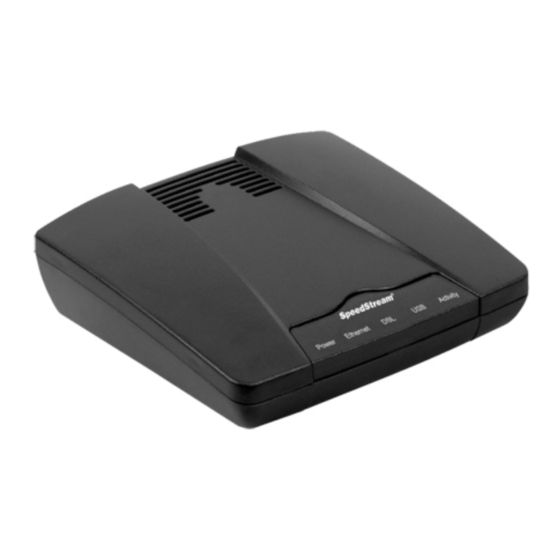
- Page 1 Part # 007-4023-001 Quick-Start Guide SpeedStream ® 4200 Modem PPPoE Modem Router...
-
Page 2: Before You Begin
Before you begin, Verify that the following items came with your DSL kit: SpeedStream® Device Documentation Software Manual CD-ROM + USB drivers Power supply USB cable RJ-45 Straight-through Ethernet cable RJ-11 DSL cable Your service provider may include an Ethernet adapter, a line filter, and a wall-mount filter in your DSL kit. - Page 3 Step 1 > Install Line Filters Devices such as fax machines, caller Stand-alone Line Filter ID boxes, or phones that share the same phone line as your DSL account require a line filter, which prevents noise from disrupting the DSL signal on the phone line. Filters can be in the form of a stand-alone line filter or a wall-mount filter.
-
Page 4: Choose An Installation Method
Step 2 > Choose an Installation Method The SpeedStream device may be connected to either an existing USB port or an Ethernet ® port. If you choose to attach the SpeedStream device via the Ethernet interface, it is only ® necessary to complete the steps in Option A. -
Page 5: Software Installation
Option B > USB Installation Method Connect the SpeedStream Device ® Internet connection 1. Connect the USB cable to the USB port at the rear of the SpeedStream® device (blue port). RJ-11 DSL cable 2. Connect the other end to the USB port on your computer. -
Page 6: Router Configuration
Step 3 > PC Configuration Procedures Windows Configuration 5. Click Next. 6. Select Connect to the Internet. In order to setup the SpeedStream device, ® 7. Click Next. your PC must first be configured to obtain an 8. Select Setup my connection manually. IP address from a DHCP server. - Page 7 Macintosh Configuration Procedures Macintosh Configuration In order to setup the SpeedStream device, your computer must first be configured to obtain ® an IP address from a DHCP server. Follow the procedure below for OSX: Follow the procedure below for OS9: 1.
-
Page 8: Troubleshooting
Copyright© 2004 SIEMENS SUBSCRIBER NETWORKS, INC. All rights reserved. Siemens and the Siemens logo are trademarks of Siemens AG, Germany. All other trademarks are held by their respective companies. Siemens reserves the right to make changes to product specifications at any time without notice.