Hamilton Beach Summit HBH850 Operation Manual
Bar blender
Hide thumbs
Also See for Summit HBH850:
- Operation manual (57 pages) ,
- Operation manual (157 pages) ,
- Operation manual (57 pages)
Advertisement
Table of Contents
- 1 Blender Safety
- 2 Important Safety Instructions
- 3 Sanitizing
- 4 Technical Service
- 5 Replacement Parts
- 6 Parts and Features
- 7 Control Panel
- 8 Using the Controls
- 9 Special Control Functions
- 10 Using the Blender
- 11 Troubleshooting Guide
- 12 Maintenance
- 13 Product Warranty
- Download this manual
See also:
Operating Manual
840167600
11/07
www.commercial.hamiltonbeach.com
www.commercial.hamiltonbeach.com
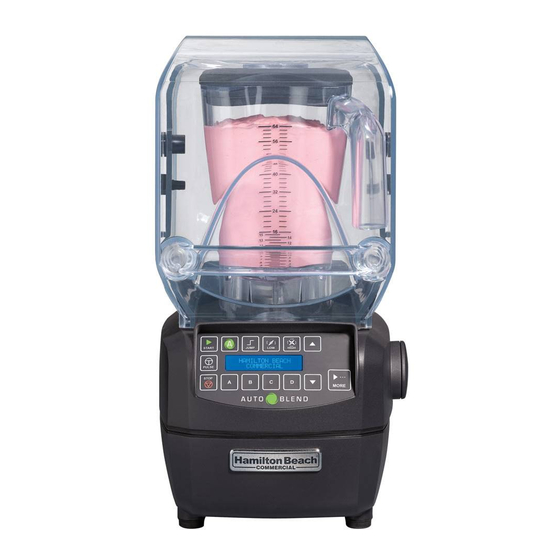
Model HBH850
Bar blender
Operation Manual
Page 2
Modèle HBH850
Mélangeur de bar
Manuel d'utilisation
Page 20
Modelo HBH850
Licuadora para bar
Manual de uso
Página 38
READ BEFORE USE.
LIRE AVANT D'UTILISER.
LEA ANTES DE USAR.
Advertisement
Table of Contents

Related Manuals for Hamilton Beach Summit HBH850


Summary of Contents for Hamilton Beach Summit HBH850
- Page 1 Model HBH850 Bar blender Operation Manual Page 2 Modèle HBH850 Mélangeur de bar Manuel d’utilisation Page 20 Modelo HBH850 Licuadora para bar Manual de uso Página 38 READ BEFORE USE. LIRE AVANT D’UTILISER. LEA ANTES DE USAR. 840167600 www.commercial.hamiltonbeach.com www.commercial.hamiltonbeach.com...
-
Page 2: Blender Safety
Blender Safety IMPORTANT: This operation manual should be reviewed with all equipment operators as part of your operator training program. IMPORTANT SAFETY INSTRUCTIONS WARNING – When using electrical appliances, basic safety precautions should be followed, including the following: 21. Do not use outdoors. 1. -
Page 3: Sanitizing
Safety Alert Symbols Sanitizing The following safety alert symbols are used throughout this manual to alert you to the safety hazards described below. Sanitize using 1 tablespoon (15 ml) of household bleach per 1 gallon (3.8 liter) of clean, cool water (60°F/16°C), mixed according to the instructions Electrical Shock Hazard on the bleach. -
Page 4: Parts And Features
Parts and Features The parts and features for the Summit blenders are shown on this page. Become familiar with all parts and features before using your blender. For questions, call Technical Service at 1-866-285-1087 or visit our web site at: www.commercial.hamiltonbeach.com Jar cover/ filler cap... -
Page 5: Control Panel
Control Panel AUTOBLEND button JUMP button LOW/HIGH buttons Blender automatically Blender automatically Use to select the stops when drink is at changes speed from blending speed. the right consistency. LOW to HIGH during the cycle. POWER ON START button (I)/OFF (O) Starts the button selected cycle. - Page 6 Above Counter Installation 20″ min. 22.5″ min. (572 mm) (508 mm) 5″ min. 5″ min. (127 mm) (127 mm) 4’ max. 4′ max. (130 cm) (130 cm)
- Page 7 Convert Above-Counter Blender For In-Counter Installation...
- Page 8 In-Counter Installation 18.5” min. 20″ min. (470 mm) (508 mm) Back of Counter ″ (108 mm) ″ 4’ max. (146 mm) (130 cm) 5” min. 5″ min. (127 mm) (127 mm) Front Edge of Counter 3/4” min. 3/4″ min. 5.1″ min. 6.5”...
-
Page 9: Using The Controls
Using the Controls There are several blending options available, including AUTOBLEND, JUMP cycles, HIGH, or LOW cycles, each with adjustable time settings. You may also store favorite settings for later use with the A, B, C, or D buttons. For quick blending or to “freshen up” a beverage, use the PULSE button. This is the default screen for the blender or if AUTOBLEND AUTOBLEND is pressed. -
Page 10: Special Control Functions
Use the L or M button to scroll through the options. Press the START button to select that option. SPECIAL FUNCTIONS Displays the Hamilton Beach Commercial technical service number. CUSTOMER SERV. INFO START TO SELECT... -
Page 11: Using The Blender
Using the Blender... - Page 12 Using the Blender Use the AUTOBLEND cycle for most Press and hold PULSE for short bursts. blending jobs. Use stored custom cycles for favorites. See USING THE CONTROLS for details on cycles and options.
- Page 13 Using the Blender Or use the preprogrammed JUMP , LOW, or HIGH cycles. Press L or M to adjust time. See USING THE CONTROLS for details on cycles and options.
- Page 14 00:02...
- Page 16 Replacing the Cutter Assembly Do not overtighten!
-
Page 17: Troubleshooting Guide
Troubleshooting Guide Problem . . . Solution . . . • Make sure that the main power ON (I)/OFF (O) button is ON (I). Blender fails to start or stops while it is • Check to see if unit is securely plugged into an electrical outlet of the proper running and display is voltage and frequency. -
Page 18: Maintenance
Reasonable proof of date of purchase must be presented; otherwise the effective date of the warranty will be based upon the date of manufacture plus ninety (90) days. You are responsible for paying shipping and handling charges to return the product to us. Hamilton Beach Brands, Inc. Commercial Technical Service 261 Yadkin Road... - Page 19 Commercial will ship a replacement product to your location. Step Three: Once the replacement unit is received, you send the troubled unit back to Hamilton Beach Commercial (we’ll provide the box and supporting materials to return the unit). Hamilton Beach Commercial will pay the freight cost for the returned unit.