Table of Contents
Advertisement
Quick Links
Models Included
ILGD
CAUTION: Please use
this setup procedure
before attempting to use
this grinder. Failure to follow the
instructions can result in injury or
the voiding of the warranty.
WARNING TO AVOID
SCALDING, Remove
the brew cone carefully.
The brew cone contains hot
coffee grounds. Wait until the
brewer indicates that the brew is
finished before removing.
ISO 9001:2008 REGISTERED
WILBUR CURTIS CO., INC.
6913 West Acco Street
Montebello, CA 90640-5403
For the latest information go to
www.wilburcurtis.com
Tel: 800-421-6150
Fax: 323-837-2410
W
ilbur
Service Manual – Digital Interlock Grinders
Important Safeguards & Symbols
This appliance is designed for commercial use. Any servicing other than cleaning and
maintenance should be performed by an authorized Wilbur Curtis service technician.
• Do NOT immerse the unit in water or any other liquid
• To reduce the risk of fire or electric shock, do NOT open top panel. No user serviceable
parts inside.
• Keep hands and other items away from hot parts of unit during operation.
• Never clean with scouring powders or harsh chemicals.
SYMBOLS
WARNINGS – To help avoid personal injury
Important Notes/Cautions – from the factory
SETUP STEPS
1. Install the grinder on a firm, level base in a location where it can be connected to a
grounded electrical outlet of 120VAC, rated at 15 amps minimum.
2. Test the unit by running some whole bean coffee through the grinder. If any problems
are encountered, refer to the troubleshooting section complete at www.wilburcurtis.com
or call Technical Support at 800-995-0417.
3. Interlock Connection: If hooking up the brewer and grinder for the Interlock option,
locate the jack on back of the brewer marked CLASS 2 WIRING. Plug in the Interlock
cable from the grinder into this jack on the brewer.
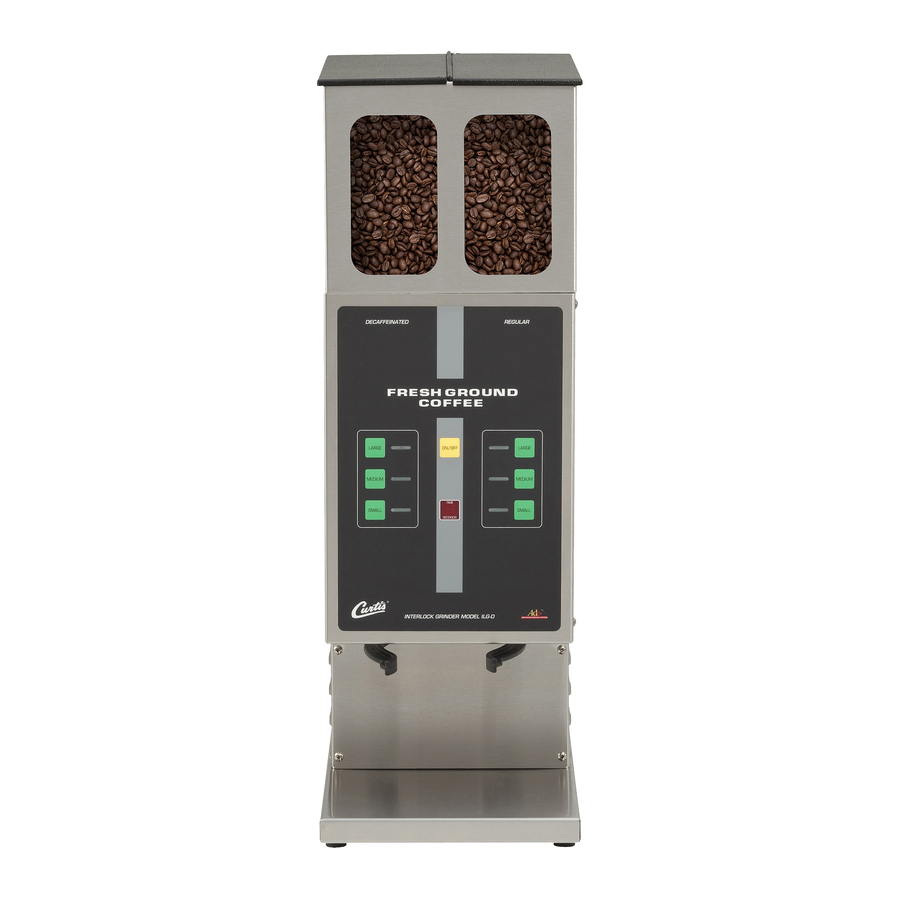
OPERATING INSTRUCTIONS
1. Lift open the top cover of the grinder and fill with fresh whole
bean coffee. Close the cover.
2. Position an empty coffee container onto the brew deck.
3. Place a new paper filter into the brew cone.
4. Insert the brew cone into the basket holder arms on the
grinder.
5. On the grinder control panel, press the desired grind size/brew
volume button; SMALL, MEDIUM or LARGE.
6. Make sure the motor comes to a stop before removing the
brew cone.
7. For Interlock brewers: The brew selection is "Locked" into the
brewer, indicated by a flashing LED next to the corresponding
brew button.
8. Transfer the filled brew cone to the brewer and press the de-
sired brew button. The brew cycle is complete when the brew
light stops flashing.
C
C
urtis
ompany
, i
.
nC
Advertisement
Table of Contents

Related Manuals for Curtis ILGD


Summary of Contents for Curtis ILGD
-
Page 1: Operating Instructions
WARNINGS – To help avoid personal injury Important Notes/Cautions – from the factory Models Included ILGD SETUP STEPS 1. Install the grinder on a firm, level base in a location where it can be connected to a CAUTION: Please use grounded electrical outlet of 120VAC, rated at 15 amps minimum. -
Page 2: Rough-In Drawing
ADJUSTING THE GRINDING BURRS 1. Empty the hopper of coffee beans. Run the grinder for a short time to clear grinding burrs of coffee. 2. Open the housing cover (10) to locate the adjustment screw (8) and lock nut (7). With a wrench, loosen the lock nut. 3. -
Page 3: Troubleshooting Guide
PROGRAMMING THE ILGD GRINDER Your grinder has been adjusted at the time of manufacture to provide satisfactory performance in most situations. In the event that you would like to vary the settings the grinder can be reprogrammed. Both grinders are programmed identically. -
Page 4: Parts Diagram
PARTS DIAGRAM HOPPER & TOP COVER CENTER COVER & GEAR MOTOR... -
Page 5: Parts List
SHAFT AGITATION WHEEL (OPTIONAL) WC-9116 HOPPER ASSEMBLY, DUAL GRINDERS WC-9158 AUGER ASSEMBLY DHG/ILG/ILGD WC-9183 BEARING, AUGER BRASS WC-91013 WRAP, DUAL HOPPER ILGD WC-9130 FUNNEL, DHG/ILGD WC-9134 SHIELD, HOUSING, ILGD/ILG/SHG/DHG WC-9151* MOTOR, GEAR 115V DUAL GRINDER WC-1504 BREAKER, CIRCUIT 10A 120/250VAC... - Page 6 WC-3518 LEG, GLIDE 3/8”-16 STUD SCREW WC-4813 SCREW, SHOULDER, 5/16 x 5/8 WC-9141 BASKET HOLDER ASSEMBLY WC-9135* MOTOR, SLICING GRINDER ASSEMBLY 120VAC SHG/DHG/ILGD WC-9155 SPRING, BASKET HOLDER WC-91024 SHEAR DRIVE COFFEE GRINDER WC-91015 SCREW & THRUST PIN ADJUSTING ASSEMBLY WC-91026...
- Page 7 Cleaning the Coffee Grinder Regular cleaning and preventive maintenance is essential in keeping your coffee grinder looking and working like new. CAUTION – Unplug the grinder from the electrical power source. Do not use cleansers, bleach liquids, powders or any other substance containing chlorine. These products pro- mote corrosion and will pit the stainless steel.
- Page 8 Product Warranty Information The Wilbur Curtis Company certifies that its products are free from defects in material and workmanship under normal use. The following limited warranties and conditions apply: 3 Years, Parts and Labor, from Original Date of Purchase on digital control boards.