Advertisement
Advertisement
Table of Contents

Related Manuals for JL Audio W7


Summary of Contents for JL Audio W7
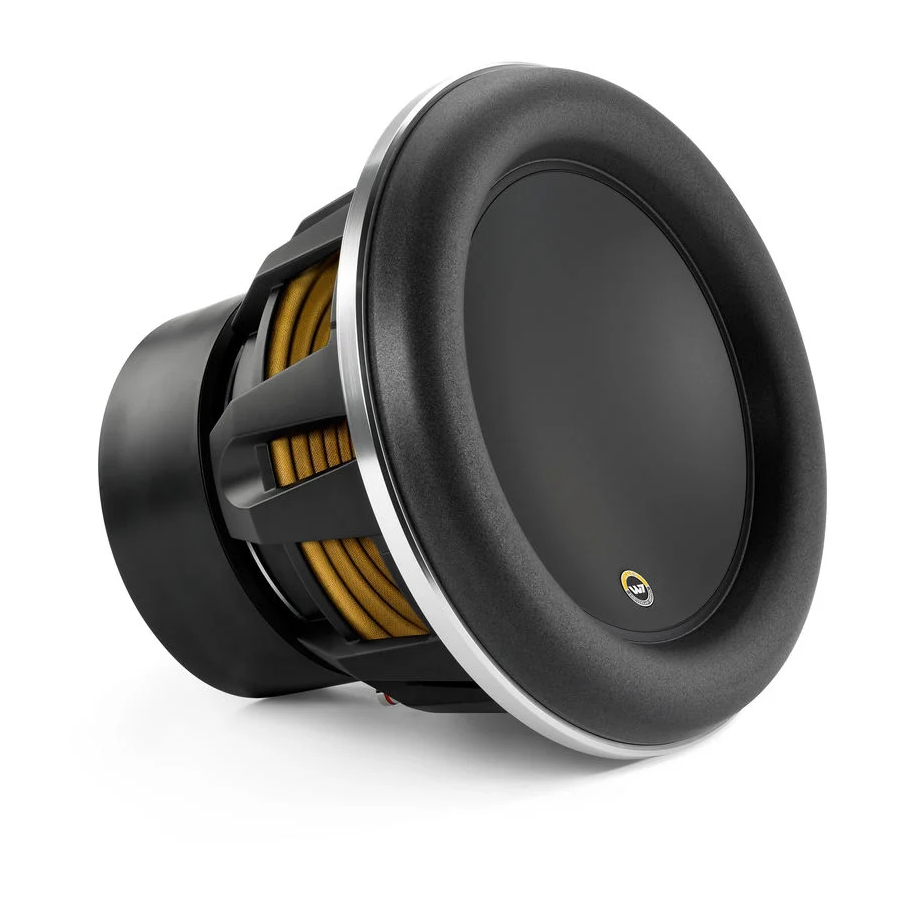
- Page 1 Owner’s Manual...
- Page 2 When designing systems with W7 drivers, it is very important to achieve a good power match between the subwoofer amplifier and the subwoofer driver's capabilities. The power levels listed in the above chart represent continuous (RMS) amplifier power per woofer and assume that the user will regularly make full use of that power without drastically overdriving (clipping) the amplifier(s). Make sure you factor system impedance and the total number of subwoofers into your calculations.
- Page 4 W7 Mounting Guide Please review the mounting procedures thoroughly before attempting to remove the speaker from its shipping baffle. The W7 mounts like no other speaker and care must be taken to follow these instructions precisely. Step 1: Your Tools...
- Page 5 W7 (picture 6a). The 13W7 (not shown) has dual voice coils and must be wired with its coils in series or in parallel. Once the speaker is wired, gently lower it into the enclosure (picture 6b).
-
Page 6: Amplifier Recommendation
1000/1v2 Bass EQ: Generally not necessary in W7 applications (we recommend defeating it by switching the “Bass EQ” switch to “Off”). May be used with Remote Bass Control to provide some user controllable broad bass boost. When used in this manner, set “Q”... -
Page 7: Specifications
Phillips pan-head machine screws with #12-28 T-Nuts, each at least 1/2-inch (12.5 mm) longer than the thickness of the mounting baffle (not included). Unpacking/Mounting: Please refer to the “How to: Mount a W7 Subwoofer ” on pages 4 & 5 for detailed, step-by-step instructions. Bolt Hole Circle 12.7 in. -
Page 8: Back Panel Overview
500/1v2 or G-MAX Bass EQ: Generally not necessary in W7 applications (we recommend defeating it by switching the “Bass EQ” switch to “Off”). May be used with Remote Bass Control to provide some user controllable broad bass boost. When used in this manner, set “Q”... - Page 9 Phillips pan-head machine screws with #10-32 T-Nuts, each at least 1/2-inch (12.5 mm) longer than the thickness of the mounting baffle (not included). Unpacking/Mounting: Please refer to the “How to: Mount a W7 Subwoofer ” on pages 4 & 5 for detailed, step-by-step instructions. Bolt Hole Circle 11.27 in.
- Page 10 G-MAX Bass EQ: Generally not necessary in W7 applications (we recommend defeating it by switching the “Bass EQ” switch to “Off”). May be used with Remote Bass Control to provide some user controllable broad bass boost. When used in this manner, set “Q”...
- Page 11 Phillips pan-head machine screws with #10-32 T-Nuts, each at least 1/2-inch (12.5 mm) longer than the thickness of the mounting baffle (not included). Unpacking/Mounting: Please refer to the “How to: Mount a W7 Subwoofer ” on pages 4 & 5 for detailed, step-by-step instructions. Bolt Hole Circle 9.34 in.
- Page 12 Set “Mode/Slope” switch to “24dB”. Set “Filter Freq. (Hz)” knob to “85”. Lower settings are likely to result in a poor transition between the upper response of the W7 and the lower response of the mid-bass speakers. Dual Mono Speaker Output connections: Connect wire directly to “+”...
- Page 13 Phillips pan-head machine screws with #8-32 T-Nuts, each at least 1/2-inch (12.5 mm) longer than the thickness of the mounting baffle (not included). Unpacking/Mounting: Please refer to the “W7 Installation: Mounting System ” sheet for detailed, step-by-step instructions. Bolt Hole Circle 7.39 in.
- Page 14 Input Sensitivity Setting Guide What follows is a simple method for accurately setting the input sensitivity (commonly referred to as “gain”) of JL Audio subwoofer amplifiers. You will need the following equipment: • AC Voltmeter (digital display type) • A CD with a sine-wave test tone recorded at 0dB reference level in the frequency range to be amplified (40-50 Hz works well).
-
Page 15: Limited Warranty
Limited Warranty JL AUDIO warrants this speaker to be free of defects in materials and workmanship for a period of one (1) year from the original date of purchase. This warranty is not transferrable and applies only to the original purchaser of the product from an authorized JL AUDIO dealer. - Page 16 JL Audio, Inc. “W7”, “VRC”, “OverRoll”, “W-Cone”, “Ahead of the Curve”, and their respective logos are trademarks of JL Audio, Inc. SKU#011171 • JLA-02-2008 • Printed in USA • ©2008 JL Audio, Inc. U.S. PATENTS: #5,734,734 #5,949,898 #6,118,884 #6,229,902 #6,243,479 #6,294,959 #6,501,844 #6,496,590 #6,441,685 #5,687,247 #6,219,431 #6,625,292 #D472,891 #D480,709 Other U.S.