Table of Contents
Advertisement
Quick Links
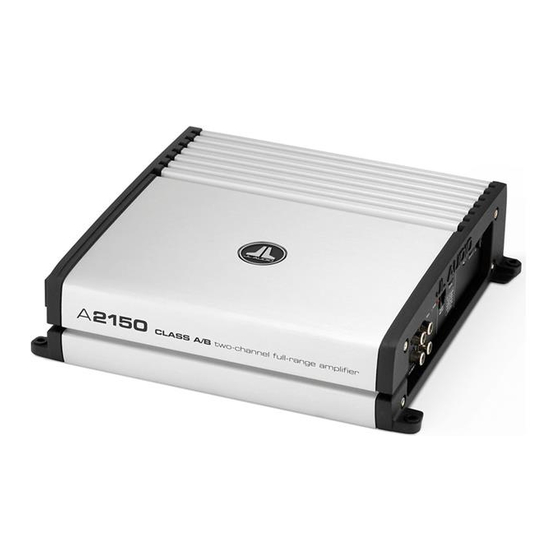
A2150
two-channel full-range amplifier
OWNER'S MANUAL
Thank you for purchasing a JL Audio amplifier for
your automotive sound system.
Your amplifier has been designed and manufactured to exacting
standards in order to ensure years of musical enjoyment in your vehicle.
For maximum performance and extended warranty
coverage, we highly recommend that you have your new amplifier
installed by an authorized JL Audio dealer. Your authorized
dealer has the training, expertise and installation equipment to ensure
optimum performance from this product. Should you
decide to install the amplifier yourself, please take the time
to read this manual thoroughly so as to familiarize yourself
with its installation requirements and setup procedures.
If you have any questions regarding the instructions in this
manual or any aspect of your amplifier's operation, please contact your
authorized JL Audio dealer for assistance. If you need further assistance,
please call the JL Audio Technical Support Department
at (954) 443-1100 during business hours.
Advertisement
Table of Contents

Summary of Contents for JL Audio A2150
- Page 1 If you have any questions regarding the instructions in this manual or any aspect of your amplifier’s operation, please contact your authorized JL Audio dealer for assistance. If you need further assistance, please call the JL Audio Technical Support Department...
-
Page 2: Protect Your Hearing
Cooling Efficiency Considerations: The outer shell of your JL Audio amplifier is designed to remove heat from the amplifier circuitry. For optimum cooling performance, this outer shell should be exposed to as large a volume of air as possible. - Page 3 If only the A2150 is being run from that power wire, we recommend a 20A fuse be used. AFS (mini blade fuse), AGU (big glass fuse) or MaxiFuse™...
-
Page 4: Input Section
Appendix B (page 13). Tuning Hint: If you are using the A2150 to drive a subwoofer system (“LP” mode), a component satellite speaker system (“HP” mode) or both, 80 Hz is a good baseline “Filter Freq. -
Page 5: Bass Boost Controls
SPEAKER OUTPUTS The A2150’s speaker outputs are designed to accept 16 AWG - 8 AWG wire. The A2150 is designed to deliver power into speaker loads equal to or greater than 2 ohms when using a “stereo” configuration and speaker loads equal to or greater than 4 ohms when using a “bridged”... - Page 6 If your amplifier fails or malfunctions, please return it to your authorized JL Audio dealer so that it may be sent in to JL Audio for service. There are no user serviceable parts or fuses inside the amplifier. The unique nature of the circuitry in the JL Audio amplifiers requires specifically trained service personnel.
- Page 7 Following the directions below will allow the target voltage is observed with the voltmeter. installer to adjust the input sensitivity of each 9) Once you have adjusted the A2150 to its amplifier channel pair simply and easily in just a maximum low-distortion output level, few minutes using equipment which is commonly reconnect the speaker(s).
-
Page 8: Appendix D: Trouble Shooting
JL AUDIO A2150 Check your voltage source and grounding point. The power supply of the A2150 will operate with charging system voltages down to 10V. Shutdown problems at higher volume levels can occur when the charging system voltage drops below 10V. -
Page 9: Installation Notes
INSTALLATION NOTES: Use this diagram to document your amplifier’s switch and control positions. JL AUDIO A2150 JL AUDIO A2150... - Page 10 INSTALLATION NOTES: INSTALLATION NOTES: JL AUDIO A2150 JL AUDIO A2150...
- Page 11 LIMITED WARRANTY - AMPLIFIERS (USA) JL AUDIO warrants this product to be free of defects in materials and workmanship for a period of ninety (90) days from the original date of purchase. The warranty term is extended to two (2) years if installation is performed or approved by an authorized JL AUDIO dealer (proof of installation or approval required on purchase receipt).


