Advertisement
Quick Links
I n s t a l l a t I o n G u I d e
for the
SB-F-SUPRCC/13TW5
sKu#94414
2008+
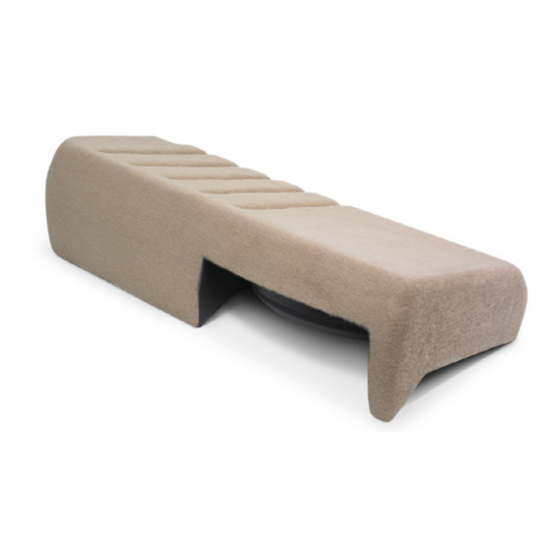
Thank you for choosing a JL Audio Stealthbox
installation, your new vehicle-specific enclosed subwoofer system will deliver years of listening pleasure.
We strongly recommend that you have your new Stealthbox
dealer. The installation professionals employed by your dealer have the necessary tools and experience
to disassemble and reassemble your vehicle properly. Also, keep in mind that your warranty coverage
extends to 2 years if your system is installed or approved by your authorized JL Audio dealer. If you
prefer to perform your own installation, please read this installation guide completely
before beginning the process.
®
for your automotive sound system. With proper
®
installed by your authorized JL Audio
If you choose to perform the installation yourself, it is absolutely vital that
the Stealthbox
®
be properly mounted to the vehicle according to these
instructions. Failure to mount the enclosure properly presents two problems:
1) The sub-bass performance will suffer due to the movement of the enclosure
caused by the force exerted by the woofer(s).
2) A loose enclosure presents a serious safety hazard in the event of a collision
or sudden deceleration.
STEALTHBOX WALL
MOUNTING BRACKET
LOCK WASHER
HEX BOLT
THREADED INSERT
FLAT WASHER
SB-F-SUPRCC/13TW5 INSTR_SKU# 011275
InstallatIon
d I F F I C u l t Y :
1
estImated tIme:
1 HouR
s t e P 1
Remove any contents in the backseat area and flip the seat
up.
Remove the 6 Torx® T40 bolts that hold in the floortray as
indicated by the circles on the picture to the left. This tray
will not be used, remove it from the truck and, store it for re-
installation if the truck needs to return to OEM configuration.
set aside 4 of the T40 Torx® bolts, they will be used to install
the Stealthbox®.
s t e P 2
There are four brackets that need to be installed on the
enclosure, two on each end. the short end of the bracket
attaches to the enclosure using the supplied hardware (see
DETAIL below). Do not tighten hardware down at this point,
just get it in place.
d e t a I l
Continued on Next Page
out
oF
5
Advertisement

Related Manuals for JL Audio Stealthbox SB-F-SUPRCC/13TW5


Summary of Contents for JL Audio Stealthbox SB-F-SUPRCC/13TW5
- Page 1 Also, keep in mind that your warranty coverage extends to 2 years if your system is installed or approved by your authorized JL Audio dealer. If you prefer to perform your own installation, please read this installation guide completely before beginning the process.
- Page 2 . j l a u d i o . c o m All specifications are subject to change without notice. “JL Audio®” and the JL Audio logo, “Stealthbox” and the Stealthbox logo are registered trademarks of JL Audio, Inc. “Ahead of the Curve” and its respective logo is a trademark of JL Audio, Inc.