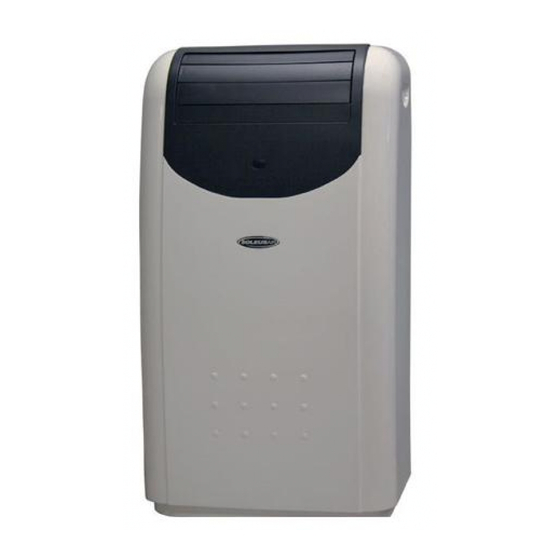
Soleus Air LX-140 Owner's Manual
Hide thumbs
Also See for LX-140:
- Operating instructions manual (19 pages) ,
- Operating instructions (4 pages) ,
- Operating instructions manual (19 pages)
Advertisement
Table of Contents
- 1 Table of Contents
- 2 Important Safeguards
- 3 Package Contains
- 4 Names of Parts
- 5 Installation before Use
- 6 Control Panel and Vfd Display
- 7 Control Panel
- 8 Control Panel Functions
- 9 Operation Using Control Panel
- 10 Operation Using Remote Controller
- 11 Maintenance
- 12 Technical Specifications
- 13 Disclaimer
- 14 Contact Information
- 15 Warranty
- Download this manual
See also:
Operating Instructions
Advertisement
Table of Contents

Summary of Contents for Soleus Air LX-140
- Page 1 - Cooling - Heating Pump - Dehumidifying - Fan Please read this owner’s Manual carefully before operating the unit...
-
Page 2: Table Of Contents
TABLE OF CONTENTS INTRODUCTION………………………………………………………………… IMPORTANT SAFEGUARDS………………………………………………..….2 PACKAGE CONTAINS…………………………………………………………..2 NAMES OF PARTS……………………………………………………………….3 INSTALLATION BEFORE USE……………………………..….………………4 CONTROL PANEL AND VFD DISPLAY………….…..……………………….5 CONTROL PANEL FUNCTIONS……………………………………………….6 OPERATION USING CONTROL PANEL………………………...….…..……7 OPERATION USING REMOTE CONTROLLER…………………………..…9 MAINTENANCE……………..……………………………….…..………………9 TECHNICAL SPECIFICATIONS…………………………………….….…….10 DISCLAIMER…………………………………………………………………… CONTACT INFORMATION…………………………………...……………… WARRANTY ……………………………………….………………………………….….…12 INSTALLATION OF THE VENTING KIT ………….……………………….…….13... -
Page 3: Important Safeguards
INTRODUCTION Thank you for purchasing Soleus Air LX-140 portable air-conditioner. This unit is designed for improving living and working comfort by providing cooling, heating, dehumidifying and fan functions only with a minimum installation required. With its quite operation and attractive design, you will enjoy the convenience and comfort that this unit provides for many years to come. -
Page 4: Names Of Parts
NAMES OF PARTS... -
Page 5: Installation Before Use
Exhaust Duct Window Kits INSTALLATION BEFORE USE Binary Hose Design Note: When you using the unit for cooling, heating or as a dehumidifier, the outdoor air must be directed to the unit and the hot air must be exhausted out of the room to complete the air exchange. - Page 6 securely closed. Mount terminal ends of the exhaust hose to the unit. Figure A. Single hose, Outlet Panel Insert Filter Outlet Panel Cover (Figure A.) to allow air to flow out panel. Open window or sliding door for approximately 5 inches (130 mm) Adjust the length of the window kit to the same length of the window or the sliding door.
- Page 7 Figure C. dual hose solid panel e) Insert solid panel (Figure C.) to allow air to flow out exhaust hose not panel. f) Open window or sliding door for approximately 5 inches (130 mm) g) Adjust the length of the window kit to the same length of the window or the sliding door.
-
Page 8: Control Panel And Vfd Display
CONTROL PANEL AND VFD DISPLAY CONTROL PANEL VFD DISPLAY (Vacuum Fluorescent Display) Control Panel Functions Power On/Off Control Starts or Stops the Unit Mode Control Select the functions of the unit for: Fan Mode Air Conditioning Mode Heating Mode Dehumidifying Mode... -
Page 9: Operation Using Control Panel
Auto Mode Fan Speed Control Select the fan speed for: High Medium The fan speed can be visually distinguished by the speed of the digital air segments progressing out from the windmill fan image on the VFD display. Temperature Select the desired temperature by pressing either ∧or ∨ key when using the unit in cooling or heating function. - Page 10 NOTE: During hot days, the unit will cool off the room most efficiently by setting the temperature at the lowest and the fan speed at the highest. Reducing the length of the exhaust duct and insulating the exhaust duct and keeping direct sunlight to a minimum will also improve the cooling efficiency. Dehumidifying Operation Install the exhaust ducts properly Plug the Power Cord to the power outlet.
- Page 11 Turn on the unit by pressing the On/Off Button on the control panel. Press the Mode Button until the “ ” appears on the VFD display. Select the fan speed by using FAN button. During the AUTO model, the unit operates at heating mode when the room temperature is below 68 degree.
-
Page 12: Operation Using Remote Controller
OPERATION USING REMOTE CONTROLLER The remote controller provided with the unit may operate this portable air conditioner. The remote controller uses two - AAA batteries (provided). Install the batteries before using the remote controller. REMOTE CONTROLLER You can use the remote controller to do all the operations which can be done by the control panel. While you can only set SLEEP mode from the remote controller, not the control panel. -
Page 13: Technical Specifications
Empty water by unplugging the water drainage stop at the back towards the bottom of the unit Unplug the unit. The unit should be stored in a cool dry place. TECHNICAL SPECIFICATIONS MODEL LX-140 COOLING CAPACITY 14,000 BTU/H HEATING CAPACITY 11,000 BTU/H DEHUMIDIFYING CAPACITY... -
Page 14: Disclaimer
DISCLAIMER ALL INFORMATION AND THE TECHNICAL SPECIFICATIONS PRESENTED IN THIS USER’S MANUAL ARE THE PRESENTATION OF THE MANUFACTURER. SOLEUS INTERNATIONAL HAS NOT CONDUCTED INDEPENDENT TEST TO THE INFORMATION AND THE SPECIFICATIONS PRESENTED HEREWITHIN. CONTACT INFORMATION Contact For Optional and Spare Parts Technical Support Warranty Claim Customer Service... -
Page 15: Warranty
WARRANTY ONE YEAR LIMITED WARRANTY Soleus International Inc. warrants the accompanying Soleus Air LX-140 Mobile Air Conditioner to be free of defects in material and workmanship for the applications specified in its operation instruction for a period of ONE (1) year from the date of original retail purchase in the United States or Canada.


