Table of Contents
Advertisement
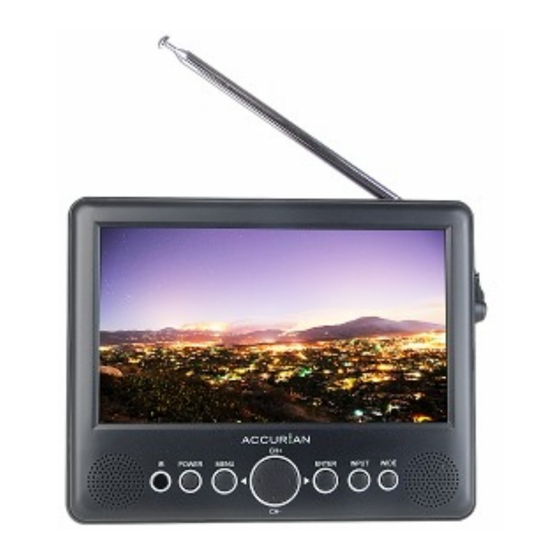
Thank you for purchasing this Accurian 7" Widescreen Portable Handheld TV.
Please read this user's guide before installing, setting up, or using your new TV.
What's included
7'' LCD Digital TV
Remote Control with battery
Audio/Video Cable
AC Adapter
Car Power Adapter
External Antenna (16 ft)
L Shaped F Connector
User's Guide
7" Widescreen Portable Handheld TV
®
16-454
Advertisement
Table of Contents

Summary of Contents for Accurian 16-454
- Page 1 ® 7” Widescreen Portable Handheld TV 16-454 Thank you for purchasing this Accurian 7” Widescreen Portable Handheld TV. Please read this user’s guide before installing, setting up, or using your new TV. What’s included 7’’ LCD Digital TV Remote Control with battery...
-
Page 2: Table Of Contents
Contents Important Safety Information Powering Your Portable TV Using AC to DC Adapter Using Built-In Battery Remote Control Features Replacing the Remote Control’s Battery Portable TV Features Settings Menu Setting Up Channels Selecting Analog or Digital Channels Using External Antenna Using AV Input Lithium Battery Safety Instructions Specifications... -
Page 3: Important Safety Information
Important Safety Information Placement. To prevent fire or electric shock, do not expose this TV to rain or moisture. Do not place the set on an unstable cart, stand, tripod, bracket or table to prevent it from falling. Keep the unit away from strong magnets, heat sources, direct sunlight, excessive dust. -
Page 4: Powering Your Portable Tv
Powering your Portable TV External Power Source Connect one of the provided adapters to the DC input jack on the right side of the portable TV, then connect it to the power source. CAUTION! • To avoid injury, do not connect the provided AC power adapter to a ceiling outlet. -
Page 5: Remote Control Features
Remote Control Features Your remote control comes with a battery already installed. Pull the plastic tab out of the battery compartment to begin using the remote. AUTO DISPLAY Accesses the Autoscan. Displays channel information. MENU GUIDE Accesses the TV menu. Displays program information for digital stations. -
Page 6: Portable Tv Features
Portable TV Features WIDE Select Widescreen or Infrared sensor receives Auto format. information from remote. MENU INPUT Accesses the TV menu. Select TV or AV IN. ENTER Up/Down / Use to highlight selections on menu screen. Confirm your CH +/- selections. - Page 7 Left Side Right Side RF IN Connect the antenna wire and adjust the antenna rod. Connect the external antenna to improve reception at a fixed position. Headphone Jack Insert earphone for AV IN private listening. The Connect an AV device. built-in speaker mutes.
-
Page 8: Settings Menu
Settings Menu To access the settings menu, press MENU. Using the buttons, select a system setting (see table for descriptions) and press ENTER to select. Clock OSD Duration The duration of the on-screen display: 2, 4, 6, or 8 seconds. Sleep Timer The TV turns off if left inactive for this amount of time: 5, 10, 15, 30, 45, 60, 90, 120, 180, 240... -
Page 9: Setting Up Channels
Setting Up Channels You must scan for available analog and digital channels when you set up your TV. If you do not scan for channels, the Channel Up and Down buttons will not function. To scan for channels: Turn on your TV and set the input to TV. Press MENU. -
Page 10: Using Av Input
Using AV Input Connect the AV Cable’s plugs to the external AV device (DVD player, etc.): • Yellow – Connect to the VIDEO OUT jack on the AV Device. • Red – Connect to the AUDIO OUT R jack on the AV Device. •... -
Page 11: Troubleshooting
Troubleshooting Problem Cause Solution The player • Low battery. • Charge the battery. won’t turn on • The AC power cord is • Check that the AC power cord is not plugged in. conncted. • AC outlet does not • Test the outlet by plugging in another work. -
Page 12: Rf Emissions Information
Service Center America Action, Inc. 100 Exchange Place Pomona, CA 91768 1-866-571-9143 16-454 ©2009. RadioShack Corporation. 04A09 Printed in China All rights reserved. Accurian is a trademark used by RadioShack.