Table of Contents
Advertisement
Advertisement
Table of Contents

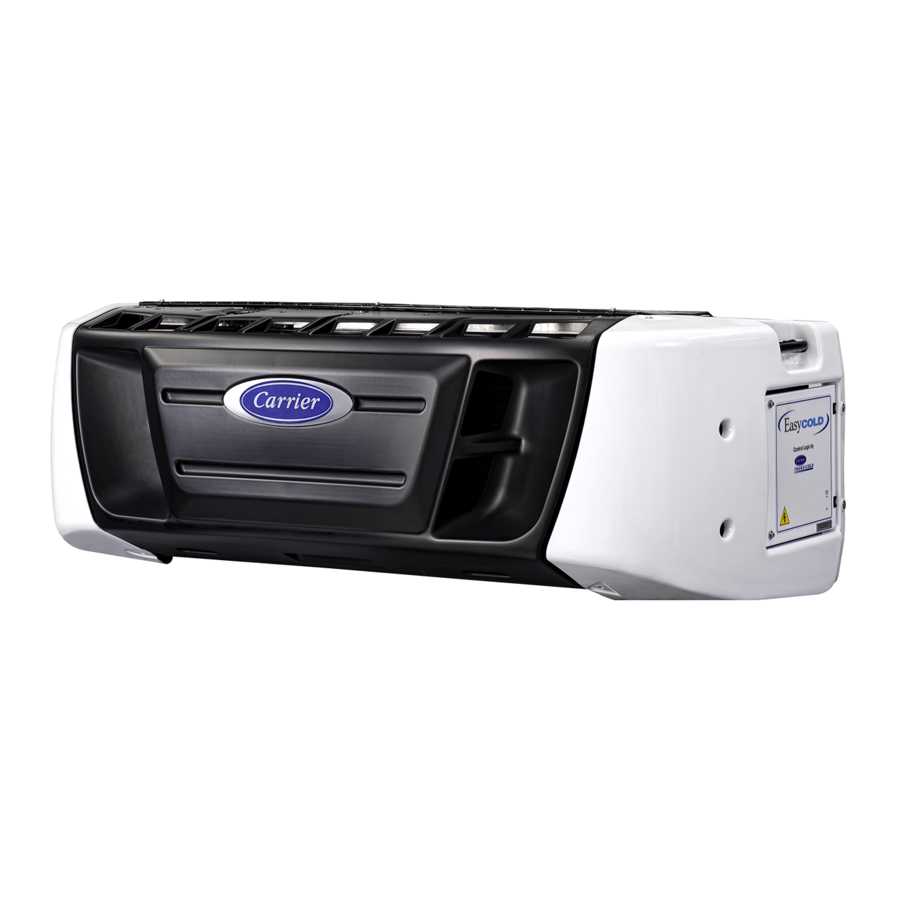
Related Manuals for Carrier Transicold Supra 550


Summary of Contents for Carrier Transicold Supra 550
- Page 2 OPERATOR’S MANUAL Supra 550, 650, 750, 850 & 950 TRUCK REFRIGERATION UNITS...
-
Page 3: Table Of Contents
CONTENTS Page Unit Identification ......Safety ........Pre-Trip Inspection . - Page 4 Please take the time to read the information contained in this booklet and refer to it when- ever you have a question about the operation of your Carrier Tran- sicold Supra unit.
-
Page 5: Unit Identification
If a problem occurs, please refer to the information on this plate, and make a note of the model and serial number before calling for assistance. This information will be needed when you contact a technician or Carrier Transicold Service Engineer so that he or she may properly assist you. NAMEPLATE... -
Page 6: Safety
AFETY Your Carrier Transicold refrigeration unit has been designed with the safety of the operator in mind. During normal operation, all moving parts are fully guarded to help prevent injury. During all pre-trip inspections, daily inspections, problem troubleshooting, you may be exposed to moving parts; please stay clear of all moving parts when the unit is in operation and when the unit main power switch is in the RUN position. -
Page 7: Pre-Trip Inspection
NSPECTION The pre-trip inspection should be performed before picking up any load. This inspection is essential to anticipate and help minimize the possibility of “over-the-road” problems. These checks take only a few minutes. 1. Place the unit’s main switch in the STOP (0) position. 2. - Page 8 5. Engine Oil -- the engine oil should be checked last since it is necessary for oil to drain from the block and into the oil pan to obtain a correct reading. Remove the dipstick, wipe it off and re-insert it fully into the engine block.
-
Page 9: Unit Operation
PERATION TARTING THE UNIT - - PERATION WARNING Under no circumstances should ether or any other starting aids be used to start engine. ALARM/FAULT 35° F UNIT DATA SETPOINT BOX TEMPERATURE FUNCTION ENTER AUTO START/STOP PRETRIP CITY ROAD BUZZER OFF STANDBY SPEED DEFROST... -
Page 10: Starting The Unit -- Standby Operation
TARTING THE UNIT - - TANDBY PERATION WARNING Make sure the power plug is clean and dry before con- necting to any power source. Do not attempt to connect or remove power plug or perform service and/or maintenance before ensuring the unit RUN/STOP Switch is in the STOP position and the I/O switch is in the “O”... -
Page 11: Starting The Unit -- Manual Operation
TARTING THE UNIT - - ANUAL PERATION 1. Place unit RUN/STOP switch in RUN and I/O switch in “I” position. (Manual Operation will only function if unit is in Continuous Mode. If AUTO START/STOP indictor is illuminated, press AUTO START/STOP toggle key to place unit in Continuous Mode.) 2. -
Page 12: Pretrip Check
RETRIP HECK 1. Start and run unit until box temperature is 40_±5°F (4.4_±2.8°C). 2. Press PRETRIP CHECK key. ALARM/FAULT PPPP UNIT DATA SETPOINT BOX TEMPERATURE FUNCTION ENTER AUTO START/STOP PRETRIP CITY ROAD BUZZER OFF STANDBY SPEED DEFROST The PRETRIP key initiates a check of all normal operating modes. Upon initiation, the unit will cycle through all operating modes at 30 second intervals. -
Page 13: Changing Setpoint
HANGING ETPOINT Press UP or DOWN arrow key to increase or decrease displayed setpoint. ALARM/FAULT 35° F UNIT DATA SETPOINT BOX TEMPERATURE FUNCTION ENTER AUTO START/STOP PRETRIP CITY ROAD BUZZER OFF STANDBY SPEED DEFROST Press ENTER key when desired setpoint is displayed to lock in new setpoint. - Page 14 Setpoints of -22°F to +89°F (-30°C to +32°C) may be entered via the keypad. The controller always retains the last entered setpoint in memory. If no setpoint is in memory (i.e. on initial startup), the controller will lock out the run relay and flash “SP” on the left hand display until a valid setpoint is entered.
-
Page 15: Start/Stop Operation
TART/ PERATION ALARM/FAULT 35° F UNIT DATA SETPOINT BOX TEMPERATURE FUNCTION ENTER AUTO START/STOP PRETRIP CITY ROAD BUZZER OFF STANDBY SPEED DEFROST 1. Check if AUTO START/STOP indicator is illuminated. If not, press AUTO START/STOP toggle key to place unit in Start/Stop mode. AUTO START/STOP will then be illuminated. - Page 16 Whenever the unit starts in Auto Start--Stop, it will run until: SIt has run for the predetermined minimum run time. SThe engine coolant temperature is above 122°F (50°C) SThe box temperature is at setpoint. The controller will not shut off the engine if the battery voltage is not sufficient to restart it.
-
Page 17: Continuous Run Operation
ONTINUOUS PERATION ALARM/FAULT 35° F UNIT DATA SETPOINT BOX TEMPERATURE FUNCTION ENTER AUTO START/STOP PRETRIP CITY ROAD BUZZER OFF STANDBY SPEED DEFROST 1. Check if AUTO START/STOP indicator is illuminated. If it is, press AUTO START/STOP toggle key to place unit in Continuous Run mode. AUTO START/STOP indicator will not be illuminated. -
Page 18: Manual Defrost
ANUAL EFROST ALARM/FAULT 35° F UNIT DATA SETPOINT BOX TEMPERATURE FUNCTION ENTER AUTO START/STOP PRETRIP CITY ROAD BUZZER OFF STANDBY SPEED DEFROST 1. Check that box temperature is 40_F (4.4_C) or lower. 2. Press MANUAL DEFROST key to initiate manual defrost. The defrost mode may be initiated in three different ways if the evaporator coil is below 40°F (4.4°C): 1. -
Page 19: City Speed
PEED ALARM/FAULT 35° F UNIT DATA SETPOINT BOX TEMPERATURE FUNCTION ENTER AUTO START/STOP PRETRIP CITY ROAD BUZZER OFF STANDBY SPEED DEFROST 1. Press the CITY SPEED key to toggle between low speed only and normal operating mode. The CITY SPEED key enables the city speed mode of operation. In the city speed mode, the unit will operate in low speed. -
Page 20: Function Change
UNCTION HANGE 1. Press FUNCTION key until Function to be changed is displayed. 2. Press ENTER key. ALARM/FAULT DEFR 12.0H UNIT DATA SETPOINT BOX TEMPERATURE FUNCTION ENTER AUTO START/STOP PRETRIP CITY ROAD BUZZER OFF STANDBY SPEED DEFROST 3. Press either UP or DOWN ARROW key until desired Function setting is displayed. - Page 21 UNCTION HANGE The following table has columns for Code and English displays. English is the default setting. Change Functional Parameter to Code to see Code display format. Functional Parameters CODE ENGLISH DATA DEFR Defrost Interval FN1 ON CITY SPD Low Speed FN1 OFF HIGH SPD High Speed OFF T...
-
Page 22: Unit Data
1. Press UNIT DATA key to scroll thru data list one item at a time. ALARM/FAULT suct UNIT DATA SETPOINT BOX TEMPERATURE FUNCTION ENTER AUTO START/STOP PRETRIP CITY ROAD BUZZER OFF STANDBY SPEED DEFROST 2. To scroll through the list faster, use the UP or DOWN ARROW keys. - Page 23 UNIT DATA CODES The following table has columns for Code and English displays. English is the default setting. Change Functional Parameter to Code to see Code display format. CODE ENGLISH DATA SUCT Suction Pressure Engine Hours Engine Temperature Return Air Temperature *CD5 Supply Air Temperature *CD6...
-
Page 24: Alarm Display And Reset
LARM ISPLAY & ESET LARM ISPLAY When fault light is on, normal display of Setpoint /Box temperature alternates with alarm display. Check display for alarm message. LARM ESET FAULT LIGHT ALARM/FAULT ENG OIL UNIT DATA SETPOINT BOX TEMPERATURE FUNCTION ENTER AUTO START/STOP PRETRIP CITY... - Page 25 Table 2-1. Alarm Display The following table has columns for Code and English displays. English is the default setting. Change Functional Parameter to Code to see Code display format. ALARM DISPLAY = FAULT LIGHT ON ENGLISH DESCRIPTION CODE ENG OIL Low Oil Pressure ENG HOT High Coolant Temperature...
-
Page 26: Stopping Unit
TOPPING ALARM/FAULT 35° F UNIT DATA SETPOINT BOX TEMPERATURE FUNCTION ENTER AUTO START/STOP PRETRIP CITY ROAD BUZZER OFF STANDBY SPEED DEFROST 1. To stop the unit, place the I/O switch in the “O” position. The diesel engine/electric motor will stop and the microprocessor controller will turn off. -
Page 27: Product Loading
RODUCT OADING BEFORE LOADING: D Pre-cool the body. This will remove much of the heat from the inside of the body, and give the product better protection when it is loaded. D Place the unit in a defrost cycle immediately before loading. This will remove moisture accumulated on the evaporator coil. - Page 28 Product stacking is another important factor in protecting the product. Products that generate heat -- fruits and vegetables, for example -- should be stacked so the air can flow through the product to remove the heat. This is called “air stacking” the product. Products that do not create heat -- meats and frozen products -- should be stacked tightly in the center of the trailer.
-
Page 29: Recommended Transport Temperatures
These are included for reference only and should not be considered preemptive of the set point required by the shipper or receiver. More detailed information can be obtained from your Carrier Transicold dealer. Setpoint Range... -
Page 30: Problems
If, however, you run into problems the following section may be of assistance. If you do not find the trouble that you have experienced listed, please call your Carrier Transicold dealer for assistance. General Problems Unit won’t crank. -
Page 31: Troubleshooting
ROUBLESHOOTING Fault Display on Cab Command ENG OIL Low engine oil pressure condition. Check engine oil level. ENG HOT The engine has overheated. Check the coolant level, belts, and radiator coil for air restriction. HI PRESS High compressor discharge pressure. Check all belts, check condenser coil for airflow obstruction and cleanliness START-... - Page 32 Fault Display on Cab Command AL16 SYS CK Low refrigerant pressure detected. Have system checked for leaks. AL17 DISPLAY Communication between main board and the display board has been interrupted. AL18 SERVICE Hour meter is greater than maintenance hour meter 1. AL19 SERVICE Hour meter is greater than maintenance hour meter 2.
-
Page 33: Relay Board
ELAY OARD The fuses and relays that protect the unit are located on the relay board in the control box on the roadside of the unit. They may be accessed by loosening the screws that hold the control panel closed. EFHR3... - Page 34 Fuse Identification Capacity Fuse Purpose (Amps) Main Fuse RCR Fuse Run Relay Fuse Heat Relay Fuse Speed Relay Fuse Unloader Fuse (850 & 950) Defrost Damper Relay Fuse Evaporator Fan Motor 1 Fuse Evaporator Fan Motor 2 Fuse Evaporator Fan Motor 3 Fuse Fuel Pump Fuse Fuel Heater Fuse (on fuel adding har- ness)
-
Page 35: Unit Maintenance
AINTENANCE Engine oil -- the oils recommended for use in your refrigeration unit must comply with the American Petroleum Institute’s (API) SG/CD rating. The use of any oil that does not meet this rating may affect the warranty on the engine in the unit. The use of oil of the proper weight (viscosity) is also essential. -
Page 36: Unit Maintenance Schedule
AINTENANCE CHEDULE For the most reliable operation and for maximum life, your unit requires regular maintenance. This includes oil and filter changes, fuel and air filter replacement, coolant replacement. Maintenance should be performed on the following schedule: ERVICE CHEDULE UPRA 550 D Check engine cooling system. - Page 37 D Replace the cartridge of the dry air filter. D Check battery terminals and fluid level. D Check compressor oil level. Use polyol ester oil (POE) approved by CARRIER. D Check alternator brushes. Check for diesel and standby hours. Petroleum and Synthetic Oil D Check engine thermostat.
- Page 38 D Replace the cartridge of the dry air filter. D Check battery terminals and fluid level. D Check compressor oil level. Use polyol ester oil (POE) approved by CARRIER. D Check alternator brushes. Check for diesel and standby hours. Petroleum and Synthetic Oil D Check engine thermostat.
- Page 39 ERVICE CHEDULE FOR UPRA 650/750/850 ( ONT) Petroleum and D Replace oil filter. Synthetic Oil With and With- D Clean radiator/condenser coil. out Bypass At D Check refrigerant level. 2000 Hours D Change fan motor brushes. Petroleum and D Check and rebuild alternator. Synthetic Oil With and With- Check engine speed:...
- Page 40 D Replace the cartridge of the dry air filter. D Check battery terminals and fluid level. D Check compressor oil level. Use polyol ester oil (POE) approved by CARRIER. D Check alternator brushes. Check for diesel and standby hours. Petroleum and D Check engine thermostat.
- Page 41 D All units are shipped with Extended Life Coolant. Replace every 5 years/12,000 hours. A more detailed description of service requirements and procedures can be found in the Service and Operations Manual for your unit. This manual may be obtained from any Carrier Transicold dealer.
-
Page 42: Standby Operation Guidelines
TANDBY PERATION UIDELINES For safe, reliable operation in Standby mode, it is important to follow a few guidelines: Never plug the unit in to the power source with the main switch in the RUN (I) position. The main switch should always be in the STOP(O) position when connecting the unit to the power source. -
Page 43: Emergency Road Service
MERGENCY ERVICE At Carrier Transicold we’re working hard to give you complete service when and where you need it. That means a worldwide network of dealers that offer 24-hour emergency service. These service centers are manned by factory trained service personnel and backed by extensive parts inventories that will assure you of prompt repair. - Page 44 Fax: 1- -706- -355- -5435 P.O. Box 4805 Tel: (5255) 9126.0300 Syracuse, N.Y. 13221 U.S A Fax: (5255) 9126.0373 www.carrier.transicold.com A member of the United Technologies Corporation family. Stock symbol UTX ©2006 Carrier Corporation D Printed in U. S. A. 0306...