Summary of Contents for Teac LPU191
-
Page 1: User Manual
LPU191 Turntable System with USB/SD Slot USER MANUAL IMPORTANT! WARRANTY INFORMATION INSIDE. PLEASE READ Trademark of TEAC Corporation JAPAN www.teac.com.au... -
Page 4: Important Safety Instructions
14. Do not attempt to open the device cover or service this device yourself as this may expose you to dangerous voltage or other hazards. Refer all servicing to authorized safety personnel only. If this device develops problems, contact TEAC for service and do not use the product in defective states. -
Page 5: Usb Usage Precautions
USB Usage Precautions Never turn the unit off or disconnect a USB Storage Device (Flash Drive) when it is being accessed. Doing so can damage the TV and the connected USB storage device. Do not use a device that has a maximum current consumption of 100 mA or more. ... -
Page 6: Remote Control Button Functions
Remote Control The remote control uses Infra-Red technology. To use, point it at the Infra-red sensor on the unit and press the control buttons. If the remote control signals become weak, check the battery power and ensure that there are no obstacles in between the remote control and the unit. REMOTE CONTROL BUTTON FUNCTIONS 1) Skip/Search forward Press once to skip to next track, press &... -
Page 7: Location Of Controls
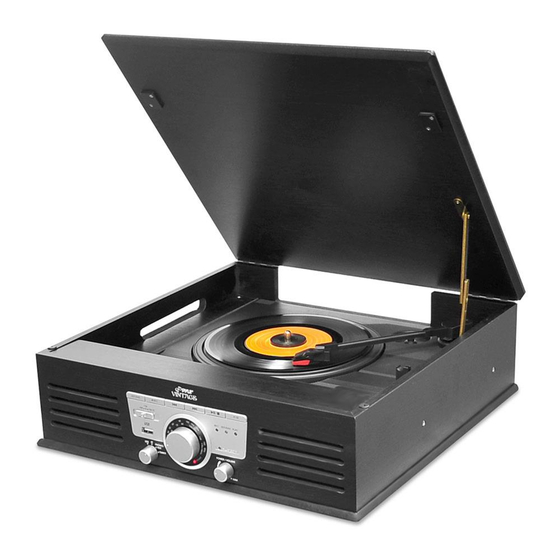
Location of Controls 1) Dust Cover 2) Radio Band Selector 3) Speakers 4) USB Socket 5) Function knob 6) FM Stereo LED Indicator 7) Repeat/Random button 8) Record Button / Skip Down 9) Skip Up Button 10) Play/Pause/Stop Button 11) +10 Button 12) Record LED indicator 13) Play LED indicator 14) Repeat/Random indicator... -
Page 8: Radio Operation
Radio Operation MANUAL TUNING 1. Turn on the Power (16) and turn Function knob (5) to “Tuner”. 2. Select the desired band with the Radio Band Selector (2) 3. Tune to the desired station by turning the Tuning Knob (18). 4. -
Page 9: Connecting Usb Devices
USB Operation (MP3 Playback) CONNECTING USB DEVICES The system is able to decode and playback MP3 files stored in connected USB flash drives and SD/MMC memory cards. Function knob (5) to USB or SD. Turn the 2. Plug in the USB stick firmly, or if you are using an SD card, insert it in the direction of the arrow as shown, with the label facing upwards. -
Page 10: Line Out Connection
Repeat / Random mode Press the Repeat/Random Button (7) before or during playback to cycle through different Repeat/Random modes shown below: PLAY MODE LED INDICATOR STATUS REPEAT SINGLE TRACK FLASH IN RED COLOR REPEAT ALL TRACKS LIGHT UP IN RED COLOR RANDOM MODE LIGHT UP IN GREEN COLOR OFF MODE... -
Page 11: Specifications
Specifications Power Supply: AC~230-240V 50Hz Power Consumption: 9W Speakers: 2x 1.5W RMS, 4Ω Turntable Speed Selection: 2 speed (33/45 RPM) Type of Needle: Ruby Needle (Part Nr.: 214-008800-00R) Radio: FM and AM analogue tuners Audio Inputs: USB, SD/MMS, 3.5mm aux in Main Unit Size: 364(W) x 357(D) x 112(H) mm Gross Weight: 5.1 kg * Weight and dimensions are approximate...


