Whirlpool Ovens User And Maintenance Manual
Ovens whirlpool
Hide thumbs
Also See for Ovens:
- Use and care manual (32 pages) ,
- User and maintenance manual (13 pages) ,
- User and maintenance manual (22 pages)
Table of Contents
Advertisement
(Apply the label from warranty here)
User and maintenance manual
EN
Návod k použití a údržbì
DA
Vejledning i brug og rengøring
Manual del usuario y de mantenimiento
Käyttö- ja huolto-ohjeet
Felhasználói és karbantartási kézikönyv
Bruks- og vedlikeholdsmanual
Manual do utilizador e manutenção
Руководство по эксплуатации и
техобслуживанию
Bruksanvisning och underhållsinstruktioner
Návod na používanie a údržbu
Інструкція з користування та
UK
технічного обслуговування
Advertisement
Table of Contents

Related Manuals for Whirlpool Ovens


Summary of Contents for Whirlpool Ovens
- Page 1 (Apply the label from warranty here) User and maintenance manual Návod k použití a údržbì Vejledning i brug og rengøring Manual del usuario y de mantenimiento Käyttö- ja huolto-ohjeet Felhasználói és karbantartási kézikönyv Bruks- og vedlikeholdsmanual Manual do utilizador e manutenção Руководство...
-
Page 3: Important Safety Instructions
IMPORTANT SAFETY INSTRUCTIONS YOUR SAFETY AND THAT OF OTHERS IS VERY IMPORTANT This manual and the appliance itself provide important safety warnings, to be read and observed at all times. This is the danger symbol, pertaining to safety, which alerts users to potential risks to themselves and others. All safety warnings are preceded by the danger symbol and the following terms: Indicates a hazardous situation which, if not avoided, will cause serious injury. - Page 4 - Do not use steam cleaning equipment. - Do not touch the oven during the pyrolysys cycle. Keep children away from the oven during the pyrolysis cycle (only for ovens with Pyrolisis function). - Only use the temperature probe recommended for this oven.
-
Page 5: Installation
- Do not use aluminium foil to cover food in the cooking vessel (only for ovens with cooking vessel supplied). Use protective gloves to perform all unpacking and installation operation. Scrapping of household appliances This appliance is manufactured with recyclable or reusable materials. Dispose of it in accordance with local waste disposal regulations. Before scrapping, cut off the power supply cable. -
Page 6: Troubleshooting Guide
Turn off the oven and restart it to see if the fault persists. • Important: during self-cleaning, the oven door will not open. Wait until it unlocks automatically (see paragraph “Cleaning cycle of ovens with pyrolysis function”). The electronic programmer does not work: •... -
Page 7: Maintenance
MAINTENANCE Use protective gloves. WARNING Ensure the oven is cold before carrying out the following operations. Disconnect power before servicing. REMOVING THE DOOR To remove the door: 1. Open the door fully. 2. Lift the catches and push them forwards as far as they will go (fig. 1). 3. -
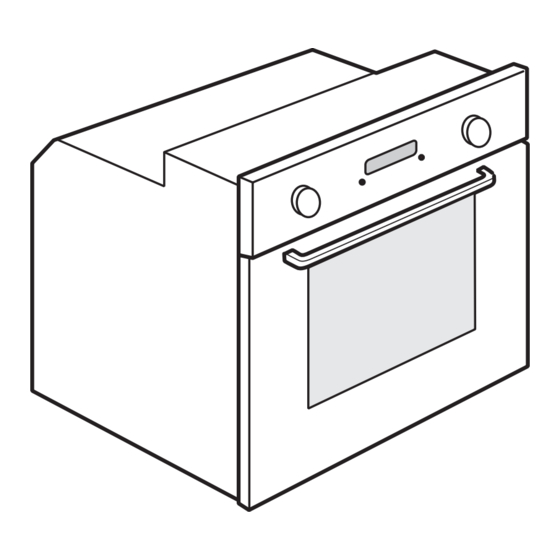
Page 8: Instructions For Oven Use
INSTRUCTIONS FOR OVEN USE FOR ELECTRICAL CONNECTION, SEE THE PARAGRAPH ON INSTALLATION 1. Control panel 2. Upper heating element/grill 3. Cooling system (if present) 4. Dataplate (not to be removed) 5. Light 6. Baking ventilation system (if present) 7. Turnspit (if present) 8. -
Page 9: Accessories
COMPATIBLE ACCESSORIES (for the accessories supplied with oven refer to the tech fiche) Fig. 1 Fig. 2 Fig. 3 Fig. 4 Fig. 5 Fig. 6 Fig. 7 Fig. 8 Fig. 9 Drip-tray (Fig. 1) For collecting fat and bits of food when placed under the wire shelf, or as a plate for cooking meat, chicken and fish, etc., with or without vegetables. Pour a little water into the drip-tray to avoid spatters of fat and smoke. -
Page 10: Control Panel Description/To Operate Oven
CONTROL PANEL DESCRIPTION The knobs are retractable. Press the knobs in the middle and they pop up. Your product may appear slightly different from the drawing. 1. Function selector knob 2. Electronic programmer 3. Thermostat knob 4. Red thermostat led. HOW TO OPERATE THE OVEN •... -
Page 11: Function Description Table
Delaying cooking end time After selecting cooking time, press the middle button: the display shows , cooking end time and AUTO flashing in sequence. Press the button + to view the desired cooking end time (cooking can be delayed by a maximum of 23 hours and 59 minutes). After a few seconds the display shows the time of day, the symbol switches off and AUTO remains lit, confirming the setting. -
Page 12: Cooking Table
COOKING TABLE Recipe Function Preheating Shelf Temperature Time Accessories (from bottom) (°C) (min) 150-175 35-90 Cake tin on wire shelf Leavened cakes Shelf 3: cake tin on wire shelf 150-170 30-90 Shelf 1: cake tin on wire shelf 150-190 30-85 Drip tray/ baking tray or cake tin on wire shelf Filled pies (cheesecake, Shelf 3: cake tin on wire shelf... - Page 13 Recipe Function Preheating Shelf Temperature Time Accessories (from bottom) (°C) (min) 175-200 20-30 Drip tray / baking tray Vols-au-vent / Puff pastry Shelf 3: oven tray on wire shelf crackers 175-200 25-45 Shelf 1: drip tray / baking tray Lasagne / Baked pasta / 45-55 Oven tray on wire shelf Cannelloni / Flans...
-
Page 14: Recommended Use And Tips
Recipe Function Preheating Shelf Temperature Time Accessories (from bottom) (°C) (min) Shelf 3: oven tray on wire shelf Meat & Potatoes 45-100 Shelf 1: drip tray or oven tray on wire shelf Shelf 3: oven tray on wire shelf Fish & Vegetables 30-50 Shelf 1: drip tray or oven tray on wire shelf The times given in the table are for cooking done with delayed start mode (if available). - Page 16 09/2011 CZ DK 5019 600 00638...