Advertisement
Available languages
Available languages
Quick Links
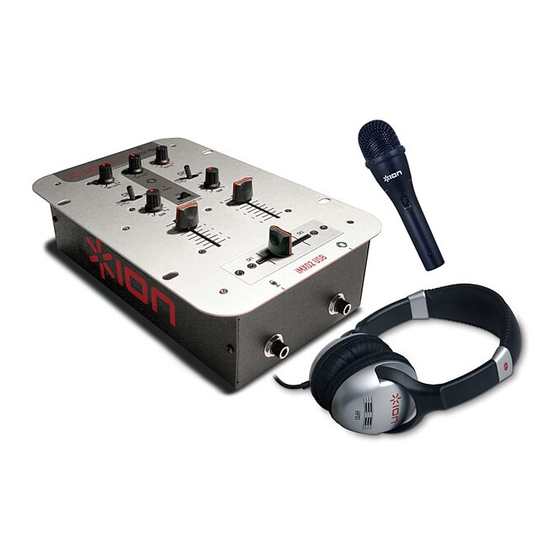
Desktop DJ (iCJ01)
Computer DJ Station
Quick Start Owner's Manual
•
Manual de inicio rápido del usuario (ESPAÑOL)
•
Guide d'utilisation simplifié (FRANÇAIS)
•
Schnellbedienungsanleitung (DEUTSCH)
•
Manuale Rapido di Utilizzazione (ITALIANO)
1
MIXER QUICK SETUP GUIDE (ENGLISH)
1. Make sure all items listed on the front of this guide are included in
the box.
2. READ SAFETY INSTRUCTION BOOKLET BEFORE USING THE
PRODUCT
3. Study this setup diagram.
4. Place mixer in an appropriate position for operation.
5. Make sure all devices are turned off and all faders are at "zero"
6. Connect all stereo input sources as indicated in the diagram.
7. Connect the stereo outputs to the power amplifier(s), tape decks,
and/or audio sources.
8. Plug your mixer and other devices into AC power.
9. Switch everything on in the following order.
•
audio input sources (i.e. turntables or CD players)
•
your mixer
•
last, any amplifiers
10. When turning off, always reverse this operation by,
•
turning off amplifiers
•
your mixer
•
last, any input devices
11. Go to
http://www.ion-audio.com
for product registration.
2
Advertisement

Related Manuals for ION iCJ01


Summary of Contents for ION iCJ01
- Page 1 Desktop DJ (iCJ01) Computer DJ Station Quick Start Owner’s Manual • Manual de inicio rápido del usuario (ESPAÑOL) • Guide d’utilisation simplifié (FRANÇAIS) • Schnellbedienungsanleitung (DEUTSCH) • Manuale Rapido di Utilizzazione (ITALIANO) MIXER QUICK SETUP GUIDE (ENGLISH) 1. Make sure all items listed on the front of this guide are included in the box.
-
Page 2: Front Panel Features
The left selects the Phono (turntable) or Line (CD Player) and the right selects the USB Audio Input. While using the iCJ01 with your computer, the switch should be right, selecting the USB audio inputs. - Page 3 La posición izquierda selecciona la entrada fonográfica (giradiscos) o de línea (reproductor de CD), mientras que la derecha selecciona la entrada de audio USB. Cuando use el iCJ01 con su computadora, el conmutador debe estar a la derecha, seleccionando las entradas de audio USB.
- Page 4 CARACTERÍSTICAS DEL PANEL TRASERO Entrada USB 1/Salida de nivel master: Este conector USB envía el audio de su computadora al canal 1. Es también la salida master simultánea para grabación. Este nivel de salida se ajusta mediante el control de ganancia maestro (master). Entrada USB 2/Salida de nivel de grabación: Este conector USB envía el audio de su computadora al canal 2.
-
Page 5: Caractéristiques Du Panneau Avant
Le réglage à gauche permet de sélectionner entre l’option Phono (tourne-disque) ou l’option Ligne (lecteur CD) et le réglage à droite permet de sélectionner l’entrée audio USB. Lorsque vous utilisez le iCJ01 avec votre ordinateur, le commutateur doit être réglé à la droite pour sélectionner les entrées audio USB. -
Page 6: Caractéristiques Du Panneau Arrière
CARACTÉRISTIQUES DU PANNEAU ARRIÈRE 11. Entrée USB 1/Niveau de la sortie principale : Cette entrée achemine le signal audio de votre ordinateur vers le canal 1. C'est également la sortie principale pour l’enregistrement. Le réglage du gain principal permet également de régler le niveau de cette sortie. 12. - Page 7 Ihren Mixer • Zuletzt, die Verstärker 10. Gehen Sie beim Ausschalten in der genau umgekehrten Reihenfolge vor: • Schalten Sie zuerst die Verstärker aus • Darauf folgend fahren Sie den Mixer herunter 11. Registrieren Sie Ihr Produkt online unter http://www.ion-audio.com.
- Page 8 Nehmen Sie einfach die Abdeckung ab und entfernen Sie die Schrauben, die den Fader in Position halten. Ersetzen Sie den Fader durch einen kompatiblen Fader, den Sie bei Ihrem ION Audio Händler erhalten. Power LED: Zeigt die Betriebsbereitschaft des Mixers an.
- Page 9 Schäden am Kopfhörer oder Ihrem Gehör vermieden werden. 10. Mikrofoneingang: Verbinden Sie Mikrofon mit einem 6,3mm Klinkenkabel An diesen Anschluss.
- Page 10 Schalten Sie den Mixer an, bevor Sie den Verstärker einschalten und fahren Sie erst diese herunter, bevor Sie den Mixer ausschalten. 14. Netzanschluss: Ihrem Mixer liegt ein passendes Netzteil bei. Schließen Sie es zuerst bei ausgeschaltetem Zustand an den Mixer an, bevor Sie es mit der Steckdose verbinden.
- Page 11 GUIDA D’IMPOSTAZIONE RAPIDA DEL MIXER (ITALIANO) Verificare che tutti gli elementi elencati sul frontespizio di questa guida siano inclusi nella confezione. PRIMA DI UTILIZZARE IL PRODOTTO LEGGERE IL LIBRETTO DELLE ISTRUZIONI DI SICUREZZA Esaminare attentamente lo schema di montaggio. Posizionare il mixer in maniera adeguata all’uso.
- Page 12 Rimuovere semplicemente il pannello frontale e le viti che lo mantengono in posizione. Sostituire il cursore con un ricambio autorizzato dal servizio clienti ION Audio. LED di alimentazione: si illumina quando il mixer è acceso. Guadagno (gain): regola il livello degli ingressi del canale.
- Page 13 CARATTERISTICHE PANNELLO POSTERIORE 11. Ingresso USB 1/Uscita di livello master: questo jack USB invia l’audio dal computer al Canale 1. Questa è contemporaneament e l’uscita master per la registrazione. Questo livello di uscita è regolato dal comando di guadagno (gain) master.
- Page 14 innanzitutto nel mixer e quindi nella presa di corrente. 15. Uscita master (RCA): questa uscita è designata al collegamento di un amplificatore esterno quale un sistema di diffusione sonora, monitor alimentati o un impianto di home stereo. Il livello di questa uscita è...