Table of Contents
Advertisement
Advertisement
Table of Contents

Related Manuals for InFocus IN72


Summary of Contents for InFocus IN72
-
Page 9: Reference Guide
Trident IN72/IN74/IN76 Reference Guide... - Page 10 UL, cUL, TUV, GOST Other specific Country Approvals may apply. Please see product certification label. This document applies to models IN72, P720, IN74, P740, IN76, and P760. InFocus reserves the right to alter product offerings and specifications at any time...
-
Page 11: Table Of Contents
• Locate the projector in a well-ventilated area without any obstructions to intake or exhaust vents. Do not place the projector on a tablecloth or other soft covering that may block the vents. • Locate the projector at least 4' (1.2 m) away from any heating or cooling vents. -
Page 12: Introduction
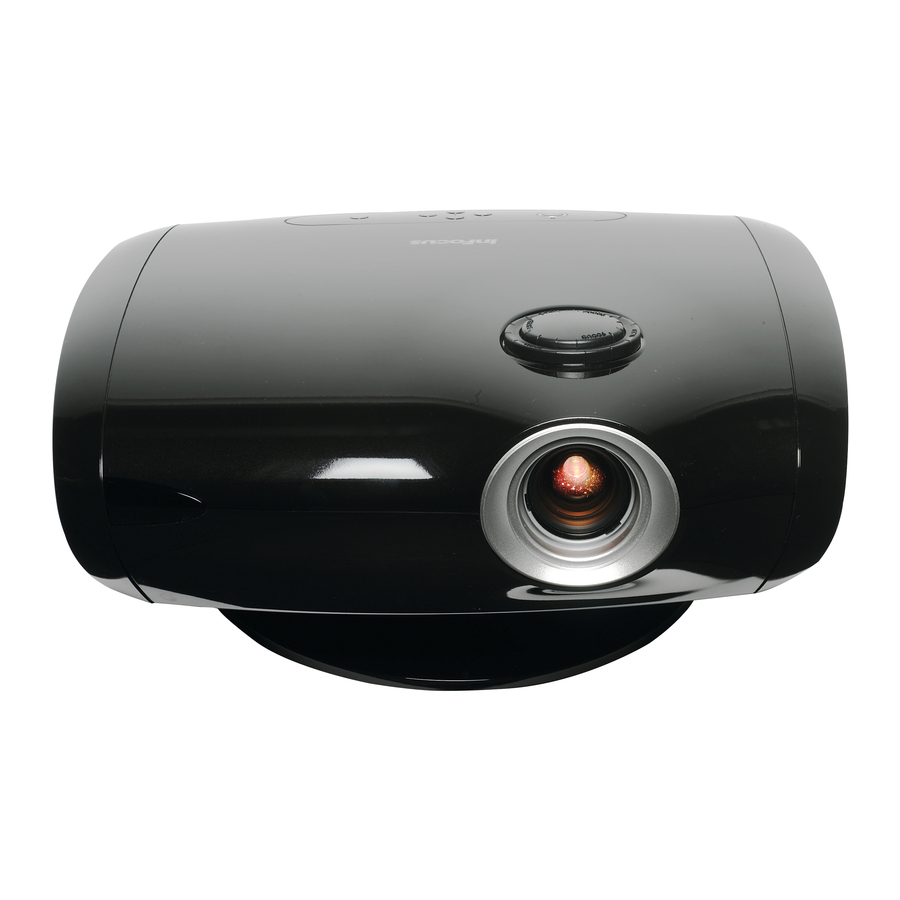
Introduction Your new InFocus projector is specifically designed for home theater appli- cations. It sets a high standard using the latest DLP™ technology and new DNX video processing from Pixelworks™. Whether you are watching mov- ies or High Definition broadcasts or playing the latest video game, you will enjoy amazing image quality. - Page 13 Composite video (RCA) See “Video connectors” on page 7 for details. The projector also provides the following connectors: • RS-232 for serial control (not included on the IN72) • 12 volt DC output (see below) 12 volt DC output The 3.5mm mini-jack trigger provides a 12 volt, 0.25 amp DC output. It pro- vides a constant output while the projector is on.
-
Page 14: Positioning The Projector
• The image offset is 128% for the IN72. This means that if you have an image 10’ high, the bottom of the image will be 2.8’ above the center of the lens. -
Page 15: Choosing The Aspect Ratio
Aspect ratio is the ratio of the image width to image height. HDTV and most DVDs are 16:9, which is the default for this projector. When in 4:3 mode the projector places black bars on both sides of the image. Native mode centers the image and turns off the internal scaler so that any resolu- tion larger than the native projector resolution is cropped on the edges. -
Page 16: Video Connectors
If your device has a VGA connector, you can use the M1-DA/DVI connector for a high quality image. Many PC game systems have VGA connectors. 12 volt DC output component RCA SCART (all 4 connectors) S-video RS-232 M1-DA/ composite HDMI (not on IN72) -
Page 17: Connecting A Video Device
High quality cables optimized for your projector can be purchased from www.infocus.com/store (in select areas) or from your dealer or retailer. Composite (RCA) video connection Plug the composite video cable’s yellow connector into the video-out con-... -
Page 18: Digital Connections
The IN76 is an HDTV (High Definition Television) monitor, meaning it has vertical scanning lines of 720 progressive, 1080 interlaced or higher. The IN72 and IN74 are EDTV (Enhanced Definition Television) monitors, mean- ing they have vertical scanning lines of 480 progressive or higher. HD con- tent can be displayed on an EDTV monitor, the resolution is just less than that of an HDTV. -
Page 19: Displaying An Image
Displaying an image Connect the power cord to the Power connector on the back of the projector and to your electrical outlet. NOTE: Always use the power cord that shipped with the projector. Press the Power button on the remote or keypad. - Page 20 22 for details. Adjust the volume on your stereo receiver. Your projector has been factory optimized for very good performance no matter what the source. However, if you wish to make further changes you can optimize the image using onscreen menus. Adjust the Contrast, Bright- ness, Color, Tint, or Aspect Ratio in the Picture menu.
-
Page 21: Shutting Down The Projector
While the LED is blinking green, the projector does not accept any user input. Once the cooling process is com- plete, the LED lights solid green and you can turn the projector back on, if desired. - Page 22 Problem no start up screen only start up screen appears Solution plug power cord in back of projector press power button press power button connect active source press the Source button Result correct image image projected...
- Page 23 Problem image not centered on screen image not square Solution move projector, adjust zoom, adjust height tilt the projector up or down or adjust Keystone in Picture menu Result correct image square image...
- Page 24 image not sharp image upside down adjust Sharpness in the Picture>Advanced menu turn off ceiling in Settings>System menu correct image correct image...
- Page 25 LED blinking red turn off rear in Settings>System menu adjust color, tint, color temperature, brightness, contrast in the menus make sure vents aren’t blocked, turn off the projector and allow it to cool for one minute correct image correct image COLOR...
- Page 26 Still need assistance? If you need assistance, visit our website at www.infocus.com or call us. See the User’s Guide for support contact information. This product is backed by a limited warranty. An extended warranty plan may be purchased from your retailer or dealer.
-
Page 27: Using The Remote Control
See page 21 for more info on the menus. The remote also has: • Power button to turn the projector on and off (see page 12 for shut- down info) • backlight button to light the remote’s buttons in the dark •... -
Page 28: Using The Keypad Buttons
Menu–opens the on-screen menus (page 21). Select–confirms choices made in the menus (page 21). Up/Down arrows–navigates to and adjusts settings in the menus (page 21). Power–turns the projector on and off. Source–changes the active source. menu navigation buttons... -
Page 29: Optimizing Video Images
Make sure your DVD player is set for a 16:9 television. See your DVD player’s user’s guide for instructions. Customizing the projector You can customize the projector for your specific setup and needs. See page 26 to page 28 for details on these features. •... -
Page 30: Using The Menus
Menu options are grayed out only if the source is selected but no signal is present. For example, if the projector is set to a video source but the source, such as a DVD player, is turned off video menu options are grayed out. -
Page 31: Picture Menu
Keystone: adjusts the image vertically and makes a squarer image. Tilt the projector up or down to adjust for keystone before using the digital key- stone correction in the menu. Contrast: controls the degree of difference between the lightest and darkest parts of the picture. - Page 32 Presets: This allows you to customize settings and save the settings to be restored later. To restore the factory default settings, choose Factory Reset in the Settings>Service menu. To set a preset for the current source, adjust the image, select Save Settings in the Presets menu, then choose Save User 1, 2, or 3.
- Page 33 Horizontal/Vertical Position: adjusts the position of a computer source. Sync Threshold Adjust: (progressive signals only) If a hardware device, such as a DVD player, is not syncing properly with the projector, adjust this option to help it to sync when connected to the projector.
- Page 34 These advanced controls have the same effect as contrast and brightness, but each controls a single color only. Video Standard: when it is set to Auto, the projector attempts to automati- cally pick the video standard based on the input signal it receives. (The video standard options may vary depending on your region of the world.) If...
-
Page 35: Settings Menu
By default, the check boxes for all sources are checked except SCART RGB. Uncheck a source box to eliminate it from the search. When Autosource is not checked, the projector defaults to Component initially, then defaults to whatever the last active source was when the projector was powered down. - Page 36 Startup Logo: allows you to display a blank screen or a custom captured image (IN72 only) instead of the default screen at startup. To capture a new image, display the image and select Capture New. A mes- sage appears. Select Captured in the Startup Logo menu to display your new image.
- Page 37 SMPTE color bar pat- tern. HDMI DDC: turns off the EDID extension. Some graphic cards cannot recognize the projector’s EDID. Uncheck this box if you have trouble using HDMI or DVI sources. Service Info: provides information about the projector’s software, serial number, and lamp.
-
Page 38: Maintenance
The LED on top of the projector also blinks red twice to indicate that the lamp should be changed. NOTE: You can order new lamp housings from www.infocus.com (in select areas), your retailer or your dealer. Use only a replacement lamp with the same type and rating as the original lamp. - Page 39 Push the 2 tabs on the lamp door toward the front of the projector and lift the lamp door off. Loosen the two captive screws that attach the lamp housing to the pro- jector. Detach the lamp connector from the projector by depressing the locking tab on the connector and lightly pulling it free.
- Page 40 Replace the base or ceiling mount plate, if necessary. Plug in the power cord and press the Power button on the remote or keypad to turn the projector back on. To reset the lamp hour timer, navigate to the Settings>Service menu and select Reset Lamp Hours.
-
Page 41: Appendix
Appendix Red LED behavior and projector errors If the projector is not functioning properly and the LED is blinking red, con- sult Table 4 to determine a possible cause. There are two-second pauses between the blinking cycles. Visit our website for more details on the red LED error codes. -
Page 42: Remote Control Discrete Codes
Remote control discrete codes You can use these codes to program another remote to learn the projector’s remote functions. To activate discrete mode, press and hold the Custom button on the remote for 10 seconds. The back light blinks twice when discrete mode is entered. -
Page 43: Projector Dimensions For Ceiling Mount Installations
Projector dimensions for ceiling mount installations All values in millimeters (mm). 40.5 24.5 126.5 234.5 227.5 245.5 344.25 40.25... -
Page 44: Supported Video Formats
Supported video formats Connector Signal Type HDMI Digital RGB and YCrCb Digital RGB video via M1-to-DVI cable Analog RGB video via M1-to-VESA cable M1-DA YPrPb video via M1-to-Component adapter Analog Computer via M1-to-VESA cable Digital Computer via M1-to-DVI cable Component YPrPb Composite Composite Video... -
Page 45: Rs-232 Terminal Specifications For In74 And In76
RS-232 terminal specifications for IN74 and IN76 Communication configuration To control the projector from an LCD control panel, connect an RS-232 cable to the serial control connector on the projector and set your computer’s serial port settings to match this communication configuration:... - Page 46 Supported commands Function Command Auto Ceiling Enable Auto Color Space enable Auto Image Aspect Ratio Auto Power Enable Auto Source Enable Auto Video Standard Enable Blank Blank Screen Enable Blue Color Offset Blue Gain Blue Only Enable Brightness Ceiling Color Color Space Color Temp Range...
- Page 47 Language Noise Reduction Mode Noise Reduction Level Overscan Phase Power Enable Power Save Enable Presets Rear Project Red Color Offset Red Gain Sharpness 0-11 Sleep Timer 0 = English Sync Threshold Adjust 1 = French Source 2 = German 3 = Italian 4 = Japanese 5 = Korean 6 = Norwegian...
- Page 48 Video Standard White Peaking Save User1 Preset Save User 2 Preset Save User 3 Preset Logo Capture Enable Source Enable 0 Source Enable 1 Source Enable 2 Source Enable 3 Source Enable 4 Source Enable 5 Logo Capture Compress Logo Capture Compression Progress Count Current Subsource Power-up Source...
- Page 49 9 digital components 9 HDMI components 9 RS-232 9 SCART 8 S-video 8 video device 8 contacting InFocus 17 Contrast 22 Custom key 23 customer service contact information 17 customizing the projector 20 dimensions of projector 34 Display Messages 26...
- Page 50 29 positioning 5 remote control 18 setting up 5 troubleshooting problems 12 Rear 26 Red LED behavior 32 registering your projector 3 remote control 18 replacing the lamp 29 RS-232 connecting 9 specifications 36 SCART 8, 26 serial connection 9, 36...