Table of Contents
Advertisement
Quick Links
Advertisement
Table of Contents

Related Manuals for CDA FW422


Summary of Contents for CDA FW422
- Page 1 Manual for Installation, Use and Maintenance Passionate about style Customer Care Department • The Group Ltd. • Harby Road • Langar • Nottinghamshire • NG13 9HY T : 01949 862 012 F : 01949 862 003 E : service@cda.eu W : www.cda.eu...
- Page 2 Under no circumstances should any external covers be removed for servicing or maintenance except by suitably qualified personnel. Appliance information: Please enter the details on the appliance rating plate below for reference, to assist CDA Customer Care in the event of a fault with your appliance and to register your appliance for guarantee purposes. Appliance Model...
-
Page 3: Before First Use
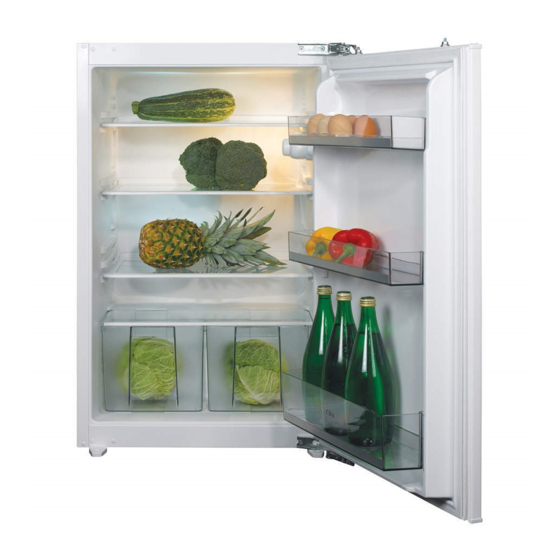
Important Never store inflammable or explosive items and strong corrosive acids or alkalis in the appliance. This is a household appliance, which is produced in accordance with the national standard. It is intended for food storage only, not for storage of blood, medicine and biological products. To prevent risk of fire, keep the appliance away from petrol or any other inflammables. - Page 4 Fridge • Never put liquids in the refrigerator uncovered. • Never put hot foods in the refrigerator. Warm food should be allowed to cool to room temperature before being put into the refrigerator. • Nothing should rest against the rear wall of the refrigerator, as this will cause frost and possible condensation problems which will be difficult to remove.
-
Page 5: Care And Cleaning
Care and cleaning Always disconnect the appliance from the power supply before any cleaning or maintenance. The fridge sections should be cleaned using a solution of bicarbonate of soda and lukewarm water. Do not use abrasive products or detergents. After washing, rinse and dry thoroughly. Clean the shelves and balconies separately by hand with soap and water. -
Page 6: Troubleshooting
Troubleshooting If you have any problems with your appliance, you should check the troubleshooting prior to calling CDA Customer Care to prevent unnecessary service calls and potential cost. If the appliance is not working • Check there is power to the appliance: •... -
Page 7: Installation
Installation Product Dimensions and aperture required for installation: Your refrigerator is designed to be installed into a standard larder unit of width 560-570mm and depth of 550mm. the diagram below shows the product dimesnions and aperture required. Note also the arrows on the diagram show ventilation requirements. In the diagram a plinth vent is fitted to allow free air into the cabinet. - Page 8 Installation Installation into the furniture: 1. Carefully lift the refrigerator into the furniture aperture, taking care not to damage the cabinet edges. The front edge of the feet should be in line with the front edge of the cabinet. 2. Align the refrigerator so that the gasket sealing strip is close to the non-hinge side of the unit and secure the refrigerator in position using two screws, one through each foot.
- Page 9 Installation Reversing the door (performed prior to install) The door on this product can be easily reversed to suit any requirement. To do this, proceed as follows: 1. Remove the top decorative cover caps on the non-hinge side and keep for later use.
-
Page 10: Reversing The Door
Reversing the door It is possible to reverse the door on this appliance, if required. To do so, follow the steps below: 1. Open the door. 2. Remove the white hinge screw cover plate carefully to gain access to the hinge screws. -
Page 11: Electrical Information
Electrical information Warning! This appliance must be earthed. The mains lead of this appliance has been fitted with a BS 1363A 13 amp fused plug. To change a fuse in this type of plug, follow the steps below: 1. Remove the fuse cover and fuse. 2. - Page 12 Passionate about style Customer Care Department • The Group Ltd. • Harby Road • Langar • Nottinghamshire • NG13 9HY T : 01949 862 012 F : 01949 862 003 E : service@cda.eu W : www.cda.eu...