
Related Manuals for iHome 2GO Cycler iH85


Summary of Contents for iHome 2GO Cycler iH85
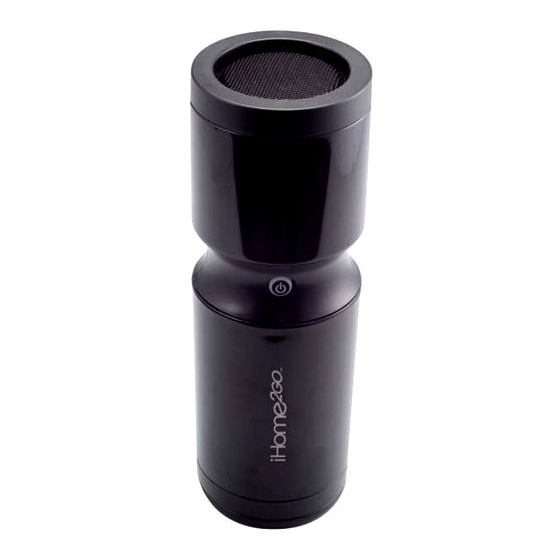
- Page 1 Model iH85 Bicycle Speaker System ™ ® For Your iPod ™ ™ Questions? Visit www.ihomeaudio.com...
-
Page 2: Table Of Contents
Table of Contents A Consumer Guide to Product Safety Quick Start Attaching the Remote and Mounting Bracket Controls and Indicators Using the iH85 Charging your iPod Listening to iPod Batteries Installation A Consumer Guide to Product Safety Trouble Shooting Solución De Problemas Warranty Information Congratulations on your iH85 Cycler bicycle speaker system for the iPod. -
Page 3: A Consumer Guide To Product Safety
A Consumer Guide to Product Safety IMPORTANT SAFETY INFORMATION: IT IS THE USER'S RESPONSIBILITY TO USE THIS PRODUCT PRUDENTLY, RESPONSIBLY AND IN A SAFE, NON-DISTRACTED MANNER AT ALL TIMES. FAILURE BY THE USER TO PAY FULL ATTENTION TO THE PROPER OPERATION OF ANY EQUIPMENT BEING USED ALONG WITH THIS PRODUCT COULD RESULT IN AN ACCIDENT AND/OR PERSONAL INJURY. -
Page 4: Quick Start
iH85 Quick Start 1:Opening and Closing 1. Twist the top half of the case as shown 2. Lift off. When the case is open, you can change batteries and access (dock and undock) your iPod. To close the case, place case halves together and twist until arrows align. -
Page 5: Attaching The Remote And Mounting Bracket
Attaching the Remote Clamp and Mounting Bracket 1:Mounting Remote Clamp To Handlebars a) Using Phillips screw driver, open mounting clamp. b) Wrap mounting clamp around handle bar. The square top should face the bicycle seat d) Tighten clamp using a Phillips screwdriver 3:Mounting Bracket 2:Attach Remote To Clamp To attach the iH85 remote, slide the mounting slot on... -
Page 6: Controls And Indicators
Controls and Indicators Remote Panel Volume Increase Reverse Button Forward Button Volume Decrease Play / Pause Button ™ Back Panel Front Panel Remote for easy storage Remote for easy storage During use, place the end cap on the bottom of the iH85. When not in use, place the end cap on top to protect the speaker. -
Page 7: Using The Ih85
Connecting iH85 to AC Power Source Plug the AC adaptor cable into the unit (under the rubber tab) and the other end into a standard 120 VAC wall socket. If an iPod is properly connected, it will begin charging, indicated by a flashing LED. The iH85 also operates on 4 “AA”... -
Page 8: Charging Your Ipod
To dock a thin iPod model 1. Gently slide the thin iPod insert into the dock 2. Carefully place your iPod within insert onto connector in the dock To dock a nano or mini iPod model 1. Gently slide the nano or mini iPod onto the connector pin in the dock. 2. -
Page 9: A Consumer Guide To Product Safety
A Consumer Guide to Product Safety When used in the directed manner, this unit has been designed and manufactured to assure your personal safety. However, improper use can result in potential electrical shock or fire hazards. Please read all safety and operating instructions carefully before installation and use. -
Page 10: Trouble Shooting
Symptom Possible Problem Unit doesn’t respond AC adaptor isn’t plugged to a wall outlet or the (no power) connector is not plugged into the power supply jack on the back of the unit. Plug the AC adaptor into a wall outlet and plug the connector into the AC jack on the unit Wall outlet is not functioning Batteries are weak or dead on unit or remote... -
Page 11: Solución De Problemas
Síntoma Posible Problema El adaptador de correinte alterna no esta La Unidad no responde connectado a la unidad o no enchufado al la (no hay poder) esplalda de la unidad. Tape el adaptador CA a un oulet de pared y tape el connector en el gato de corriente alterna del unidad. -
Page 12: Warranty Information
Limited 90-Day Warranty Information iHome Products, a division of SDI Technologies Inc. (hereafter referred to as SDI Technologies), warrants this product to be free from defects in workmanship and materials, under normal use and conditions, for a period of 90 days from the date of original purchase.