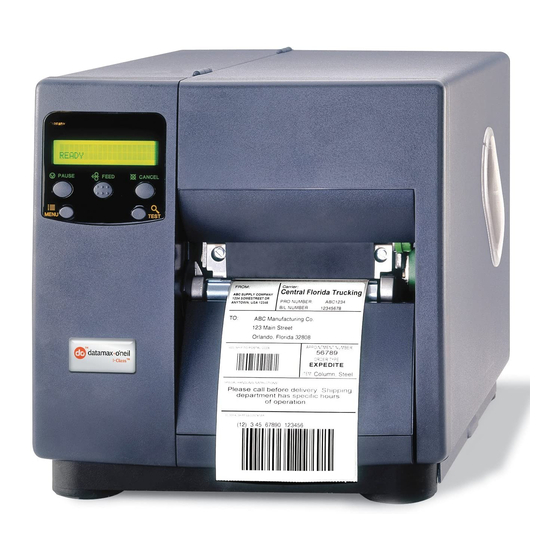
Datamax I-Class User Manual
Linear scanner
Hide thumbs
Also See for I-Class:
- Operator's manual (134 pages) ,
- Maintenance manual (88 pages) ,
- Installation and operating instructions manual (22 pages)
Advertisement
Table of Contents
Advertisement
Table of Contents

Summary of Contents for Datamax I-Class
- Page 1 92-2282-01 Rev. E Linear Scanner User Guide...
- Page 3 Overview Linear Scanner, using technology, interrogates labels at up to Centerplate 700 times per second to ensure that your printed bar codes have the correct bar and space widths, good contrast, and quiet zones readable. 32-bit Cable microprocessor and proven decoding algorithms provide accurate, high-speed, Scanner operation.
- Page 4 However, if you need to modify the setup to meet your application, this section details the operational settings of the unit. To access these menu items, use the printer’s front panel, enter ‘MENU MODE’ and go to ‘PRINTER OPTIONS’ ‘SCANNER’ (see the I-Class Operator’s Manual for menu system navigation details). ‘MODE’...
- Page 5 Fault Handling is another important Scanner setting. It determines what happens when an unreadable bar code is detected. To access this menu item, use the printer’s front panel, enter ‘MENU MODE’ and go to ‘SYSTEM SETTINGS’ ‘FAULT HANDLING’ (see the I-Class Operator’s Manual for menu system navigation details).
- Page 6 ‘FAULT HANDLING’ is used to determine the level of interaction, as well as the disposition of the label when a fault (ribbon out, paper out, unreadable barcode, etc.) occurs. Level – Determines the printer’s action, the action required by the operator, and the label’s reprint status with the following three selections: Void and Retry –...
- Page 7 Label Layout As mentioned earlier, to be properly recognized the printed bar codes printed must be a supported symbology, have a narrow bar resolution of no less than 10 mils, and have proper quiet zone areas. Another important factor concerns label formats with multiple-up bar codes: If printing multiple-up bar codes in ordered columns where the same encoded information exists in each bar code (see below), there must be at least ¼...
- Page 8 Note: The cutter option cannot be used when the Scanner is installed. 2) With four-inch wide label stock installed, use the printer’s front panel and enter ‘QUICK TEST MODE.’ Print a Print Quality Label, as shown below (see the I-Class Operator’s Manual for details). Picket Fence Bar Code 3) Unlock the Printhead Latch and raise the printhead assembly.
- Page 9 4) Using the printer’s front panel enter ‘MENU MODE’ and go to ‘DIAGNOSTICS’ ‘OPTIONS TESTING’ ‘TEST SCANNER’ ‘ALIGNMENT TEST’ and then press the ENTER Key (see the I-Class Operator’s Manual for menu system details). 5) Slightly loosen the top Mounting Bracket Screw (see drawing below) and tilt the Scanner away from the Ribbon Shield of the printer.
-
Page 10: Troubleshooting
8) Using the printer’s front panel, exit the ‘ALIGNMENT TEST’ by repeatedly pressing the ESC Key (see the I-Class Operator’s Manual for menu system details). With the printer at ‘READY,’ run a batch of live labels to test the alignment. If necessary, repeat the procedure or, if problems persist, consult the Troubleshooting section. - Page 11 Press the FEED Key to clear the fault. Examine the print quality of the label successfully read the bar being failed (refer to the I-Class Operator’s Manual for details). If the bar code. code(s) appear(s) to be free of voids with sufficient quiet zone space, try the following: ...
- Page 12 Specifications Physical Case Material Steel (Black) Dimensions (L x H x W) 47 x 20 x 55 mm (1.95 x 0.78 x 2.2 in) Cable Length 7.0 inches with 8 pin Mini DIN connection Mini DIN Connector Pin Number: Signal: +5 VDC Trigger Signal Ground...
- Page 13 Warranty Information Warranty Service Procedures Datamax-O’Neil warrants to Purchaser that under normal use and service, the Scanner purchased hereunder shall be free from defects in material and workmanship for a period of one year (365 days) from the date of shipment by Datamax-O’Neil. Expendable and/or consumable items or parts such as lamps and fuses, are not covered under this warranty.


