Turtle Beach Ear Force X42 User Manual
Dual band wireless headphone
Hide thumbs
Also See for Ear Force X42:
- User manual (29 pages) ,
- User manual (13 pages) ,
- User manual (26 pages)

Related Manuals for Turtle Beach Ear Force X42


Summary of Contents for Turtle Beach Ear Force X42
- Page 1 User Guide WiFi dual band wireless...
- Page 2 What’s in the Box X42 Headset with Xbox 360 (2) AAA Batteries Removable Microphone Talkback Cable X42 Wireless Digital Digital Optical Cable Turtle Beach Sticker RF Transmitter product support and warranty information: www.TurtleBeach.com/support...
-
Page 3: Table Of Contents
Table of Contents pg 1 X42 Headset X42 Transmitter Overview pg 2 Using the Transmitter pg 3 Pairing the Headset and Transmitter pg 4 Setup Xbox 360 pg 5 ® Home Theater pg 10 Digital Music Players pg 11 Dolby... -
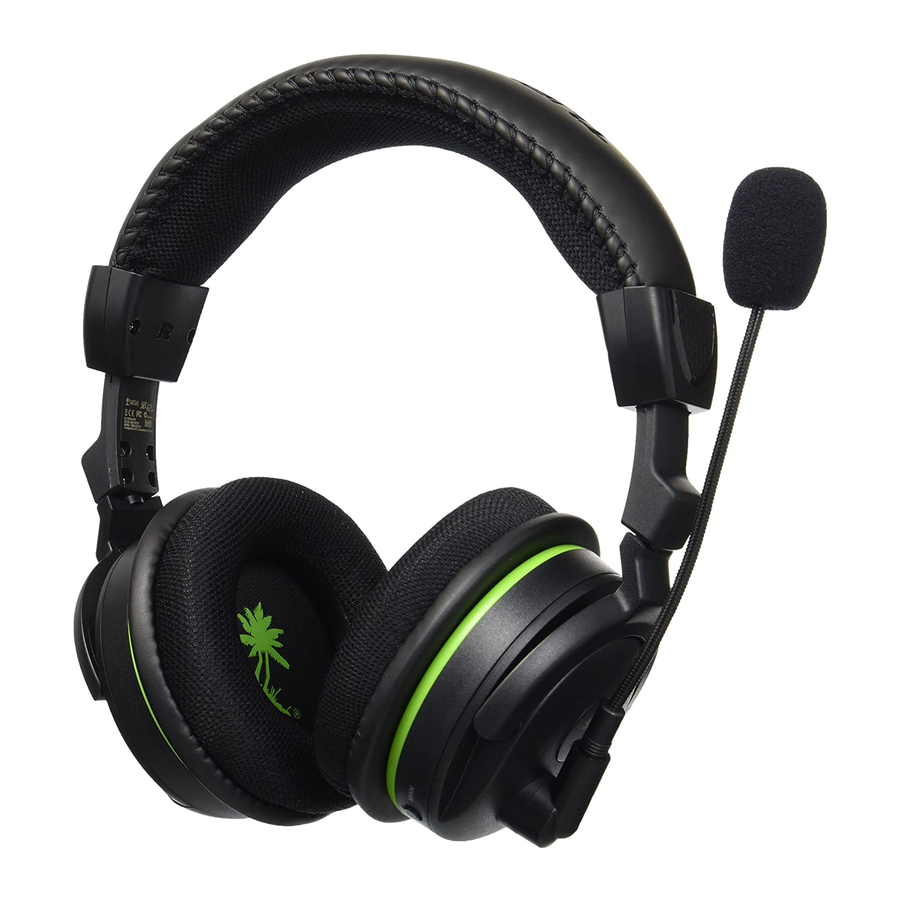
Page 4: X42 Headset
X42 Headset Power Button: To turn on the headset, press and hold the power button for a couple of seconds, then release. You will hear 2 beeps and the power LED should start flashing. Turn off the headset by pressing the button until the LED stays on and you hear 2 beeps, then release. -
Page 5: X42 Transmitter
Digital Input and Output: Connect the digital input to the Xbox 360 digital output using the included digital optical cable. The digital input is passed through to the digital output so you can connect the X42 transmitter and your home theater system to hear the Xbox sound on the headset and speakers at the same time. -
Page 6: Using The Transmitter
Dual-Band WiFi The X42 uses advanced “Dual-Band WiFi” radio technology to help eliminate interference with additional wireless devices and WiFi networks. The Dual-Band radio uses either 5 GHz and 2.4 GHz signals to transmit high fidelity digital audio and help eliminate interference with other wireless devices. -
Page 7: Pairing The Headset And Transmitter
Pairing the Headset and Transmitter The headset and transmitter in this package are “paired”, which means they’re synchronized to ensure they work together. When the headset and transmitter are communicating, the POWER LED on the front panel of the transmitter will be on solid. If this LED is instead pulsing slowly, it means the transmitter can’t communicate with the headset. - Page 8 Xbox 360 Setup ® Xbox 360 (Older Models)* Xbox 360 (Newer Models) 1. Connect the Digital Optical Cable 1. Connect the Digital Optical Cable* (Requires Xbox 360 Audio Adapter, sold separately) NOTE: Remove the protective caps from each end of the optical cable before inserting it into the jacks.
- Page 9 3. Insert the Headset Batteries as shown: Right Ear Cup: To remove the battery cover, slide downward. 5. Turn on the headset by pressing and holding the power button CAUTION: Be until you hear a tone, then release. sure to insert batteries as shown.
- Page 10 Ear Force HD Audio Converter Setup to HDMI IN port FRONT Xbox 360 E Console *Ear Force HD Audio Converter BACK to OPTICAL to HDMI OUT port OUT jack HDMI Cable to DIGITAL IN jack Wall Plug Wall Outlet *Ear Force HD Audio Converter is available for purchase at Turtlebeach.com/HDAC...
- Page 11 Xbox 360 Chat Setup ® 1. Insert the right angle plug into the headphone jack on the Xbox 360 controller. 2. Insert the straight plug into the controller jack on the left ear cup of the headset. Mic Mute Chat Volume Xbox 360 Controller Xbox 360 Input...
- Page 12 Configure Xbox 360 Settings ® 1. From the Xbox 360 Dashboard, go to Settings > System Settings > Console Settings > Audio > Digital Output. Set “Digital Output” to “Dolby Digital 5.1”. Digital Output Current Setting Digital Stereo Dolby Digital Dolby Digital 5.1 Choose the digital output type for your system.
-
Page 13: Home Theater
Home Theater Setup Setting up the transmitter as illustrated below lets you listen to your console or TV with the X42 headset. You can also hear your console on your home theater speakers without disconnecting the optical cable from the transmitter. -
Page 14: Digital Music Players
Connecting a Digital Music Player The X42 features an analog input for connecting digital music players or other analog sources. The Analog Input volume can be adjusted directly from the digital music player or analog source. NOTE: The Analog Input is deactivated whenever a digital input is active, so both the digital and analog inputs cannot be used at the same time. -
Page 15: Dolby ® Digital Processing
The X42 uses Dolby Digital 5.1 surround processing technology – the industry-standard format for encoding multi-channel game audio. Dolby Digital processing recreates 5.1 channel surround sound using the X42 headset so you can hear the sound all around you, as if you were listening to a 5.1 speaker system. -
Page 16: Surround Sound Angles
Surround Sound Angles The X42 allows you to alter the virtual positioning of the Front and Surround speakers for the best surround sound experience. Press the Surround Angles Button on the transmitter to cycle through 6 different presets, as illustrated below:... -
Page 17: Effects (Eq) Presets
Chat Boost ™ Chat Boost is a dynamic talkback expander built into the X42 headset that automatically increases chat volume during loud moments in your game, so you can always hear your teammates or other players, regardless of the game volume. -
Page 18: Technical Specifications
X42 Headset Technical Specifications · 50mm diameter speakers with neodymium magnets · Game audio frequency response: 20Hz - 20kHz, >120dB SPL @ 1kHz · Condenser microphone frequency response: 50Hz - 15kHz · Game audio Dual Band Digital 2.4GHz/5GHz RF wireless reception ·... -
Page 19: Troubleshooting
Troubleshooting No sound • Check that the headset volume control is turned up. • Check that the transmitter power and optical cables are properly connected. • Check that the headset is powered on. The LED on the left ear cup should be flashing. •... - Page 20 Model Number(s): TBS-2270-01 Year of Manufacture: 2011 We, Voyetra Turtle Beach, Inc. of Elmsford, New York, declare under our own responsibility that the above-referenced product complies with the following directives and standards: Low Voltage Directive 2006/95/EC EN 50332-2:2003 EN 60950-1:2006+A11:2009 Electromagnetic Compatibility Directive 1999/5/EC ESTI EN 301 489-1 V1.8.1 (2008)
- Page 21 WARNING: Changes or modifications made to this equipment not expressly approved by VOYETRA TURTLE BEACH, INC. may void user’s authority to operate this equipment.
- Page 22 Product that has been purchased as used or refurbished (except refurbished by VTB) or was included as part of a non-VTB product. WARRANTY SERVICE In the USA and CANADA Warranty Service is provided by our TURTLE BEACH OFFICEs and in all other Countries it is provided by our local International Distributors.
- Page 23 Product. EXCLUSIONS FROM LIMITED WARRANTY: This Limited Warranty shall not apply and VTB has no liability under this Limited Warranty if the Turtle Beach Product: • is used for commercial purposes such as "LAN Centers" (including rental or lease);...
- Page 24 Product or payment of the cost of having the Product repaired, at the discretion of VTB. VTB is the maker of this warranty. VTB’s contact details are: Voyetra Turtle Beach, Inc. 100 Summit Lake Drive, Suite 100 Valhalla, NY 10595...
- Page 25 DESIGNED AND ENGINEERED BY TURTLE BEACH IN NEW YORK, USA Copyright © 2012 Voyetra Turtle Beach, Inc. (VTB, Inc.) All rights reserved. No part of this guide may be reproduced without permission. Turtle Beach, the Turtle Beach Logo, Voyetra, Ear Force, Chat Boost, Engineered For Gaming and the Dual Band logo are either trademarks or registered trademarks of VTB, Inc.
- Page 26 For more products, accessories and general product information, please visit TurtleBeach.com For warranty information and product support, please visit TurtleBeach.com/support...
- Page 27 Notes...