
Related Manuals for Husqvarna 968999245/ CZ3815


Summary of Contents for Husqvarna 968999245/ CZ3815
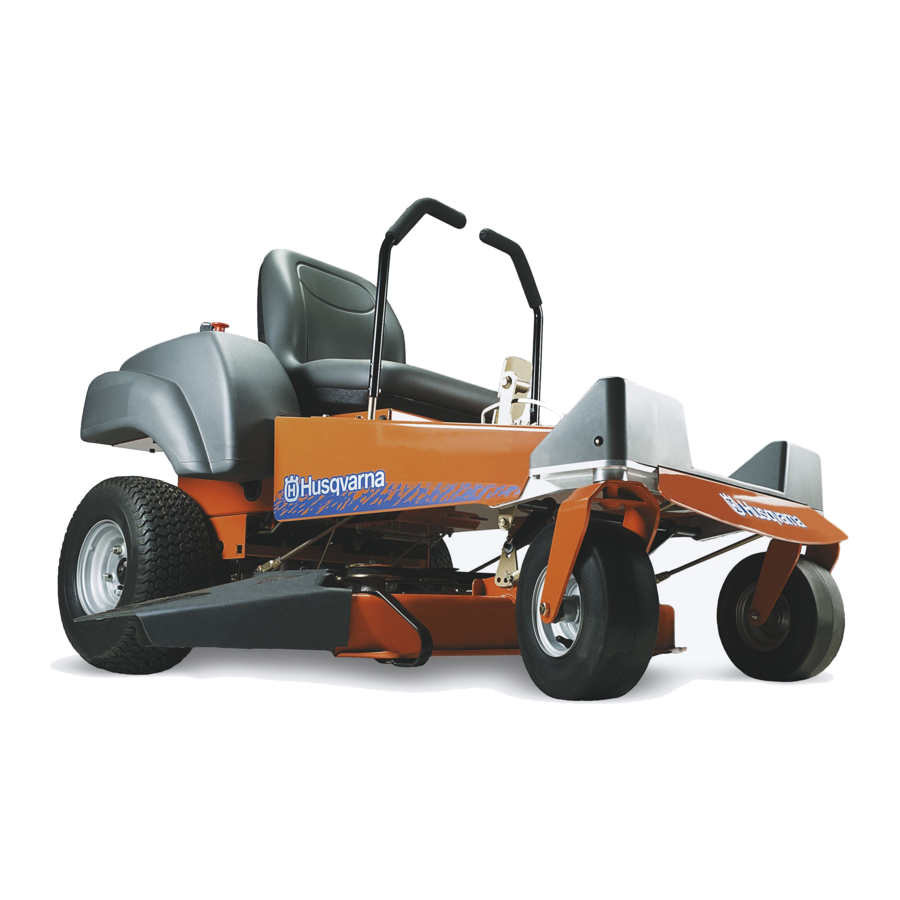
- Page 1 Operators Manual Please read these instructions sure you understand them before using the machine. MANUAL NO. 539110040 REV. IR (1/14/04) Husqvarna Model: 968999245/ 968999246/CZ4217 carefully and make CZ3815...
- Page 2 State of California and related accessories harm. Wash hands after handling. our products require that specifications @2004 Husqvarna. All Rights Reserved. Beatrice, NE. Printed in U.S.A. has been prepared Read, retail stores with complete and service. Before the and adjusted by your retailer.
-
Page 3: Table Of Contents
SAFETY INSTRUCTIONS General use and safety rules ... 4 Driving on slopes ... Children safety ... Service safety ... Transportation SPECIFICATIONS ASSEMBLY Tools Required ... Unpacking ... Seat Attachment Control Lever Attachment Check Tire Pressure Utility Box Installation ... Assembly Checklist OPERATION Controls... -
Page 4: Safety Instructions
SAFE OPERATION DANGER ! THIS CUTTING MACHINE IS CAPABLE OFAMPUTATING OBJECTS. FAILURE TO OBSERVE RESULT IN SERIOUS INJURY OR DEATH. I. GENERAL OPERATION Read, understand and follow all instruc- tions in the manual and on the machine before starting. Only allow responsible adults, who are familiar with the instructions, machine. -
Page 5: Children Safety
SAFE OPERATION DO NOT: • Do not turn on slopes unless and then, turn slowly and gradually if possible. • Do not mow near drop-off, embankments. The mower could suddenly turn over if a wheel is over the edge of a cliff or ditch, or if an edge caves in. -
Page 6: Transportation
SAFE OPERATION NEVER allow children to operate machine. Be sure the area is clear of other people before mowing. Stop machine enters the area. Never carry passengers or children with the blades off. Do not drive in reverse unless absolutely necessary. -
Page 7: Specifications
GASOLINE AND TYPE OIL TYPE (SPI-SF-SJ): SPARK PLUG: GROUND TIRE PRESSURE: CHARGING BATTERY: BLADE CUSTOMER Read and observe the safety rules. Follow a regular schedule in maintaining, caring for and using your mower. Follow the instructions under "Customer Responsibilities" and "Storage" this owner's manual. -
Page 8: Assembly
Your new mower has been assembled assembled for shipping purposes. parts and hardware you assemble necessary to insure proper tightness. TOOLS REQUIRED FOR ASSEMBLY 7/16" wrench or 7/16" socket w/drive ratchet Tire pressure gauge Nail bar or claw hammer Wire snips When right or left hand is mentioned manual, it means when you are in the operating... - Page 9 Securely tighten bolt using a 7/16" wrench or socket with ratchet. Adjustments may be required positioning of the control lever. "Service and Adjustment" section NOTE: You may now roll or drive the mower off of the skid. Follow the appropriate below to remove the mower from the skid.
-
Page 10: Check Tire Pressure
CHECK THE TIRE PRESSURE Correct tire pressure is important performance and proper straight-line Check the tire pressure accordingly. Refer to the "SPECIFICATIONS" section manual. UTILITY BOX INSTALLATION Place utility box onto factory preinstalled brackets. Insert clevis pins through box and brackets as shown. -
Page 11: Operation
CONTROLS PTO SWITCH - Used to engage ON) or disengage (blades blades. FOOT PEDAL- Used to raise, lower and select various cutting heights of the deck. CONTROL LEVERS - In the outward position, levers are in the neutral position. When pulled inward and pushed forward, this controls the forward movement what speed the mower travels. -
Page 12: Operation Instructions
HOW TO USE YOUR MOWER First time users should push mower TRANSPORT) to an open, fiat area, with no other persons or vehicles/obstacles DO NOT start unit until you have read this section. Check to make sure bypass rods are in the drive position (see TO TRANSPORT) ITEM 6). - Page 13 TO START ENGINE (See Fig. 3) When starting the engine for the first time or if the engine has run out of fuel, it will take extra cranking time to advance fuel from the tank to the engine. Be sure EZT (E-Series Transaxle) bypass linkages drive position.
- Page 14 TO MOVE FORWARD AND BACKWARD (See Fig. 4) NOTE: Zero turn mowers are far more manueverable than typical riding mowers to their unique steering capabilities. We recommend that this section it's entirety prior to attempting under its own power. Additionally, we suggest when first operating mower, use a reduced throttle speed and re-...
- Page 15 CAUTION Attempting to zero turn at too high a ground speed may result inTURF DAMAGE the wheel spinning or slipage. should always be brought to a very slow or stopped position prior to zero turning. Use extra care when using this maneuver the machine can spin very rapidly lever...
- Page 16 TO OPERATE ON HILLS The slowest speed possible used before starting up or down hills. Avoid stopping or changing hills. If stopping is absolutely drive levers into the neutral position push to the outside of the unit and engage the park brake. To restart movement, release...
- Page 17 TO OPERATE MOWER Your mower is equipped with an operator presence system. When the engine any attempt by the operator to leave the seat without first setting the park brake will shut off the engine. Select desired height of cut. Start deck blades by pulling the PTO switch up into the engaged To stop the deck blades,...
-
Page 18: Customer Responsibilities
CUSTOMER Check Brake Operation Check Tire Pressure Check Operator Presence and Interlock Systems Check for Loose Fasteners Sharpen/Replace mower Blades Lubrication Chart Check Battery Level Clean Battery and Terminals Check V-Belts Check Engine Oil Level Change Engine Oil (with oil filter) Change Engine Oil (without oil filter) Clean Air Filter Clean Air Screen... -
Page 19: Lubrication Chart
CUSTOMER LUBRICATION CHART LUBE POINTS EVERY 25 HOURS. CHECK TIRE AIR PRESSURE FRONT TIRES - 15 PSI REAR TIRES - 15 PSI REFER TO ENGINE OPERATORS MANUAL PRIORTO SERVICING THE ENGINE. IMPORTANT: DO NOT OIL OR GREASE PIVOT POINTS WHICH HAVE SPECIAL BEARINGS. -
Page 20: Battery
CUSTOMER IMPORTANT:TO ENSURE PROPERASSEMBLY, CENTER HOLE IN BLADE MUST ALIGN STAR ON CUTTER HOUSING. Install and tighten blade bolt securely (27-35 ft./Ibs, torque). IMPORTANT: SPECIAL BLADE TREATED. CENTER BLADE BOLT (SPECIAL) FIGURE TO SHARPEN BLADE (See Fig. 8) Care should be taken to keep the blade bal- anced. -
Page 21: V-Belts
CUSTOMER NOTE: Do not attempt to open or remove caps or covers. Adding or checking is not necessary. TO CLEAN BATTERYAND TERMINALS Corrosion and dirt on the battery can cause the battery to "leak" power. Remove terminal guard. Disconnect BLACK battery then the RED battery cable and remove the battery from the tractor. -
Page 22: Air Screen & Air Filter
CUSTOMER CLEAN SCREEN Air screen must be kept free of dirt and chaff to prevent engine damage from overheating. to your engine manual for the proper cleaning procedure. CLEAN AIR INTAKE/COOLING To insure proper cooling, make sure the grass screen, cooling fins, and other external of the engine are kept clean at all times. -
Page 23: And Adjustment
SERVICE AND ADJUSTMENT MOWER LEVEL DECK Adjust the deck while the mower is on a level surface. Make sure the tires are inflated to the correct pressure (see "SPECIFICATIONS" section in this manual). If tires are under or over inflated, you can not properly adjust your deck. SIDE-TO-SIDE ADJUSTMENT and 12) -
Page 24: Deck Belt Replacement
SERVICE AND ADJUSTMENT FRONT-TO-BACKADJUSTMENT IMPORTANT: DECK MUST BE LEVELED SIDE-TO-SIDE, PRIOR TO LEVELING TO REAR. IF THE FOLLOWING BACKADJUSTMENT IS REQUIRED, TOAD JUST BOTH FRONTAND LINKAGES EQUALLY SO THE DECK WILL STAY LEVEL SIDE TO SIDE. To obtain the best cutting performance, should be adjusted... -
Page 25: Ezt (E-Series Zeroturn Transaxle) Belt Replacement
SERVICE AND ADJUSTMENT DECK BELT INSTALLATION (See Figs. 14) NOTE: For ease in installing the deck belt, refer to the routing decal under the seat. Wrap the deck belt around clutch pulley that is located on the engine shaft. Route the belt forward (E-Series Zeroturn Transaxles) -
Page 26: Seat Adjustment
SERVICE AND ADJUSTMENT TO ADJUST THE SEAT (See Fig. 1) Move the control levers into the neutral position and rotate to the outside of the machine. Lift up on the back of the seat and rotate it forward. Loosen the three prong knobs on the bottom of the seat and move the seat to the desired position. -
Page 27: Battery Replacement
SERVICE AND ADJUSTMENT TO ATTACH JUMPER CABLES Connect each end of the RED cable to the POSITIVE (+) terminal battery, taking care not to short against chassis. Connect one end of the BLACK the NEGATIVE (-)terminal charged battery. Connect the other end of the BLACK cable to a good CHASSIS away from the fuel tank and battery. -
Page 28: Tracking
SERVICE AND ADJUSTMENT TRACKING ADJUSTMENT If the mower is not tracking straight, air pressure in all four tires. Recommended pressure for all 4 tires is 15 psi. not track straight, follow the steps below. Track- ing must be checked on a flat and level concrete or blacktop surface. -
Page 29: Storage
Immediately prepare your mower for storage the end of the season or if the mower will not be used for 30 days or more. MOWER When mower is to be stored for a period of time, clean it thoroughly, remove all dirt, grease, leaves, etc. - Page 30 CYLINDER(S) Remove spark plug(s). Pour one ounce of oil through hole(s) into cylinder(s). Install plug(s). Turn ignition key to "START" a few seconds to distribute Replace with new spark plug(s). OTHER Do not store gasoline from one season to another. Replace your gasoline starts to rust.
-
Page 31: Troubleshooting
TROUBLESHOOTING PROBLEM Will not start 1. Out of fuel. Engine not"CHOKED" Engine flooded. Bad spark plug. Dirty air filter. Dirty fuel filter. Water in fuel. Loose or damaged wiring. Carburetor out of adjustment. 10. Engine valves out of adjustment. 11. Extreme cold conditions. Hard to start 1. - Page 32 TROUBLESHOOTING PROBLEM Engine continues 1. Faulty operator-sefety run when operator leaves seat with attachment Poor cut-uneven 1. Worn, bent or loose blade. Mower deck not level. Buildup of grass, leaves, and trash under mower. Bent cutter housing. Clogged mower deck vent holes from buildup of grass, leaves, and trash around cutter housing.
- Page 34 Husqvarna...