Pioneer DEH-1100MP Owner's Manual
Cd receiver
Hide thumbs
Also See for DEH-1100MP:
- Service manual (67 pages) ,
- Owner's manual (62 pages) ,
- Operation manual (134 pages)

Related Manuals for Pioneer DEH-1100MP


Summary of Contents for Pioneer DEH-1100MP
- Page 1 CD RECEIVER AUTORADIO CD RADIO CD DEH-1100MP Owner’s Manual Mode d’emploi Manual de instrucciones...
-
Page 2: Table Of Contents
Contents Thank you for purchasing this PIONEER product. Please read through this manual before using the product for the first time, to en- sure proper use. After reading, please keep the manual in a safe and accessible place for future reference. -
Page 3: Before You Start
Section Before You Start Information to User Also, damage to this unit, smoke, and over- heating could result from contact with liquids. ! Keep this manual handy as a reference for op- Alteration or modifications carried out without erating procedures and precautions. appropriate authorization may invalidate the ! Always keep the volume low enough so that user’s right to operate the equipment. -
Page 4: After-Sales Service For Pioneer Products
Removing the front panel Long Beach, CA 90801-1760 Press DETACH to release the front 800-421-1404 panel. CANADA Pioneer Electronics of Canada, Inc. Grab the front panel and remove. CUSTOMER SATISFACTION DEPARTMENT 300 Allstate Parkway Markham, Ontario L3R 0P2 1-877-283-5901 905-479-4411 For warranty information please see the Lim- ited Warranty sheet included with this unit. -
Page 5: Attaching The Front Panel
Section Before You Start Attaching the front panel WARNING Slide the front panel to the left until it Keep the battery out of the reach of children. clicks. Should the battery be swallowed, consult a doc- Front panel and the head unit are jointed on tor immediately. -
Page 6: Operating This Unit
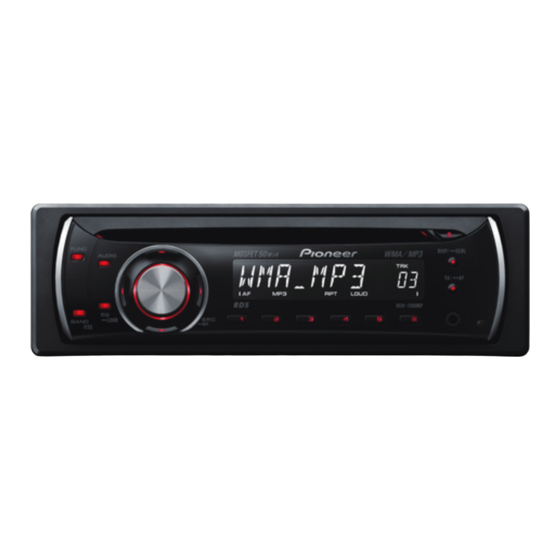
Section Operating this unit b SOURCE button, VOLUME What’s what This unit is turned on by selecting a source. Head unit Press to cycle through all the available sources. Press and hold to recall the initial setting menu when the sources are off. Rotate it to increase or decrease the volume. -
Page 7: Display Indication
Section Operating this unit g SOURCE button Basic Operations Press to cycle through all the available Power ON/OFF sources. Press and hold to turn the source off. Turning the unit on % Press SOURCE to turn the unit on. h PAUSE button Press to turn pause on or off. -
Page 8: Storing And Recalling Broadcast Frequencies
Section Operating this unit Press BAND to select a band. The LOCAL 4 setting allows reception of only Press BAND until the desired band (F1, F2, F3 the strongest stations, while lower settings let for FM or AM) is displayed. you receive progressively weaker stations. -
Page 9: Repeating Play
Section Operating this unit # If you select another folder during repeat play, To perform fast forward or reverse, press and hold c or d. the repeat play range changes to disc repeat. # When playing CD, performing track search or # If you select ROUGH, pressing and holding c or d enables you to search every 10 tracks in the fast forward/reverse cancels the repeat play auto-... -
Page 10: Pausing Disc Playback
Section Operating this unit When you find the desired track press Press BAND to return to the playback b to turn scan play off. display. # If the display has automatically returned to Press and hold c or d to search every the playback display, select SCAN again by press- 10 tracks on a disc (folder). -
Page 11: Audio Adjustments
Section Operating this unit ! The sampling frequency shown in the display Adjusting bass/mid/treble may be abbreviated. You can adjust the bass/mid/treble level. Press AUDIO to select BASS/MID/ TREBLE. Audio Adjustments Press a or b to adjust the level. Using balance adjustment +6 to –6 is displayed as the level is increased Fader/balance setting creates an ideal listen- or decreased. -
Page 12: Other Functions
Section Operating this unit # The clock display disappears temporarily Other Functions when you perform other operations, but the clock Adjusting initial settings display appears again after 25 seconds. Using the initial settings, you can customize various system settings to achieve optimal per- Switching the auxiliary setting formance from this unit. -
Page 13: Connections
Section Connections ! Control signal is output through blue/white Important cable when this unit is powered on. Connect it ! When this unit is installed in a vehicle without to an external power amp’s system remote ACC (accessory) position on the ignition control or the vehicle’s auto-antenna relay switch, red cable must be wired to the term- control terminal (max. -
Page 14: Connection Diagram
Section Connections Connection diagram Power amp This product (sold separately) Connect with RCA cables (sold separately) Rear output Antenna jack Fuse (10 A) Yellow System remote control Connect to the constant 12 V supply terminal. Blue/white Connect to system control terminal of the power amp or auto-antenna relay control terminal (max. -
Page 15: Installation
Section Installation Secure the mounting sleeve by using a Important screwdriver to bend the metal tabs (90°) ! Check all connections and systems before into place. final installation. Dashboard ! Do not use unauthorized parts. Use of un- authorized parts may cause malfunctions. ! Consult your dealer if installation requires dril- ling of holes or other modifications to the vehi- cle. -
Page 16: Din Rear-Mount
Section Installation Removing the unit Determine the appropriate position where the holes on the bracket and the Extend top and bottom of the trim ring side of the unit match. outwards to remove the trim ring. (When reattaching the trim ring, point the side with a groove downwards and attach it.) Tighten two screws on each side. -
Page 17: Additional Information
Additional Information Error messages Handling guideline of discs and player When you contact your dealer or your nearest Pioneer Service Center, be sure to have the ! Use only discs featuring either of following error message recorded. two logos. Message... -
Page 18: Dual Discs
Appendix Additional Information ! Text information may not be correctly dis- ! Only 32 characters from beginning can be played depending on the recorded environ- displayed as a file name (including the file ment. extension) or a folder name. ! Road shocks may interrupt disc playback. ! Regardless of the length of blank section ! Read the precautions for discs before between the songs of original recording,... - Page 19 Appendix Additional Information ! File extension: .mp3 ! Bit rate: 8 kbps to 320 kbps ! Sampling frequency: 16 kHz to 48 kHz (32, 44.1, 48 kHz for emphasis) ! Compatible ID3 tag version: 1.0, 1.1, 2.2, 2.3, 2.4 (ID3 tag Version 2.x is given priority than Version 1.x.) ! M3u playlist: No ! MP3i (MP3 interactive), mp3 PRO: No...
-
Page 20: Specifications
Appendix Additional Information Specifications FM tuner Frequency range ...... 87.9 MHz to 107.9 MHz General Usable sensitivity ..... 11 dBf (0.7 μV/75 W, mono, Power source ......14.4 V DC (10.8 V to 15.1 V S/N: 30 dB) allowable) Signal-to-noise ratio ....72 dB (IHF-A network) Grounding system .... - Page 21 TEL: (03) 9586-6300 PIONEER ELECTRONICS OF CANADA, INC. 300 Allstate Parkway, Markham, Ontario L3R 0P2, Canada TEL: 1-877-283-5901 TEL: 905-479-4411 PIONEER ELECTRONICS DE MEXICO, S.A. de C.V. Blvd.Manuel Avila Camacho 138 10 piso Col.Lomas de Chapultepec, Mexico, D.F. 11000 TEL: 55-9178-4270 先鋒股份有限公司...