
Related Manuals for Mackie SWA2801z


Summary of Contents for Mackie SWA2801z
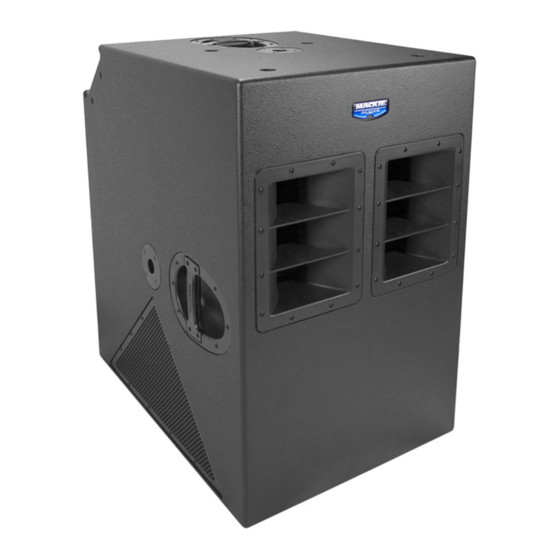
- Page 1 SWA2801z REPAIR MANUAL...
-
Page 2: Tools Needed
These instructions are intended to help restore any ailing SWA2801z Active Subwoofer back to factory working conditions. They show how to remove and replace the drivers and the amplifi er assembly. Please contact Mackie Tech Support (1-800-898-3211) to receive a Service Request Number and Order Number for parts needed for this restoration. - Page 3 Woofer #1 replacement: Eight screws need to be removed from the woofer using the 4mm allen wrench. Sixteen screws need to be removed from the grill using the phillips head screwdriver. Make sure the front of the cabinet is facing upwards and the wheels are facing down.
- Page 4 (part #0010141) where the old one was. Follow the same steps as above, but backwards 6 to 1. Power up the SWA2801z and the new woofer should now be pumping out glorious lows. Awesome, you just replaced an 18” woofer!
- Page 5 Woofer #2 replacement: Sixteen screws need to be removed from the grill using the phillips head Eight screws need to be removed from screwdriver. Make sure the wheels are the woofer using the 4mm allen wrench. facing upwards and the front of the cabinet is facing down.
- Page 6 (part #0010141) where the old one was. Follow the same steps as above, but backwards 6 to 1. Power up the SWA2801z and the new woofer should now be pumping out glorious lows. Awesome, you just replaced an 18” woofer!
- Page 7 Amplifi er Assembly replacement: The last remaining three screws are located on the right side of the SWA2801z (holding the bottom of the amplifi er assembly to the cabinet). Five screws need to be removed from the SWA2801z amplifi er assembly using the 5mm allen wrench.
- Page 8 Amplifi er assembly replacement continued: Edge of amplifi er assembly Edge of amplifi er assembly Side view Closeups of the led PCB cable and connector are shown above. The white wire of the cable is closest to the edge of the amplifi...
- Page 9 Amplifi er assembly replacement continued: Closeups of one of the woofer’s cables and connectors are shown above. Make sure the cables are reconnected to the same terminals they were removed from (but on the new amplifi er assembly). Once again, they are: (2) solid blue Closeups of the other woofer’s cables and (3) solid black.
- Page 10 #0017683) where the old one was. Follow the same steps as above, but backwards 5 to 1. Power up the SWA2801z and relish in the fact that you just replaced an amplifi er assembly. Hats off to you for a...