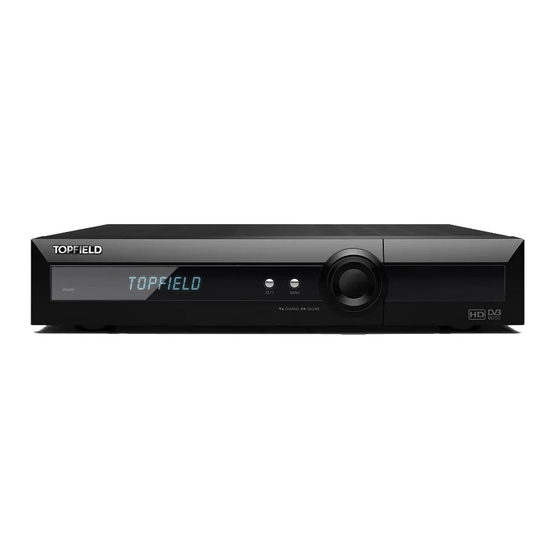
Summary of Contents for Topfield TRF-7260
-
Page 1: User Manual
TRF-7260 User Manual High Definition Digital Terrestrial Receiver Personal Video Recorder Default PIN: 0000... - Page 3 Download the TF RCU app to control this unit with your smart phone. * iPhone and App Store are registered trademarks of Apple, Inc. - Compatible RCU support The TRF-7260 supports compatible RCU usage for the PVR set. Menu Settings...
- Page 4 Precautions • Clean with a dry cloth only. • Do not block any of the ventilation openings. • When placed in a cabinet, make sure there is a minimum space of 10 centimetres around it. • Do not install near any heat sources or in direct sunlight as this will impair cooling.
-
Page 5: Front Panel
Front Panel STANDBY STANDBY MENU CHANNEL VOLUME STANDBY light lights up while the digital receiver is in standby mode. switches the digital receiver between standby mode and active mode. MENU displays the main menu. Also, returns to previous menu from a sub- menu. -
Page 6: Rear Panel
Rear Panel ANT IN ANT OUT S/PDIF HDMI ANT IN Terrestrial broadcasting signal input socket (5V, Max.100mA) ANT OUT Terrestrial broadcasting signal output socket through the ANT IN socket for other receiver VIDEO Composite video output socket for the television set (yellow) AUDIO R/L Stereo audio output socket for television or audio receiver... -
Page 7: Connecting The Tv
Connecting the TV Connect any components before plugging the power cord into the wall outlet. If you encounter any problems setting up your product, please contact your local retailer. 1. Connect the antenna cable to the ANT IN socket. 2. Choose a setup that matches the connection ports on your TV. –... - Page 8 Remote control NOTE The actual images or number of buttons may be t depending on the type of remote control provided by the manufacturer. switches the digital receiver between standby mode and active mode. mutes the sound. Press again to switch it back on. changes video resolution.
- Page 9 allow you to change the options for a menu item. Also, avigate through the electronic programme guide or interactive services. displays the services list. Also, selects menu items. LIST exits a menu or hides on-screen information. EXIT displays the list of recorded programmes that are stored in the internal LIST hard drive.
-
Page 10: First Time Installation
First Time Installation 1 After having connected the appropriate cables from the digital receiver to your TV, make sure the power cord of the digital receiver is plugged into a wall socket and turn the unit ON using the switch on the back of the unit. 2 Check that your TV set is turned on. - Page 11 8 Set the Search Mode to Quick Scan then £ ¢ ¡ move down to Start Search and press button. 9 Once all the channels have been searched you will be told how many channels have £ ¢ ¡ been found. Press button and then £...
-
Page 12: Electronic Programme Guide
Watching TV 1. Now that the service search is complete, £ ¢ ¡ press the button to view the services list. £ £ ¢ ¡ ¢ ¡ 2. On the services list, press the button to navigate your desired service. You can also switch to your desired service by entering its service number with the nu- meric buttons. -
Page 13: Recording And Playback
Recording and Playback Instant recording £ ¢ ¡ 1. Press the button on the live screen to start recording. £ ¢ ¡ 2. When recording has started, press the again to set the recording duration as shown in the left figure. 3. -
Page 14: Timer Recording
Timer Recording £ £ ¢ ¡ ¢ ¡ Reservation > > > MENU You can set a programme to be recorded at a specific time. £ ¢ ¡ 1. To add a new timer event, press the but- ton, and a box like the left figure appears. 2. - Page 16 At any time during the life of a product Topfield Co., Ltd. may change or modify the hardware or software on any product to introduce new features or improve the functionality of the product. Copyright © 2012, Topfield Co., Ltd. All rights reserved. English version http://www.i-topfield.com 110T-V8A78-Q01-0...


