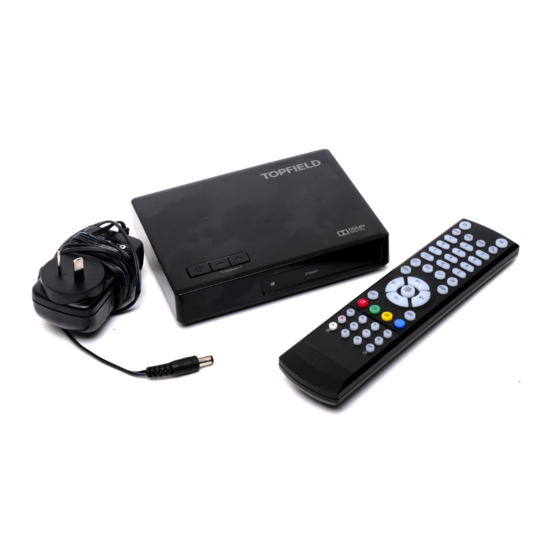
Summary of Contents for Topfield TBF-100HD
-
Page 1: User Manual
TBF-100HD User Manual High Definition Digital Terrestrial Receiver USB PVR-Ready Default PIN: 2010... - Page 2 Precautions • Clean with a dry cloth only. • Do not block any of the ventilation openings. • When placed in a cabinet, make sure there is a minimum space of 10 centimetres around it. • Do not install near any heat sources or in direct sunlight as this will impair cooling.
-
Page 3: Front Panel
Front Panel button switches the digital receiver between standby mode and active mode. CHANNEL , buttons switch to the previous or next service. They are also used to navigate in menus and interactive screens. light blinks every time you press a button on the remote control. STANDBY light lights up while the digital receiver is in standby mode. -
Page 4: Rear Panel
Rear Panel ANT IN Terrestrial broadcasting signal input socket (5V, Max.100mA) RF LOOP OUT Terrestrial broadcasting signal output socket through the ANT IN socket for another digital receiver USB port for firmware update and data transfer. (USB 2.0 Host, 5V DC, 500mA Max.) HDMI Audio and video output socket for the high definition tele- vision set... -
Page 5: Connecting The Tv
Connecting the TV Connect the cables first before plugging the power cord into the wall outlet. If you encounter any problems setting up your product, please contact your local retailer. 1. Connect the antenna cable to the ANT IN socket. ANT IN RF LOOP OUT 2. -
Page 6: Remote Control
Remote Control NOTE All buttons on your remote control might not apply to your model. Please check below. • switches the digital receiver between standby mode and active mode (ON). • mutes the sound. Press again to switch it back on. £... - Page 7 £ ¢ ¡ • displays the favourite list. • has different functions per menu. [Red Button] • has different functions per menu. [Green Button] • has different functions per menu. [Yellow Button] • has different functions per menu. [Blue Button] •...
-
Page 8: First Time Installation
First Time Installation 1 After having connected the appropriate cables from the digital receiver to your TV, make sure the power cord of the digital receiver is plugged into a wall socket and turn the unit ON using the switch on the back of the unit. 2 Check that your TV set is turned on. - Page 9 8 Once all the channels have been searched you will be told how many channels have been found. £ ¢ ¡ By pressing the button, you will exit the menu.
-
Page 10: Electronic Programme Guide
Watching TV 1 Now that the service search is com- £ ¢ ¡ plete, press the button to view the services list. £ 2 On the services list, press the ¢ ¡ £ ¢ ¡ button to navigate your desired service. - Page 11 Schedule a recording using the programme guide If the electronic programme guide is properly provided, you can make timer events on it. £ ¢ ¡ 1 Press the button to display the GUIDE electronic programme guide. 2 Select a programme you want to record with the navigation buttons.
-
Page 12: Playing Back A Recording
Playing back a recording When an external USB storage device is connected, you can record programmes to the storage. The instructions on how to play a recorded file are as follows: 1 Select USB Media Player menu or alternatively press the button to display >... -
Page 13: Time Setting
Time setting Select the System Setup Local Time Setting menu. You should see a screen as > below. 1 You can set the clock automatically or manually. 2 Set the Mode to Auto. 3 Now set the GMT Offset of your loca- tion. - Page 14 Playing back a video file: Media Player You can play back media files such as photos, videos and music with this digital receiver, when a USB storage device is connected. Media file formats* that you can play back with the digital receiver are as follows: •...
- Page 16 At any time during the life of a product Topfield Co., Ltd. may change or modify the hardware or software on any product to introduce new features or improve the functionality of the product. Copyright © 2012, Topfield Co., Ltd. All rights reserved. English version http://www.topfield.com.au 110T-V3AD9-Q00-1...


