Table of Contents
Advertisement
Quick Links
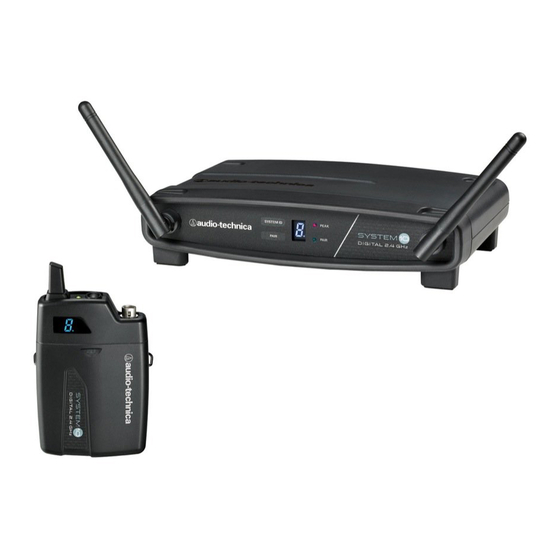
System 10
Digital Wireless System
Installation and Operation
ATW-1101
UniPak
Transmitter System
®
ATW-1101/G
Guitar System
ATW-1101/H
Headworn Microphone System
ATW-1101/H92
Miniature Headworn Microphone System
ATW-1101/H92-TH
Miniature (beige) Headworn Microphone System
ATW-1101/L
Lavalier Microphone System
ATW-1102
Handheld Microphone System
Advertisement
Table of Contents

Related Manuals for Audio Technica ATW-1101


Summary of Contents for Audio Technica ATW-1101
- Page 1 System 10 Digital Wireless System Installation and Operation ATW-1101 UniPak Transmitter System ® ATW-1101/G Guitar System ATW-1101/H Headworn Microphone System ATW-1101/H92 Miniature Headworn Microphone System ATW-1101/H92-TH Miniature (beige) Headworn Microphone System ATW-1101/L Lavalier Microphone System ATW-1102 Handheld Microphone System...
- Page 2 To do so will void the TH), or an MT830cW lavalier mic (/L) for particular applications. All A-T warranty, and may cause improper operation. Wireless Essentials ® microphones and cables, available separately, are pre-terminated for use with any ATW-1101 system.
-
Page 3: Receiver Installation
System 10 Installation and Operation Because System 10 packaging is designed to hold all versions of the system, some compartments in the carton may be intentionally Output Connection left empty. There are two audio outputs on the back panel: balanced XLR-type output and unbalanced ¼"... - Page 4 System 10 Installation and Operation ATW-T1002 Transmitter Setup Controls and Functions Battery Selection and Installation Two alkaline AA batteries are recommended. When inserting the battery, observe correct polarity as marked inside the battery compartment. Power / Battery / Mute Status Indicator Level Control System ID Display Pairing Switch...
- Page 5 System 10 Installation and Operation Microphone / Instrument Level Control Pairing Switch Screwdriver System ID Display Battery Compartment Figure D — ATW-T1001 UniPak Transmitter ® UniPak ® Transmitter Battery Installation 1. Slide off the battery cover. 2. Carefully insert two fresh AA alkaline batteries, observing polarity markings.
-
Page 6: System Operation
System 10 Installation and Operation System Operation excessive gain by speaking/singing into the microphone at typically-loud levels while watching the receiver’s AF Peak indicator. If the AF Peak indicator does light, turn the "LEVEL" control slightly counterclockwise Turn down the receiver volume control and the mixer/amplifier until the AF Peak indicator no longer lights with maximum audio input level before starting up the wireless system. -
Page 7: System Frequencies
System 10 Installation and Operation 4. Open your first transmitter and push its Pair button within 30 Use the transmitter level control to optimize performance for your instrument, voice, or other sound source. seconds* of entering Pair Mode. The first transmitter display 8. -
Page 8: Specifications
System 10 Installation and Operation Specifications OvERALL SySTEm UnIPAk TRAnSmITTER ® Operating Frequencies 2.4 GHz ISM band RF Output Power 10 mW Dynamic Range >109 dB (A-weighted), typical Spurious Emissions Following federal and national regulations Total Harmonic Distortion <0.05% typical Input Connection Four-pin Locking Connector Operating Range...