
Related Manuals for GPX TE1384B


Summary of Contents for GPX TE1384B
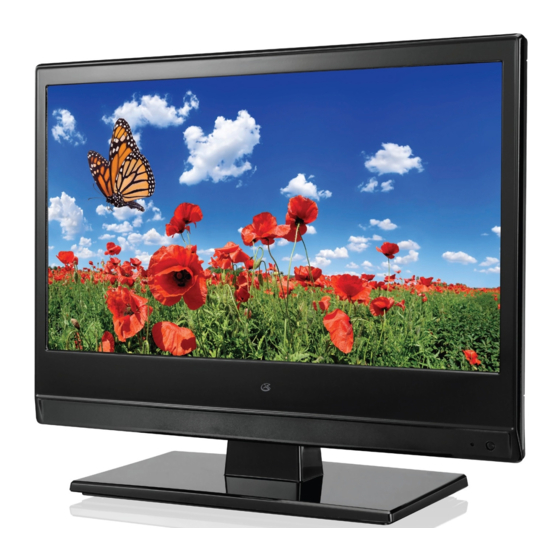
- Page 1 USER’S GUIDE V: 973-01 TE1384B 13.3” LED HDTV For the most up-to-date version of this User’s Guide, go to www.gpx.com...
-
Page 2: Warnings And Precautions
Warnings and Precautions CAUTION: To prevent electric shock, match wide blade WARNING: Shock hazard - Do Not Open. of plug to wide slot and fully insert into power outlet. AVERTISSEMENT: Risque de choc électirque - ne pas ouvrir. WARNING: To reduce the risk of fire or electric shock, Use only the main AC/DC power cord and adapter that do not expose this apparatus to rain or moisture. -
Page 3: Important Safety Instructions
Important Safety Instructions Read these Instructions. FCC Warnings Keep these Instructions. WARNING: Changes or modifications to this unit not expressly approved by the party responsible for compliance could void the Heed all Warnings. user’s authority to operate the equipment. Follow all instructions. NOTE: This equipment has been tested and found to comply with the limits for a Class B digital device, pursuant to Part 15 of the FCC Do not use this apparatus near water. -
Page 4: Table Of Contents
Table of Contents Warnings and Precautions . . . . . . . . . . . . . . . . . . . . . . . . . . . . . . . . . . . . . . . . . . . . . . . . . . . . . . . . . . . . . . . . . . . . . . . . . . . . 2 Important Safety Instructions . -
Page 5: Unboxing Your 13.3" Led Hdtv
Unboxing Your 13.3” LED HDTV Includes Note: • Remote control and 2 AAA batteries Some pixels may be visible on the screen, appearing • Removable stand as tiny red, green, blue or black spots. This is normal • AC/DC Power Supply and is not a defect on the TV nor does it negatively affect the performance. -
Page 6: Orientation
Orientation TV TOP CONTROLS SETUP Volume ± Channel± Setup Source Power TV REAR INPUTS Optical Input Stereo Headphone Jack TV Antenna Composite Audio Input Composite Video Input VGA/PC Input HDMI Input USB Plug AC Power Plug to DC Input... -
Page 7: Remote
REMOTE Source Power Press and use the Press to power the Arrow/Enter buttons television off or on. to adjust the source. Favorites Display In TV mode, press to Press to view the view your favorites list. on-screen display. Freeze Aspect Press to freeze or Press to adjust the aspect unfreeze the current... -
Page 8: Connecting Devices To Your Tv
Connecting Devices to Your TV Connecting a TV Antenna You will need: a antenna/cable wire (not included). 1. Connect the Antenna wire to the input on the television. 2. Press the Source button to switch to TV mode. 3. Press the Setup button to access the setup menu. 4. -
Page 9: Connecting Composite Audio/Video
Connecting Composite Audio/Video You will need: composite (yellow) and RCA stereo (red,white) cables (not included). 1. Connect the device’s audio and video outputs to the corresponding audio and video inputs on the television. 2. Power the television on and press the Source button to switch to the connected input AV Composite. -
Page 10: Settings
Connecting Other Devices Connecting a USB Thumb Drive 1. Load a USB thumb drive into the USB Port as shown in the image to the right. 2. Press the Source button to switch to Media mode. 3. Use the Arrow and Enter buttons to select and play content from the connected USB thumb drive. -
Page 11: Viewing Favorites
Viewing Favorites 1. Press the Source button to switch to TV mode. 2. Press the Favorites button to view a list of your saved favorites. Setting the Clock 1. Press the Setup button to access the setup menu. 2. Press the Arrow () buttons to highlight the TIME icon. Press the Enter button. 3. -
Page 12: Company Information
Contact Information are made with up to 85% recycled material. In Website: www.gpx.com addition to material consideration, DPI, Inc. has also Email Support: prodinfo@dpiinc.com focused on the finer details that positively impact Email Parts: partsinfo@dpiinc.com...