Table of Contents
Advertisement
Quick Links
Download this manual
See also:
User Manual
Advertisement
Table of Contents
Troubleshooting

Related Manuals for Mio C210


Summary of Contents for Mio C210
- Page 1 www.mio-tech.be...
- Page 2 Revision: R00 Trademarks All brand and product names are trademarks or registered trademarks of their respective companies. Note The information in this document is subject to change without notice.
-
Page 3: Table Of Contents
Table of Contents Precautions and Notices ..............5 Getting Started ................7 1.1 Installing the Batteries ............... 7 1.2 Performing the Initial Start Up ............8 1.3 Using Your Device in a Vehicle ............10 Using the Car Holder ............... 10 Connecting the In-Car Power Cable..........10 1.4 Understanding Hardware Features .......... - Page 4 Class B Regulations ................ 27 European Notice ................28 4.2 Safety Precautions................29...
-
Page 5: Precautions And Notices
Precautions and Notices For your own safety, do not operate the controls of the product while driving. Use this product prudently. The product is intended for use solely as a navigation aid. It is not for precise measurement of direction, distance, location or topography. - Page 6 A car holder is needed when using the device in a car. Be sure that you place the device in an appropriate place, so as not to obstruct the driver’s view, or deployment of airbags. Do not mount where the driver’s Do not place unsecured field of vision is blocked.
-
Page 7: Getting Started
Getting Started This chapter tell s you how to install the batteries and introduces the components of your devic 1.1 Installing the Batteries NOTE: For using the device in car, you can also connect the device to the in-car power cable. -
Page 8: Performing The Initial Start Up
CAUTION: Immediately replace the batteries whenever the batteries are low. It is important that the batteries have power for the device operation even though power can be supplied to your device through the in-car power cable or USB cable. Failure to do so can result in damage to your device. - Page 9 4. The Date&Time screen appears. Tap the arrow button to select the time zone, date and time for your system. Then tap to save the changes. 5. The Main Menu screen appears. You can now start using your device.
-
Page 10: Using Your Device In A Vehicle
1.3 Using Your Device in a Vehicle A car holder and an in-car power cable are supplied with your device. Using the Car Holder CAUTION: Select an appropriate location for the car holder. Never place the holder where the driver’s field of vision is blocked. If the car’s windshield has window tint, it is recommended that you use a car antenna (optional) to route the antenna to the top of the car through the window. -
Page 12: Understanding Hardware Features
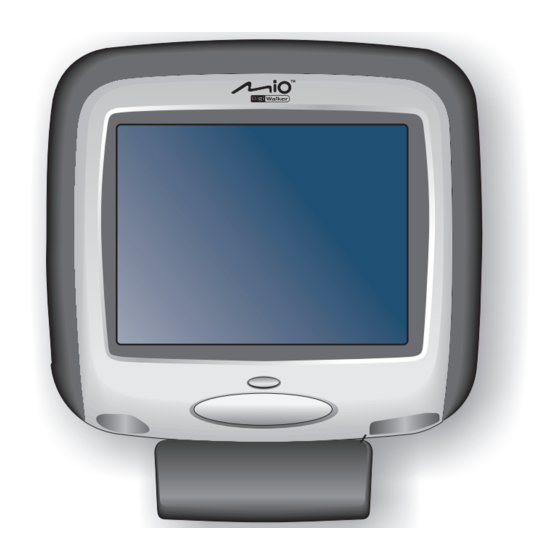
1.4 Understanding Hardware Features NOTE: Depending upon the specific model purchased, the color of your device may not exactly match the device shown in this manual. Front Components Component Description Touch Screen Displays the output of your device. Tap the screen with your finger to select menu commands or enter information. -
Page 13: Back Components
Back Components Component Description Back Cover Inside is the battery compartment. Back Cover Push this button to release the back cover for battery Release Button installation. -
Page 14: Left-Side Components
Left-Side Components Component Description Power Button Turns the device on and off. Reset Button Restarts your device. -
Page 15: Right-Side Components
Right-Side Components Component Description SD/MMC Slot Accepts an SD (Secure Digital) or MMC (MultiMediaCard) card for accessing data such as map data. -
Page 16: Top Components
Top Components Component Description Car Antenna This connector (under rubber dust cover) allows use of an Connector optional external antenna with magnetic mount, which may be positioned on top of the car for better signal reception in areas with poor reception. -
Page 17: Bottom Components
Bottom Components Component Description Headphone Connects to stereo headphones. Connector Mini-USB Connects to the USB cable or in-car power cable. Connector Stand Connects to the car holder. -
Page 19: Basic Skills
Basic Skills This chapter familiarizes you with the basic operations of your device. 2.1 Turning Your Device On and Off Briefly press the power button to turn on and off your device. When you press the power button to turn off the unit, your device actually enters into a suspend state and the system stops operating. -
Page 20: Navigating On The Screen
2.2 Navigating on the Screen To navigate and select objects on the screen, simply use your finger to touch on the screen. You can do the following actions: Touch the screen once with your finger to open items or select options. Drag Hold your finger on the screen and drag up/down/left/right or across the screen. - Page 21 To remove a card, first make sure that no application is accessing the card, and then slightly push the top edge of the card to release it and pull it out of the slot.
-
Page 23: Troubleshooting And Maintenance
Troubleshooting and Maintenance Troubleshooting and Maintenance This chapter gives solutio ns to common problems you may encounter. It also vides guidelines on how to take care of your device. NOTE: If you encounter a problem you cannot solve, contact an authorized service center for assistance. -
Page 24: Troubleshooting
3.2 Troubleshooting Power Problems Power does not turn on when using battery power The remaining battery power may be too low to run your device. Replace the batteries with the new ones. Then, turn on your device. Screen Problems Screen is off If the screen does not respond even after you press the power button, try the following in order until the problem is solved: Replace the batteries with the new ones, or connect your device to external... -
Page 25: Maintaining Your Device
Bad weather Dense overhead obstacles (e.g. trees and tall buildings) Other wireless device in the car Reflective car window tint and heated screens. 3.3 Maintaining Your Device Taking good care of your device will ensure trouble-free operation and reduce the risk of damage to your device. Keep your device away from excessive moisture and extreme temperatures. -
Page 27: Regulatory Information
Regulatory Information NOTE: Marking labels located on the exterior of your device indicate the regulations that your model complies with. Please check the marking labels on your device and refer to the corresponding statements in this chapter. Some notices apply to specific models only. 4.1 Regulations Statements Class B Regulations Federal C... -
Page 28: European Notice
Increase the separation between the equipment and receiver. Connect the equipment into an ou tlet on a circuit different from that to which the receiver is connected. Consult the dealer or an experienced radio/TV technician for help. Any changes or modifications not expressly approved by the m anufacturer could void the user’s authority to operate the equipment. -
Page 29: Safety Precautions
EN55024: Immunity characteristics EN6100-3-2: Li mits for harmonic current emissions EN6100-3-3: Limitation of voltage fluctuation and flicker in low-voltage supply system EN60950 / IEC 60950: Product Safety The manufacturer cannot be he ld responsible for modifications made by the User and the consequences thereof, which may alter the conformity of the product with the CE Marking.