Table of Contents
Advertisement
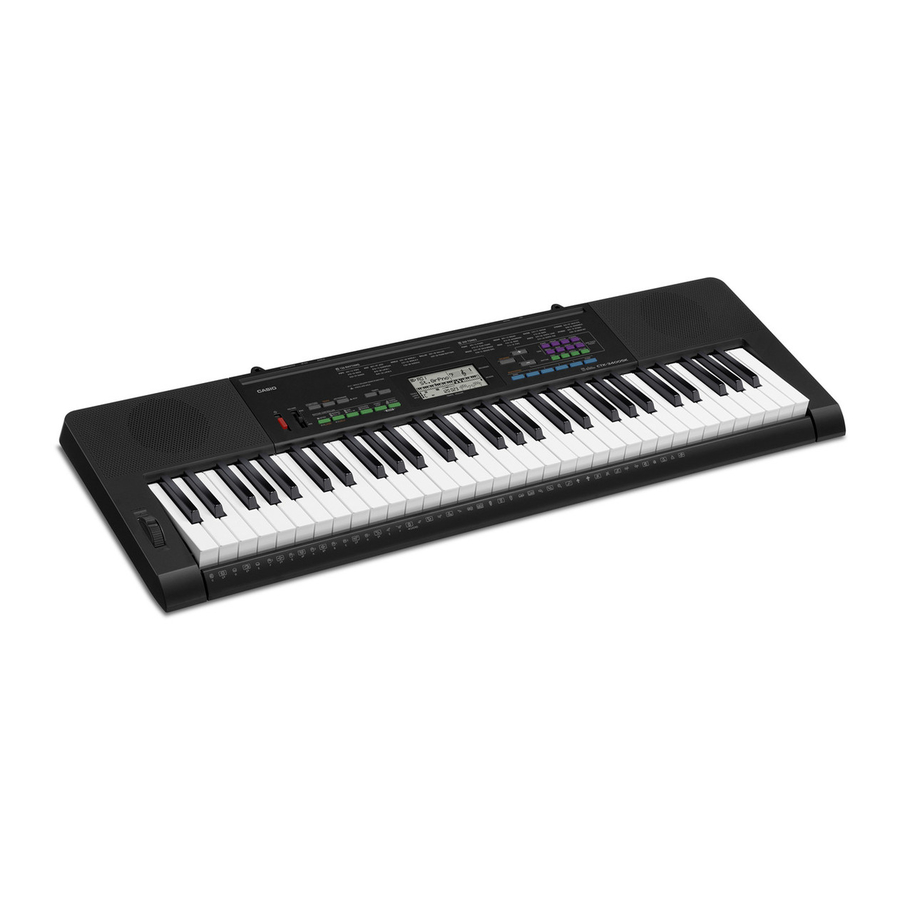
CTK - 3400SK
USER'S GUIDE
Please keep all information for future reference.
Safety Precautions
Before trying to use the Digital Keyboard, be sure to
read the separate "Safety Precautions".
GUÍA DEL USUARIO
Guarde toda información para tener como referencia futura.
Precauciones de seguridad
Antes de intentar usar el teclado digital, asegúrese de
leer las "Precauciones de seguridad" separadas.
CTK3400SK-ES-1A
EN/ES
Advertisement
Table of Contents

Related Manuals for Casio CTK-3400SK


Summary of Contents for Casio CTK-3400SK
- Page 1 CTK - 3400SK EN/ES USER’S GUIDE Please keep all information for future reference. Safety Precautions Before trying to use the Digital Keyboard, be sure to read the separate “Safety Precautions”. GUÍA DEL USUARIO Guarde toda información para tener como referencia futura. Precauciones de seguridad Antes de intentar usar el teclado digital, asegúrese de leer las “Precauciones de seguridad”...
-
Page 2: Declaration Of Conformity
● Any reproduction of the contents of this manual, either in part or its entirety, is prohibited. Except for your own, personal use, any other use of the contents of this manual without the consent of CASIO is prohibited under copyright laws. -
Page 3: Table Of Contents
MIDI Implementation Chart Included Accessories Separately Available Accessories ●Music Stand • You can get information about accessories that are separately for this product from the CASIO ●Leaflets • Safety Precautions catalog available from your retailer, and from the • Appendix CASIO website at the following URL. -
Page 4: General Guide
General Guide • In this manual, the term “Digital Keyboard” refers to the CTK-3400SK. • In this manual, buttons and other controllers are identified using the numbers shown below. EN-2... - Page 5 General Guide • The following explains the meanings of the # and $ symbols that appear on the product console and with the key names below. # : Indicates a function that is enabled by holding down the (FUNCTION) button when pressing a button. $ : Indicates a function that is enabled by holding down the button for some time.
-
Page 6: Using The [-] And [+] Buttons
General Guide Using the [–] and [+] Buttons ( Using the FUNCTION Button ( You can use the [+] (increase) and [–] (decrease) buttons Use the FUNCTION button ( ) to access settings that let ) to change the displayed number or value. you select the reverb type, pedal effect, etc. -
Page 7: Getting Ready To Play
Getting Ready to Play Using Batteries Preparing the Music Stand • Be sure to turn off power before loading batteries. Music stand • It is up to you to prepare six commercially available AA-size batteries. Do not use oxyride batteries or any other nickel based batteries. -
Page 8: Returning The Digital Keyboard To Its Factory Default Settings
Getting Ready to Play ■ Saving Settings Your Digital Keyboard is equipped with a recorder and other features that you can use to store data you create. This stored data is retained even when the Digital Keyboard is turned off.* However, the tone, rhythm, and other settings you configure on the Digital Keyboard’s console normally are returned to their initial power on defaults whenever you turn off power. -
Page 9: Playing The Digital Keyboard
Playing the Digital Keyboard bo bo 1 1 2 2 Auto Power Off Turning on Power and Playing If you do not perform any operation on the Digital Keyboard Press (P). for one of the trigger times noted below, Auto Power Off will This turns on power. -
Page 10: Using Headphones
Playing the Digital Keyboard Using Headphones Changing Keyboard Response to Touch Pressure Using headphones cuts off output from the built-in speakers, (Touch Response) which means you can practice playing even late at night without disturbing others. • Be sure to turn down the volume level before connecting Touch Response alters tone volume in accordance with headphones. -
Page 11: Using The Metronome
Playing the Digital Keyboard Changing the Metronome Tempo Using the Metronome Use the following procedure to change the tempo of the The metronome lets you play and practice along with a steady metronome. beat to help keep you on tempo. Press (TEMPO). -
Page 12: Controlling The Keyboard Sounds
Controlling the Keyboard Sounds bo bo bp bp 7 7 8 8 Try playing something on the keyboard. Select from a variety of musical The tone of the instrument you selected will sound. instrument sounds Your Digital Keyboard lets you select tones for a wide variety of musical instrument sounds, including violin, flute, orchestra, and more. -
Page 13: Splitting The Keyboard Between Two Different Tones
Controlling the Keyboard Sounds Select the second tone you want to use. Play something on the keyboard. Press (TONE) and then use (–/+) to select the This will sound the tones assigned to the left and right tone you want. side ranges of the keyboard. -
Page 14: Using Reverb
Controlling the Keyboard Sounds Using Reverb Using a Pedal Reverb adds reverberation to notes. You can change the A pedal can be used to change notes in various ways while duration of the reverb. playing. • A pedal unit does not come with the Digital Keyboard. Press (FUNCTION) a number of times until Purchase one separately from your retailer. -
Page 15: Changing The Pitch (Transpose, Tuning
Controlling the Keyboard Sounds Changing the Pitch Using the Pitch Bend Wheel to (Transpose, Tuning) Shift the Pitch of Notes You can use the pitch bend wheel to slide the pitch of notes Changing the Pitch in Semitone Steps smoothly upwards and downwards. This technique makes it possible to produce effects that are similar to sounds (Transpose) produced when bending notes on a saxophone or electric... -
Page 16: Playing The Demo Songs
Playing the Demo Songs bo bo bl bl bm bm Use the following procedure to play back built-in songs (01 to 10). • When the keyboard is playing one of its built-in songs, the Title display shows fingerings about the song. SERENADE FROM “EINE KLEINE NACHTMUSIK”... -
Page 17: Using Auto Accompaniment
Using Auto Accompaniment bo bo bp bp bq bq 7 7 8 8 9 9 bk bk bl bl bm bm (–/+) to select the rhythm number you With Auto Accompaniment, simply select an accompaniment pattern. Each time you play a chord with your left hand the want. -
Page 18: Playing All Parts
This enables chord input on the accompaniment • FINGERED 1 keyboard. • FINGERED 2 • FINGERED 3 Accompaniment keyboard • CASIO CHORD • FULL RANGE CHORD Hold down until the chord input mode selection screen appears on the display. Chord input mode... - Page 19 Pressing a single supported and how they are fingered on the keyboard. accompaniment area key in the Accompaniment keyboard CASIO CHORD mode will play the major chord whose name is marked above the key. All of the accompaniment area keys that are marked with the same chord name play exactly the same chord.
-
Page 20: Using Auto Accompaniment Effectively
Using Auto Accompaniment ■ Auto Accompaniment Fill-in Using Auto Accompaniment Use the procedure below to play a fill-in pattern during a Effectively performance. • A “fill-in” is a short phrase played where you want to change the mood of a piece. A fill-in pattern can be used to create a Auto Accompaniment Pattern Variations link between two melodies or an accent. -
Page 21: Using One-Touch Preset
Using Auto Accompaniment ■ Using Synchro Start Adjusting the Accompaniment Volume Use the following procedure to configure the Digital Keyboard Use the following procedure to adjust the balance between to start Auto Accompaniment play as soon as you press a what you are playing on the keyboard and the volume of the keyboard key. - Page 22 Saving Keyboard Setups to Registration Memory br br bs bs bt bt ck ck cl cl cm cm ■ Registration Save Example Registration memory lets you store Digital Keyboard setups (tone, rhythm, etc.) for instant recall whenever you need them. This example saves the data shown in the table below to the Registration memory simplifies performance of complex following setups in Bank 1.
-
Page 23: Saving Keyboard Setups To Registration Memory
Saving Keyboard Setups to Registration Memory To save a setup to registration To recall a setup from registration memory memory Configure the tone, rhythm, and other settings Press (BANK) to select the bank that you can to include in the setup. contains the setup you want to recall. -
Page 24: Recording Your Keyboard Play
Recording Your Keyboard Play bn bn bl bl Configure the tone, rhythm, and other settings The recorder feature lets you record your keyboard play. you want to use. Recording and Playing Back Start playing. Keyboard Play Recording starts as soon as you play something on the keyboard. -
Page 25: Song Recording Data
Recording Your Keyboard Play Press (RECORDER) twice to exit the Song Recording Data recorder mode. In addition to what you play on the keyboard, the following information also is recorded. Settings: Disappears Tone number, rhythm number, tempo, reverb, chords, layer/split settings, Pitch Bend Range setting Operations: •... -
Page 26: Connecting External Devices
Connecting External Devices bo bo Connecting the Digital Keyboard to Your Connecting a Computer Computer You can connect the Digital Keyboard to a computer and exchange MIDI data between them. You can send play data from the Digital Keyboard to music software running on your •... -
Page 27: Midi Settings
Connecting External Devices Configure the music software settings to select MIDI Settings one of the following as the MIDI device. CASIO USB-MIDI: For Windows Vista, Windows 7, Keyboard Channel Windows 8, Mac OS X USB Audio Device: For Windows XP A keyboard channel is the channel used for sending Digital •... -
Page 28: Connecting To Audio Equipment
Connecting External Devices Local Control Connecting to Audio Equipment There are times when exchanging data with a computer when This Digital Keyboard can be connected to commercially you may not want the Digital Keyboard to sound notes you available stereo, amplifier, or recording equipment, to a play on its keyboard. -
Page 29: Reference
Reference Troubleshooting Symptom Action Included Accessories I can’t find something that should be here. Carefully check inside all of the packing materials. Power Requirements Power will not turned on. • Check the AC adaptor or make sure that the batteries are facing correctly (page EN-5). - Page 30 Reference Symptom Action The volume or tone setting I made has changed. • Adjust the main volume setting (page EN-7). • Turn power off and then back on to initialize all Digital Keyboard settings (page EN-6). • Replace the batteries with new ones or switch over to AC adaptor power (page EN-5).
-
Page 31: Specifications
Reference Specifications Model CTK-3400SK Keyboard 61 standard-size keys Touch Response On, Off Maximum Polyphony 48 notes (24 for certain tones) Tones Built-in Tones Functions Layer, Split Reverb 1 to 10, Off Metronome Beats per Measure 0, 2 to 6 Tempo Range... -
Page 32: Operating Precautions
Reference Operating Precautions Be sure to read and observe the following operating precautions. ■ Location Avoid the following locations for this product. • Areas exposed to direct sunlight and high humidity • Areas subjected to temperature extremes • Near a radio, TV, video deck, or tuner The above devices will not cause malfunction of the product, but interference from the product can cause audio or video interference of a nearby device. -
Page 33: Fingering Guide
Reference Fingered 3, Full Range Chords Fingering Guide In addition to the chords that can be fingered with Fingered 1 and Fingered 2, the following chords also are recognized. Fingered 1, Fingered 2 Chords Ddim add9 Cdim • With Fingered 3, the lowest note fingered is interpreted as Caug the base note. - Page 34 Reference EN-32...
- Page 37 This recycle mark indicates that the packaging conforms to the environmental protection legislation in Germany. Esta marca de reciclaje indica que el empaquetado se ajusta a la legislación de protección ambiental en Alemania. MA1310-A Printed in China...