Advertisement
Quick Links
Advertisement

Related Manuals for Randall X2


Summary of Contents for Randall X2
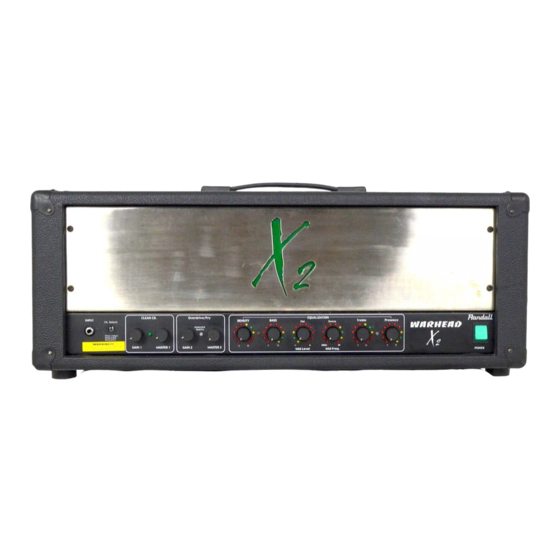
- Page 1 Owners Manual 300 Watt Guitar Head...
- Page 2 Dear Randall Owner, Congratulations on the purchase of your new Randall Amplifier, and thank you for the support of our product line. Randall amps are made to strict quality and consistent performance standards, that will provide you with years of musical satisfaction. Please read the following manual, before operating your new Warhead X2 guitar amplifier.
-
Page 3: Important Safeguards
RISQUE DE CHOC ELECTRIQUE NE PAS OUVRIR IMPORTANT SAFEGUARDS THESE WARNINGS APPLY TO ALL RANDALL ELECTRONIC PRODUCTS. PLEASE READ AND OBSERVE ALL WARNINGS AND INSTRUCTIONS CONTAINED IN THIS SERVICE MANUAL AND THOSE ON YOUR RANDALL PRODUCT PRIOR TO ITS USE. -
Page 4: Front Panel Features And Controls
Channel switching: The X2 incorporates 2 base channels with 3 modes of operation. Channel switching can be achieved by using either the front panel push button, or the included 4-button MIDI foot controller. When using the front panel button simply push and release the channel select button to scroll through the 3 modes. -
Page 5: Rear Panel Features
REAR PANEL FEATURES 1. AC Power/Voltage Selector: This amplifier can operate at AC currents of 100V, 110V, 120V, 230V. Simply remove the fuse with a small screwdriver, and line up the correct voltage with the arrow, and plug back in. After selecting the correct voltage, connect the AC power cord the wall socket. MIDI IN/THRU: Connect the included footswitch to the MIDI IN jack. - Page 6 Please follow the list below to correctly program the X2 channels with the MIDI foot controller. 1. First connect the foot controller using the 7-Pin MIDI cable to the MIDI IN on your rear panel of the X2 2. Push button 1 on the foot controller 3.
- Page 7 ADDITIONAL REAR PANEL FEATURES 1. Ef fects loop: Rear panel feature included the assignable ef fects loop. When using the loop without the foot controller, you can choose each channel you want with effects by simply pressing the loop assign but- tons.
- Page 8 Push the button in to X2 Foot controller activate, or leave out to bypass X2 power output when using different ohm inputs. 4 ohm cabinet - 300 watts 8 ohm cabinet - 150 watts 16 ohm cabinet - 80 watts...
- Page 9 CHART YOUR SETTINGS. The green and yellow LED’s around each knob on the EQ section represent the “Dime Zone” Setting each knob to a yellow or green positions will achieve the tone that Dime delivers on stage or in the studio. Although good guitar playing technique is also needed. CLEAN CH.