Advertisement
Quick Links
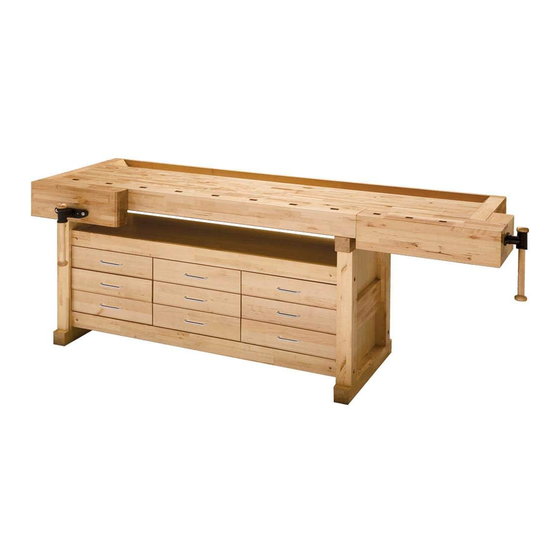
figure 11. model h8110 Birch Workbench.
Specifications
Finish .......................................... Lacquer sealed
drawer slides ...................................Ball Bearing
number of drawers ........................................... 9
Front Vise size .....................................19
end Vise size ............................................6" x 6"
overall size .............. 84
drawer size .....................15
storage shelf size .....................55
shipping Weight ......................................367 lbs.
Safety & Limitations
•
maximum workbench table load is 500 lbs.
•
do not stand or climb on the workbench.
•
do not apply an unbalanced load on the table
that could result in the workbench tipping.
•
Keep unsupervised children away from the
workbench.
•
do not stand or climb on the workbench.
•
do not use workbench outdoors or in wet or
damp locations.
•
do not overload the vises or use cheater
pipes on the vise handles to increase lever-
age.
•
do not weld on this bench.
WARNINg: NO pORTION Of THIS MANUAL MAY BE REpRODUCED IN ANY SHApE
OR fORM WITHOUT THE WRITTEN AppROvAL Of gRIzzLY INDUSTRIAL, INC.
(For modeLs manUFaCtUred sinCe 7/09) #Cr12018 printed in China
⁄
" x 7"
3
4
⁄
"W x 24
⁄
"d x 34
1
11
1
2
16
⁄
"W x 13
⁄
"d x 4"h
3
7
8
8
⁄
"W x 18
1
1
2
Copyright © JULy 2009 By grizzLy indUstriaL, inC.
MODEL H8110
9 DRAWER EURO STYLE
WORKBENCH-BIRCH
Assembly
refer to the last page of these instructions to
inventory your shipment for ease of assembly.
To assemble the workbench:
1.
position the right side leg (C) on the floor
so the Up arrow is pointing upward and the
Front arrow points to the front, as shown in
figure 12.
2.
place the two lower cross braces (e) on the
floor so the slots face each other, as shown
in figure 12.
⁄
"h
4
⁄
"d
2
figure 12. right leg and cross brace installation.
3.
insert the barrel nuts (e4) (figure 12) into the
ends of the cross braces so the slotted end
faces outward and the screwdriver slots are
aligned horizontally with the direction of the
cross braces.
4.
insert the cross braces into the mortised
holes into the right-side leg, as shown in
figure 12.
INSTRUCTIONS
C
E4
E
E
E3
E2
Advertisement

Related Manuals for Grizzly H8110


Summary of Contents for Grizzly H8110
-
Page 1: Specifications
Copyright © JULy 2009 By grizzLy indUstriaL, inC. WARNINg: NO pORTION Of THIS MANUAL MAY BE REpRODUCED IN ANY SHApE OR fORM WITHOUT THE WRITTEN AppROvAL Of gRIzzLY INDUSTRIAL, INC. (For modeLs manUFaCtUred sinCe 7/09) #Cr12018 printed in China 9 DRAWER EURO STYLE... - Page 2 Front figure 16. Left leg installation. 13. Carefully engage the slots in the left leg with the cross supports and panels, and place a flat washer (e2) on each remaining barrel bolt (e3) (figure 16). model h8110 (mfg. since 7/09)
- Page 3 (e5), the screws (e1), and insert the drawers into the work bench drawer slides. figure 18. Final drawer assembly. model h8110 (mfg. since 7/09) 19. insert the guide rods and leadscrew through the holes in the wood block (g) (figure 19).
- Page 4 BarreL BoLt 3.5" ph8110004 BarreL nUt ph8110005 handLe paW05m paW04m ph8110008 Wood sCreW 2" ph8110009 Cotter pin ph8110030 Wood sCreW #5 x 1 FLat Washer 8mm heX WrenCh 5mm heX WrenCh 4mm ⁄ " model h8110 (mfg. since 7/09)